**Please read all**
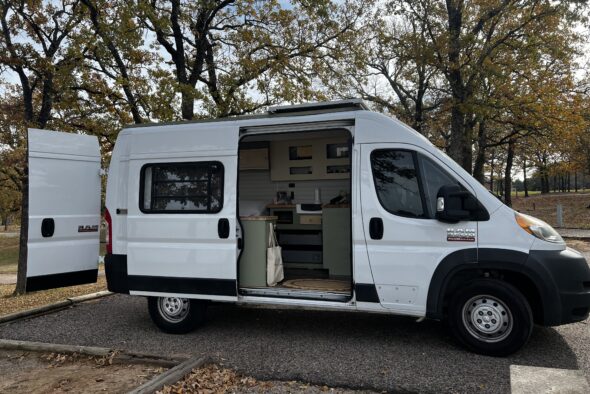
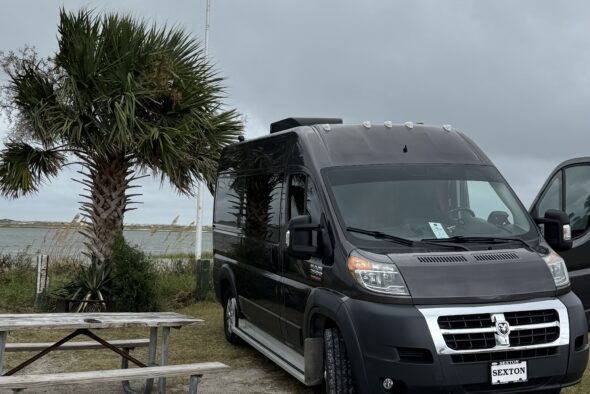
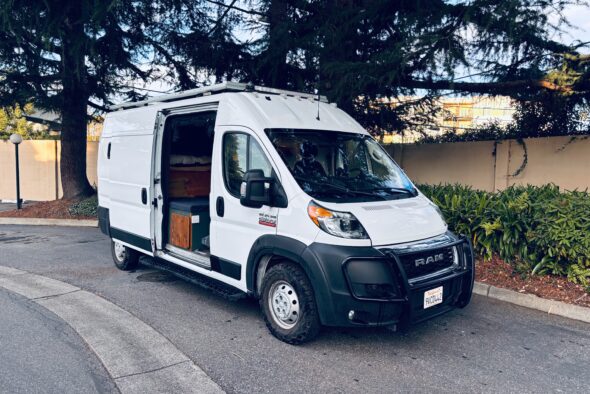
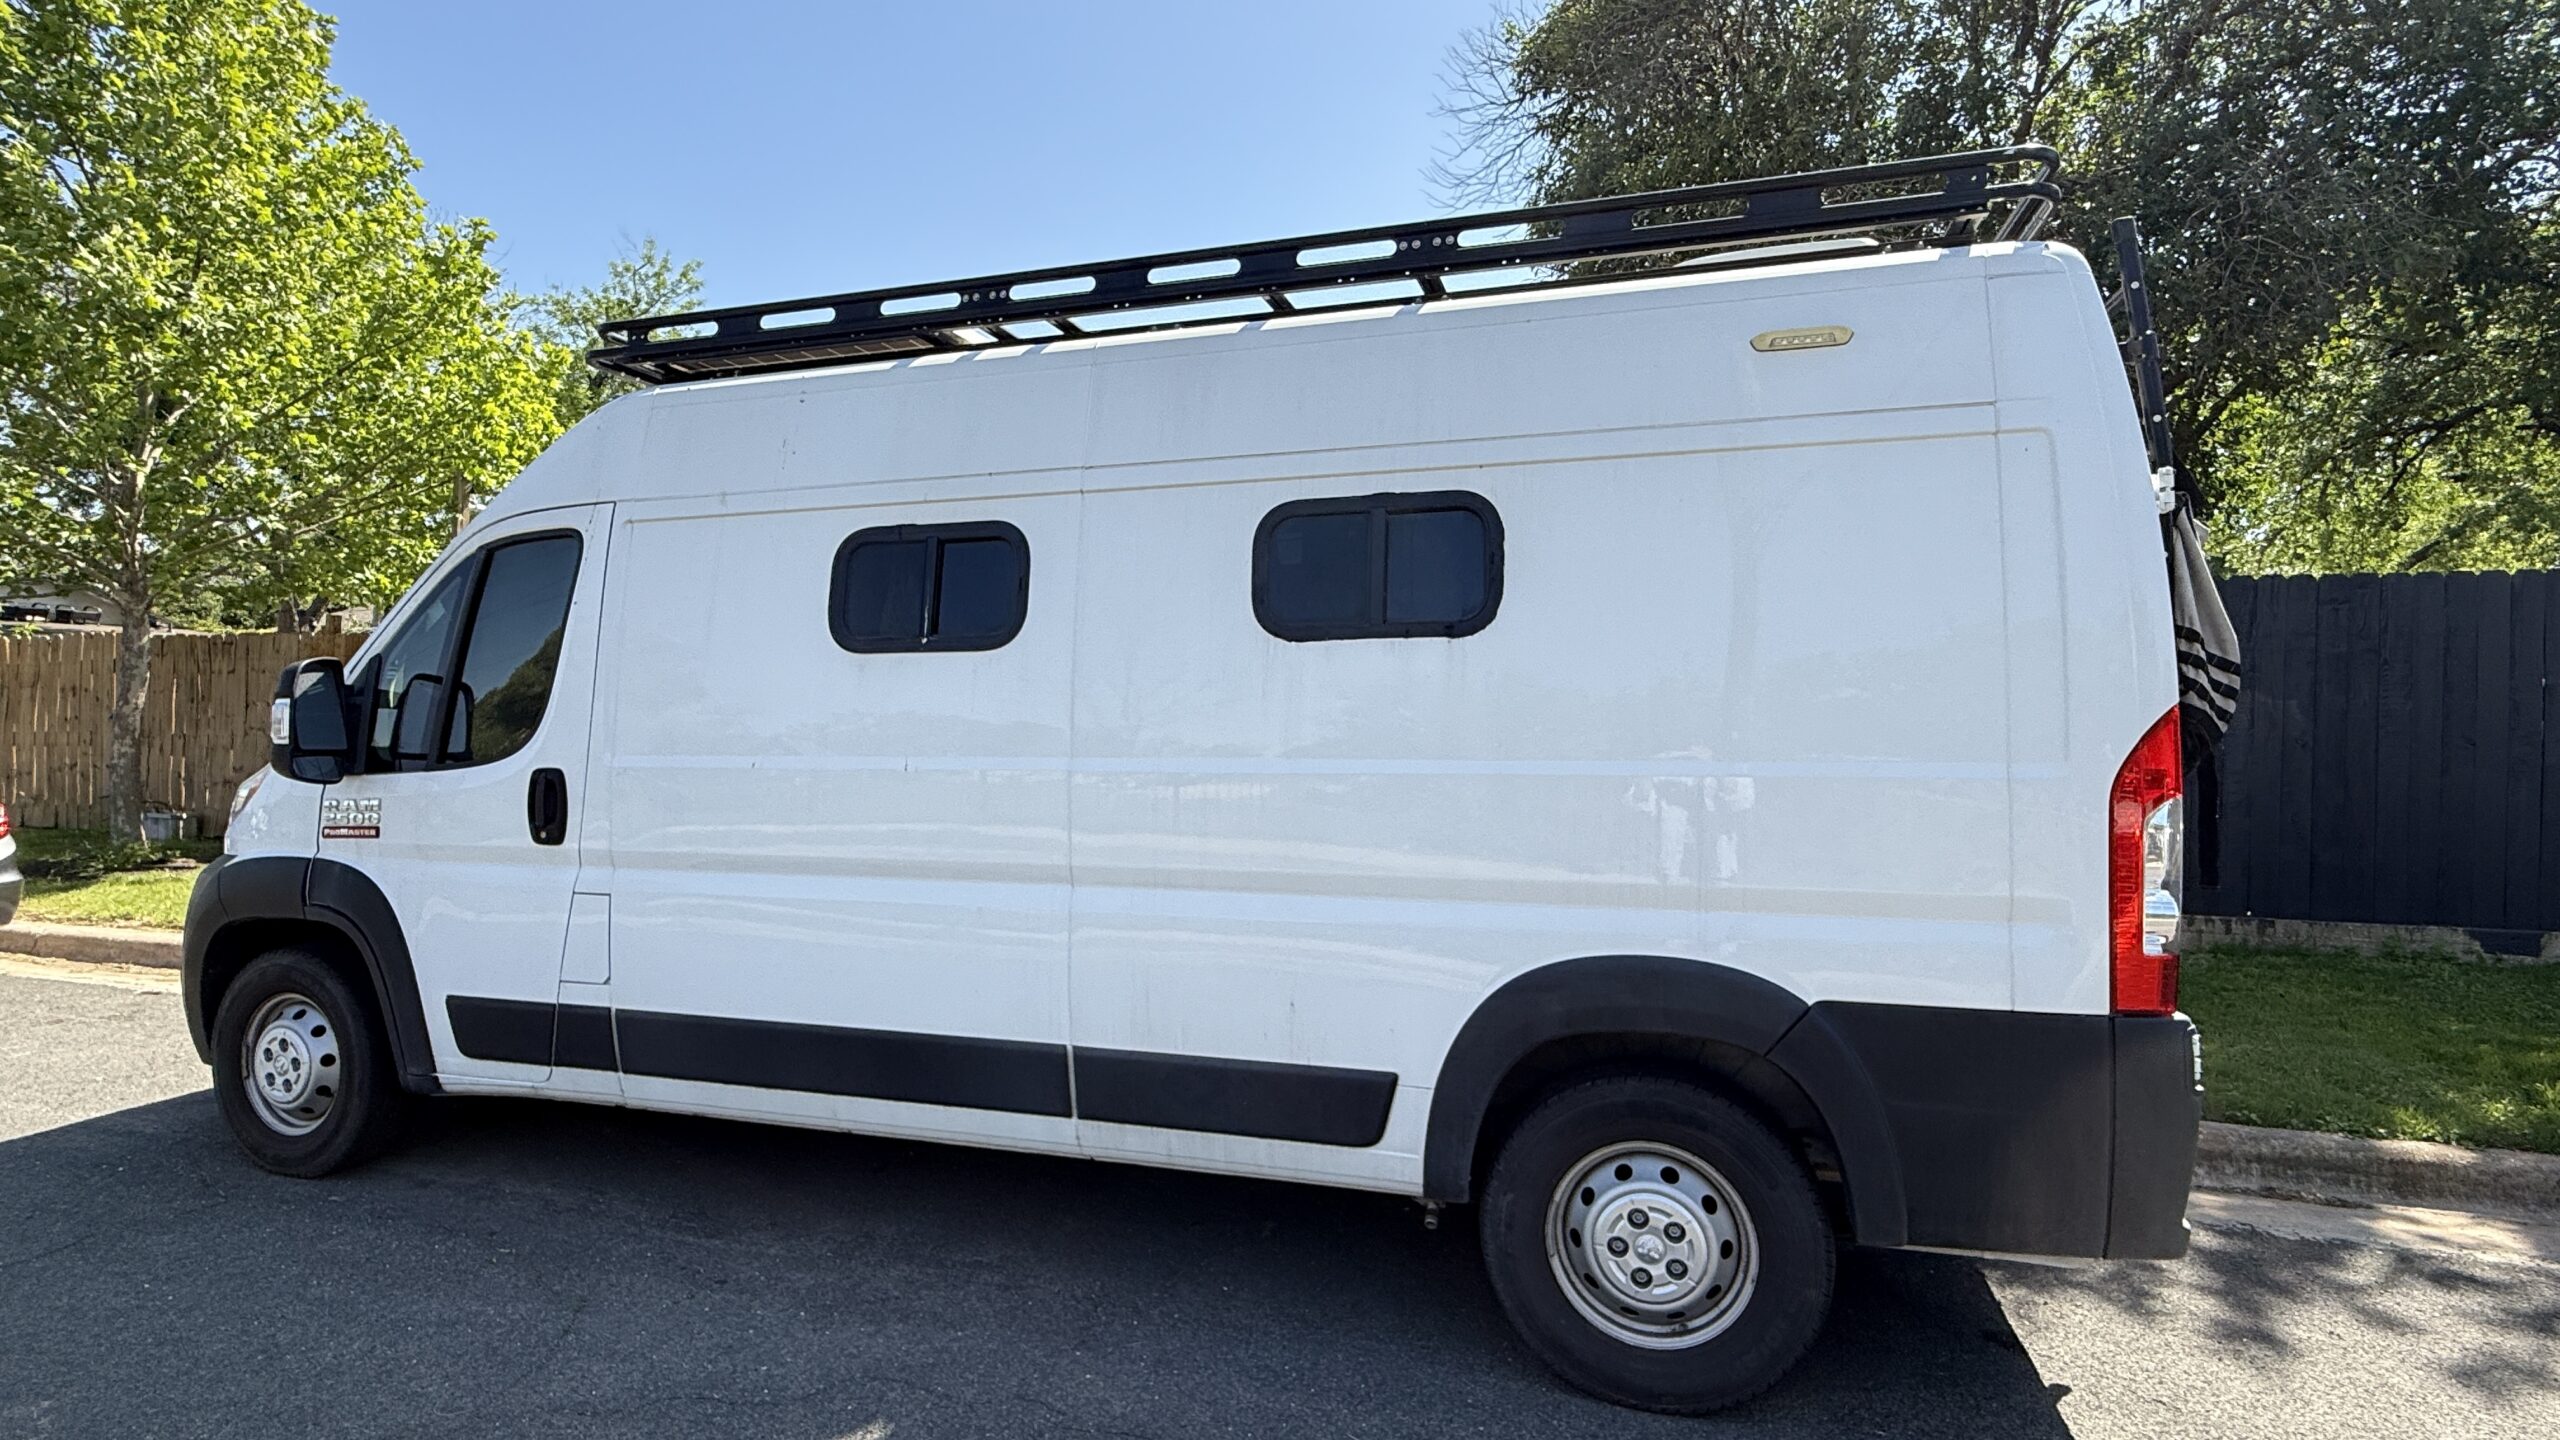
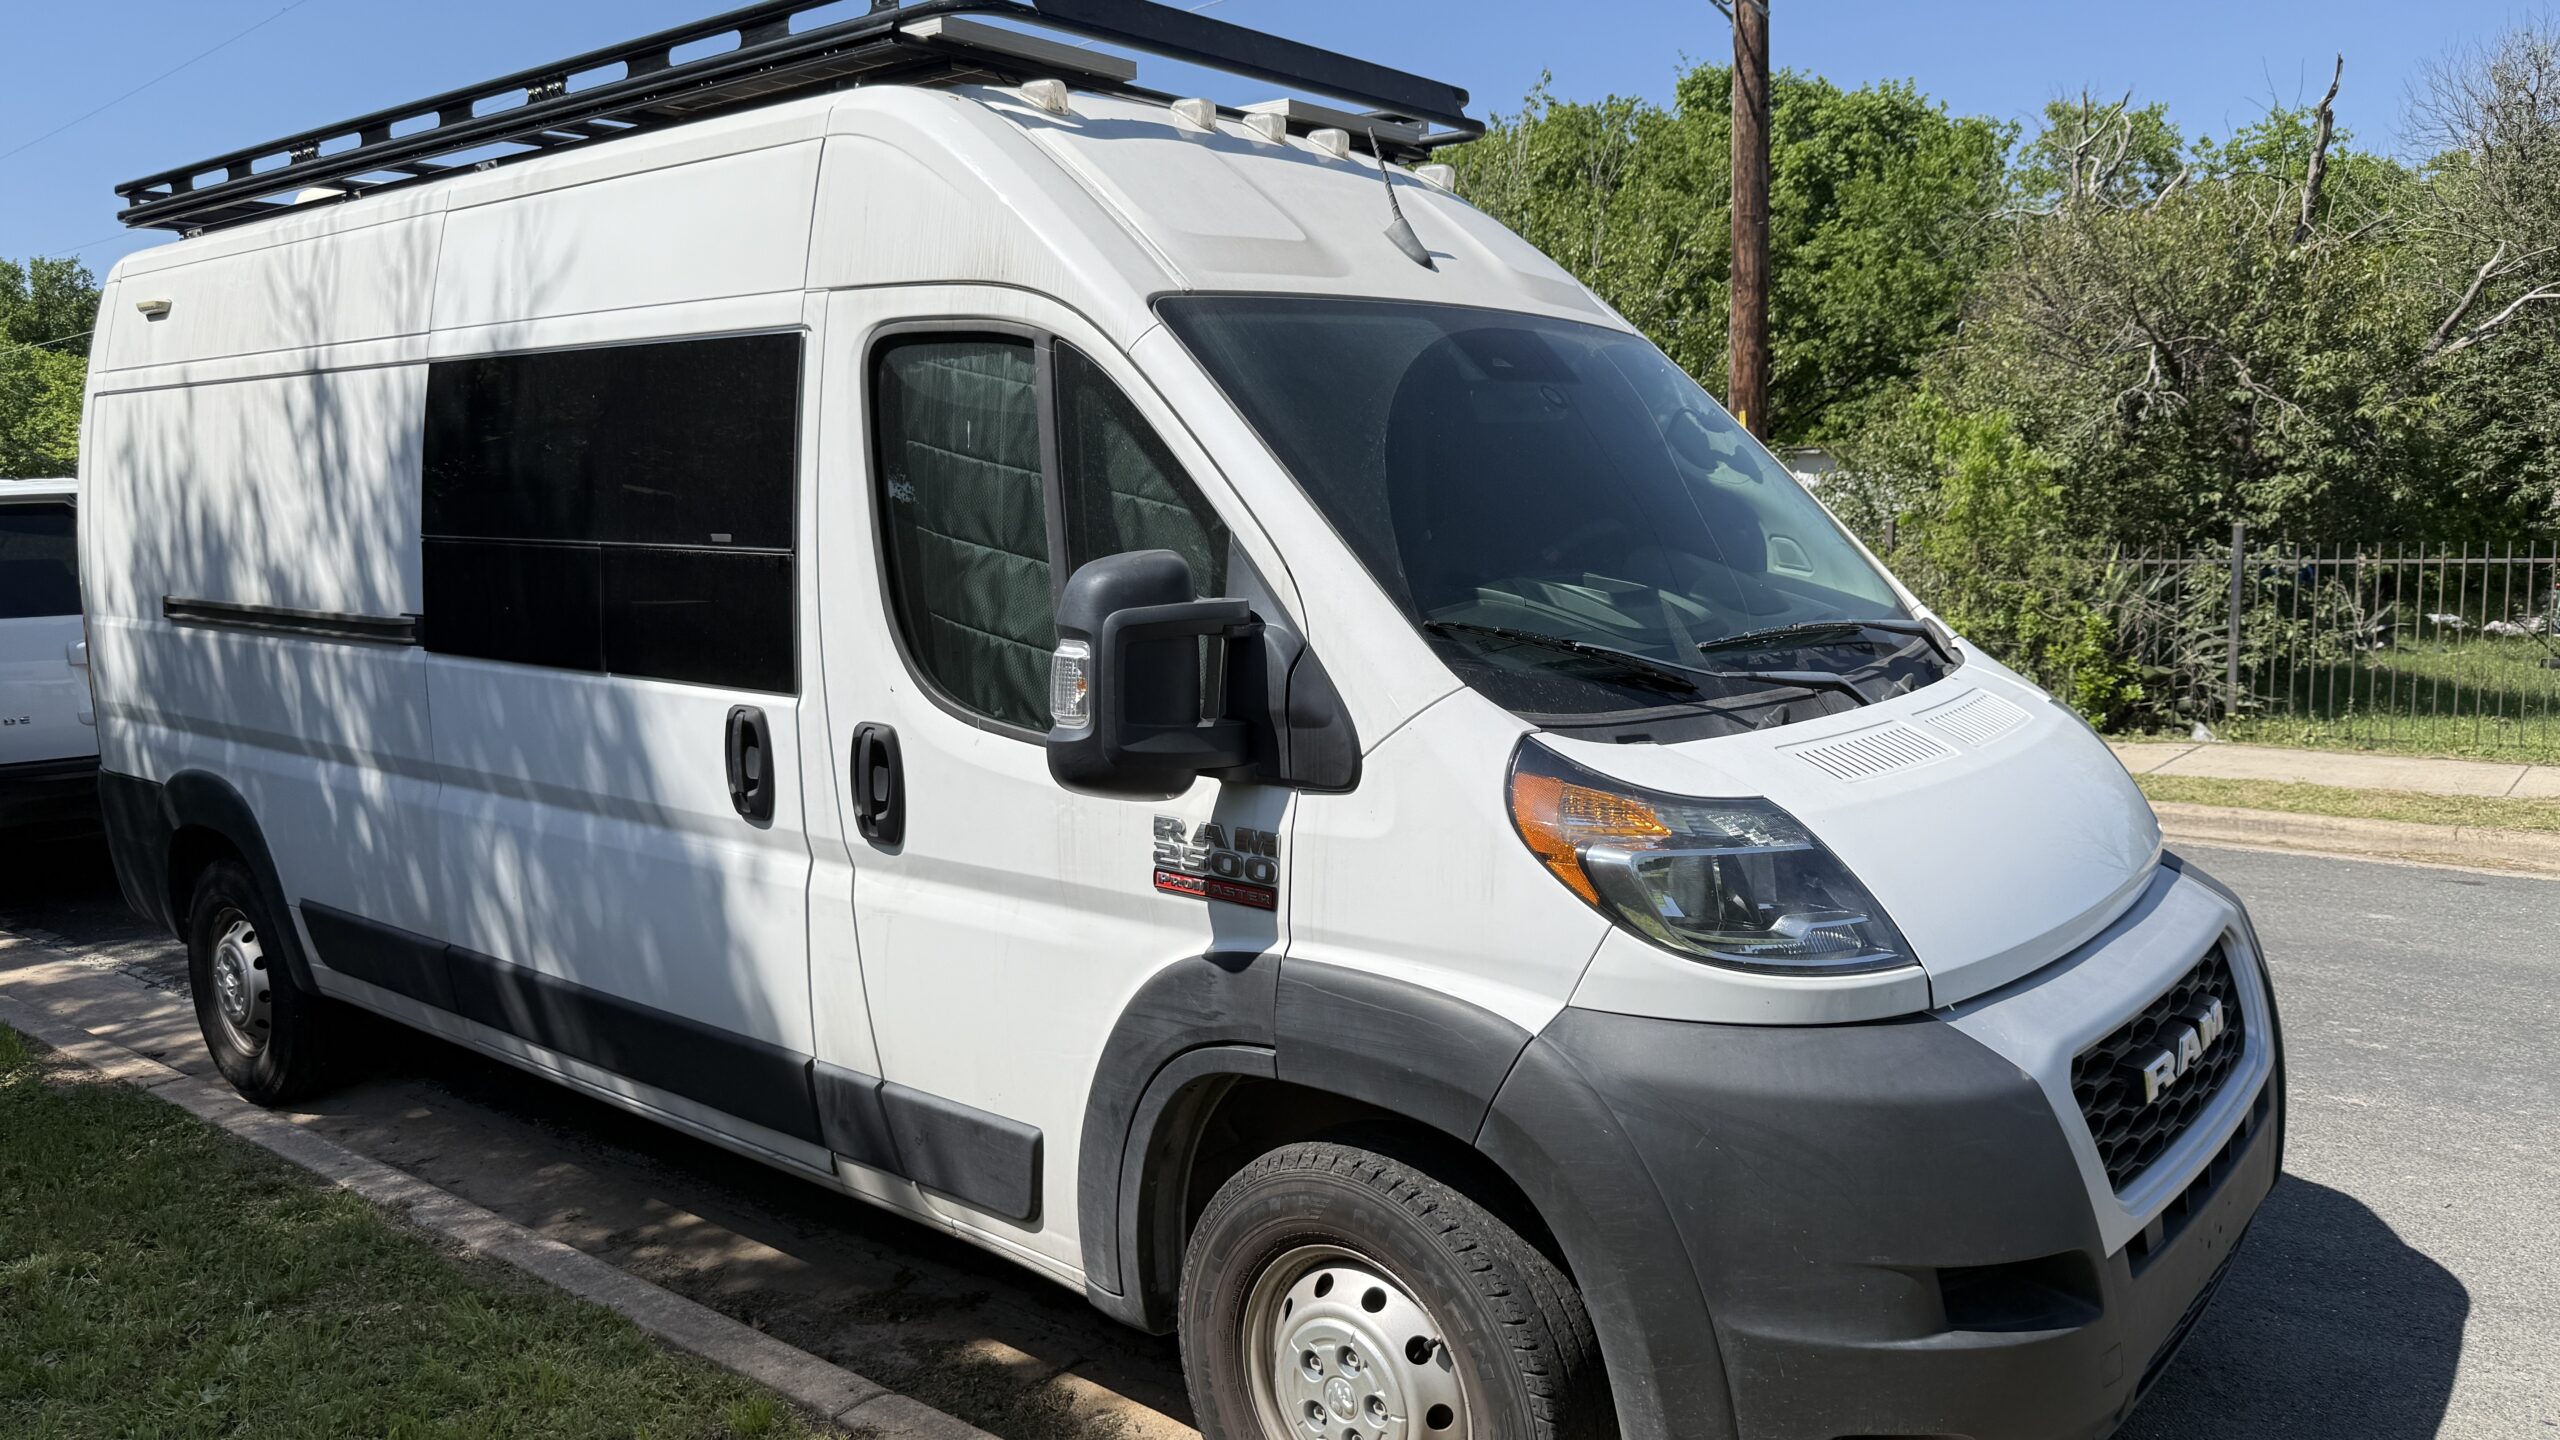
Hit the road with this 2022 Ram Promaster Camper Van. Perfect for full-time van life or weekend getaways, this van is about 75% complete, offering the opportunity to add your personal finishing touches while benefiting from all the included high-ticket features.
This camper van is for someone who has the skills (or YouTube videos) to bring it across the finish line and score high-end features without the full price tag.
This is not turnkey.
Why this is priced the way it is
This van includes over $20K in premium components and upgrades—plus the $68K van itself—but is priced significantly lower due to the unfinished elements. The price reflects the balance of value and remaining work. I’m not looking to upsell—I just want this to go to someone who sees the worth in what’s already done and is comfortable with what’s left. Also, check out that low mileage!
— 26,700 miles —
Electrical Setup
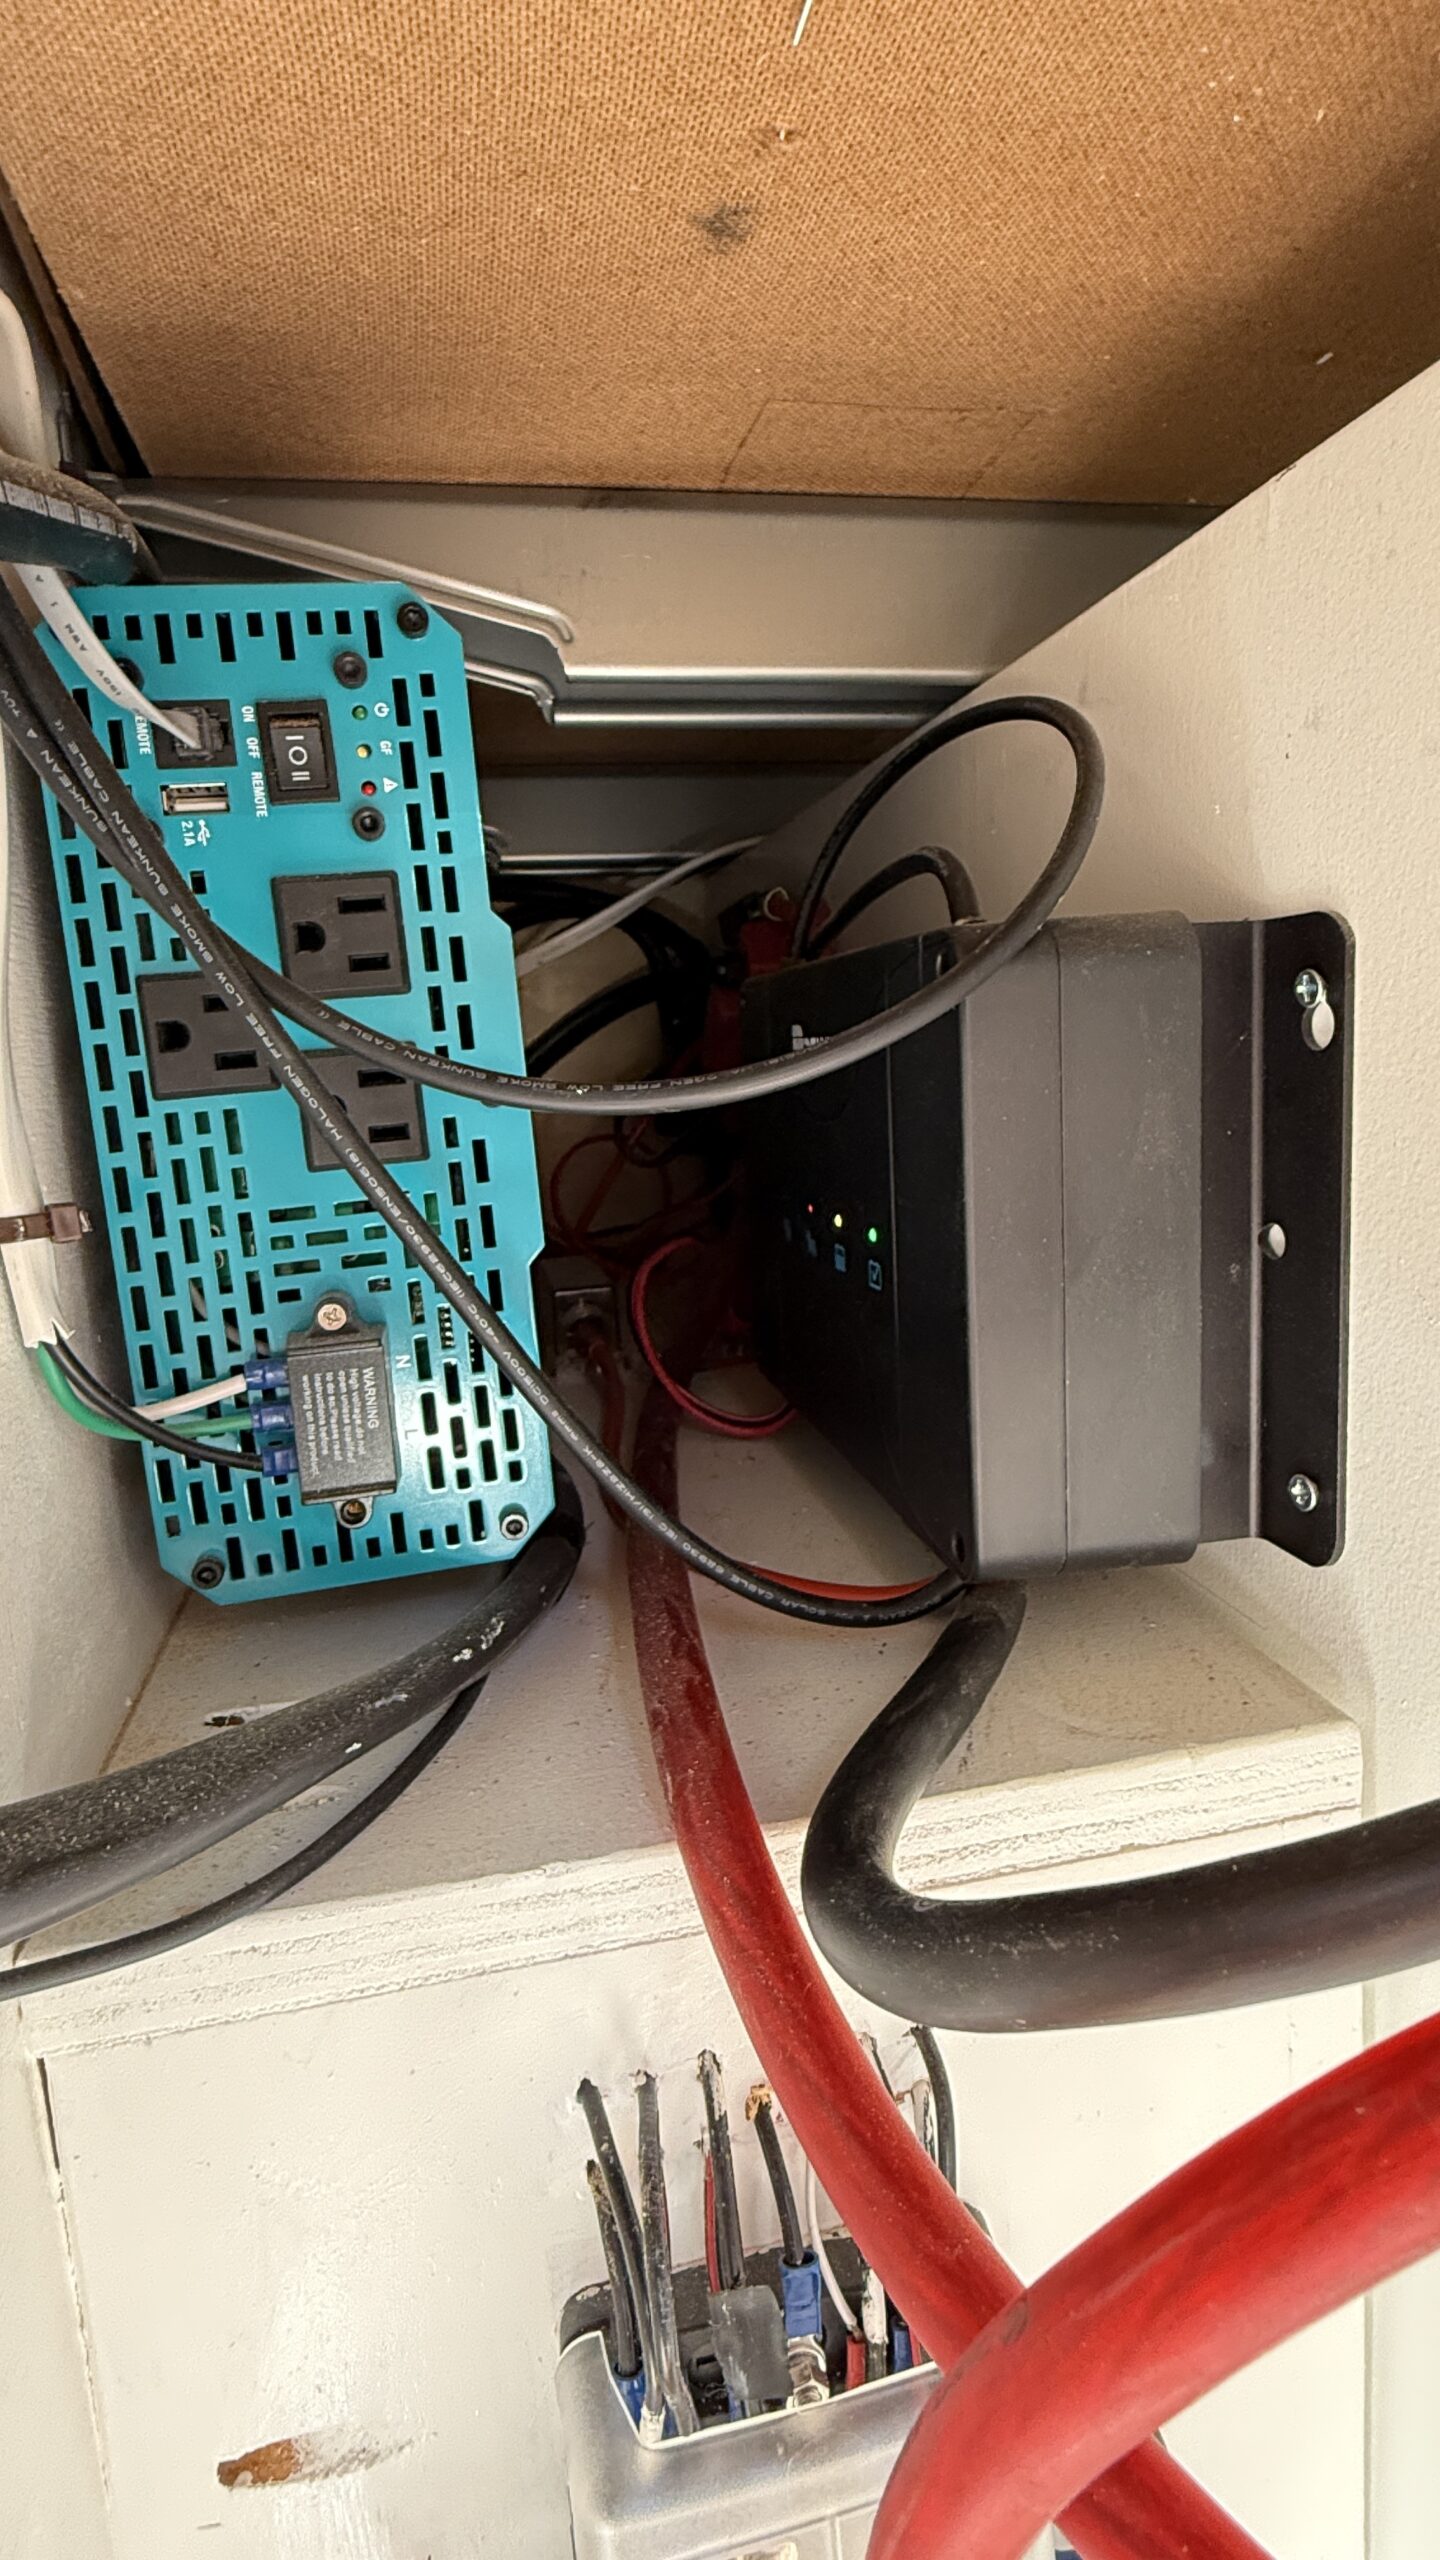
The average van-lifer has 200-400ah, from what I’ve seen, but I wanted reliability, so I went for more. The system is not complete – there are 12V wires available to attach lights, outlets, and switches as desired.
Details:
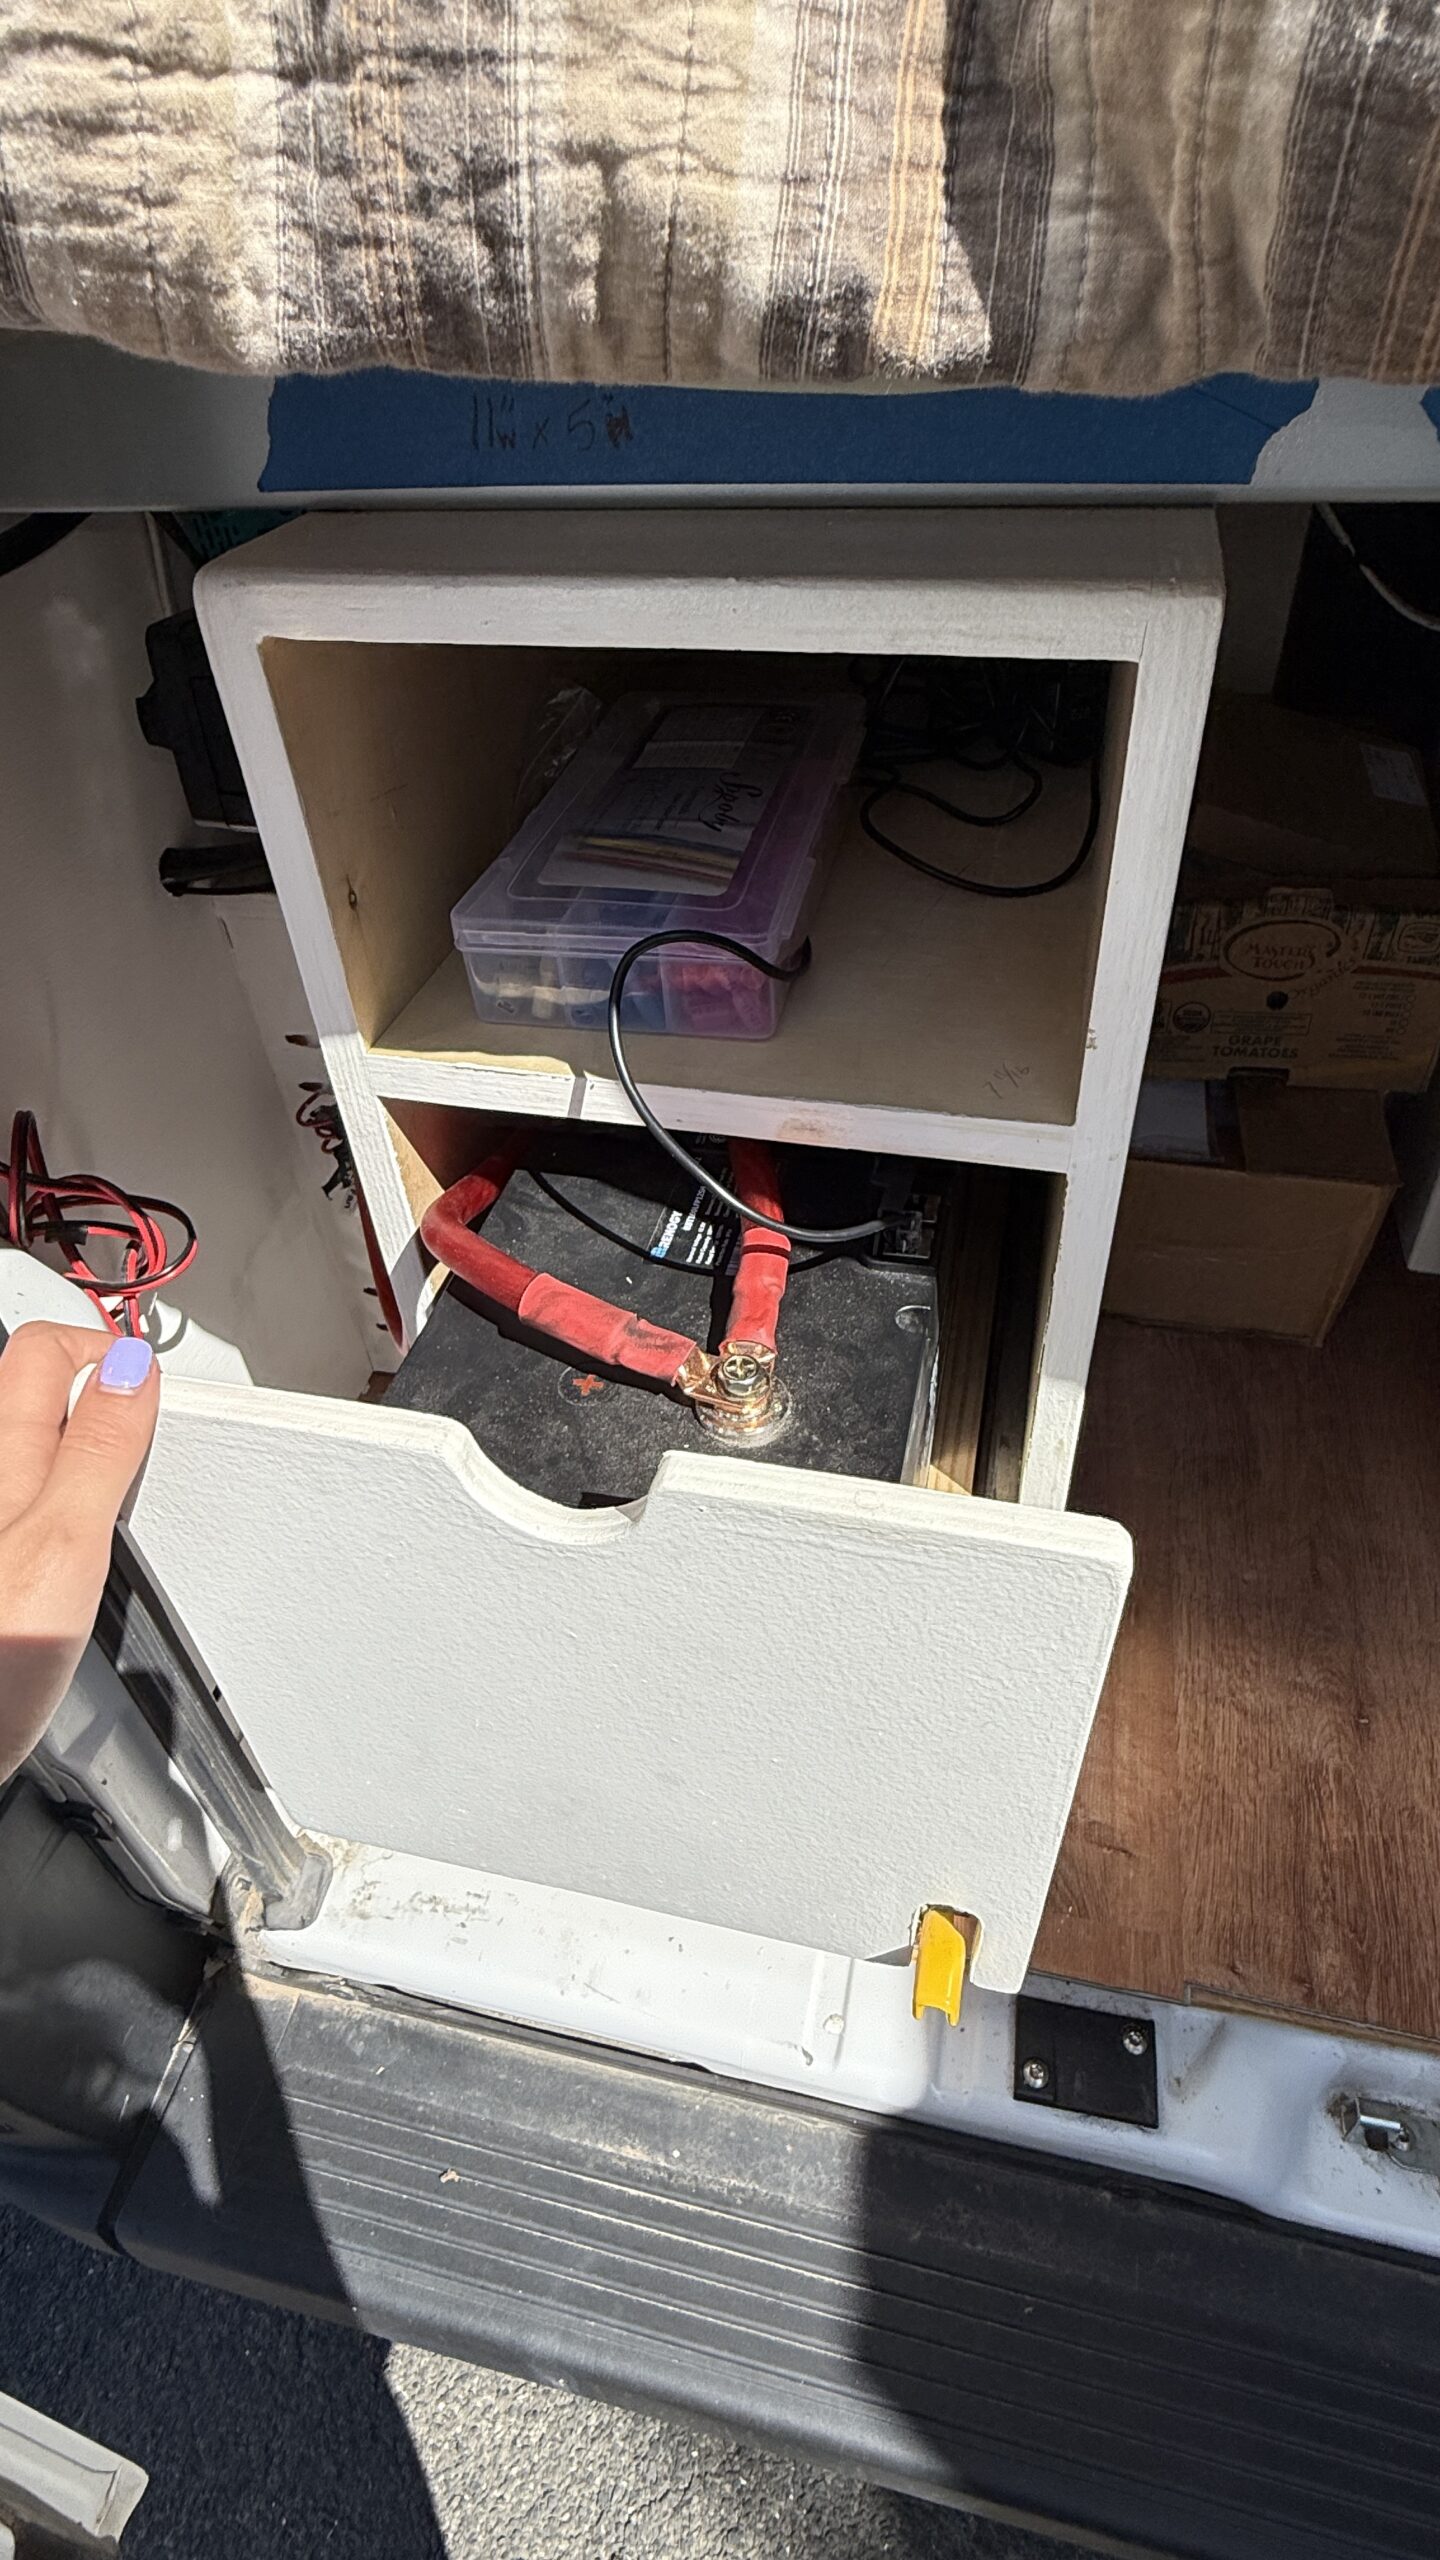
- 600ah of smart lithium iron self-warming batteries by Renogy
- Renogy solar panels – 200 watts (plus an additional 200 watts, if desired; not installed)
- 3000-watt Renogy inverter
- 12V Renogy 50-amp DC-DC charger with MPPT
Retailing at a total of ~$5,430
Kitchen Setup
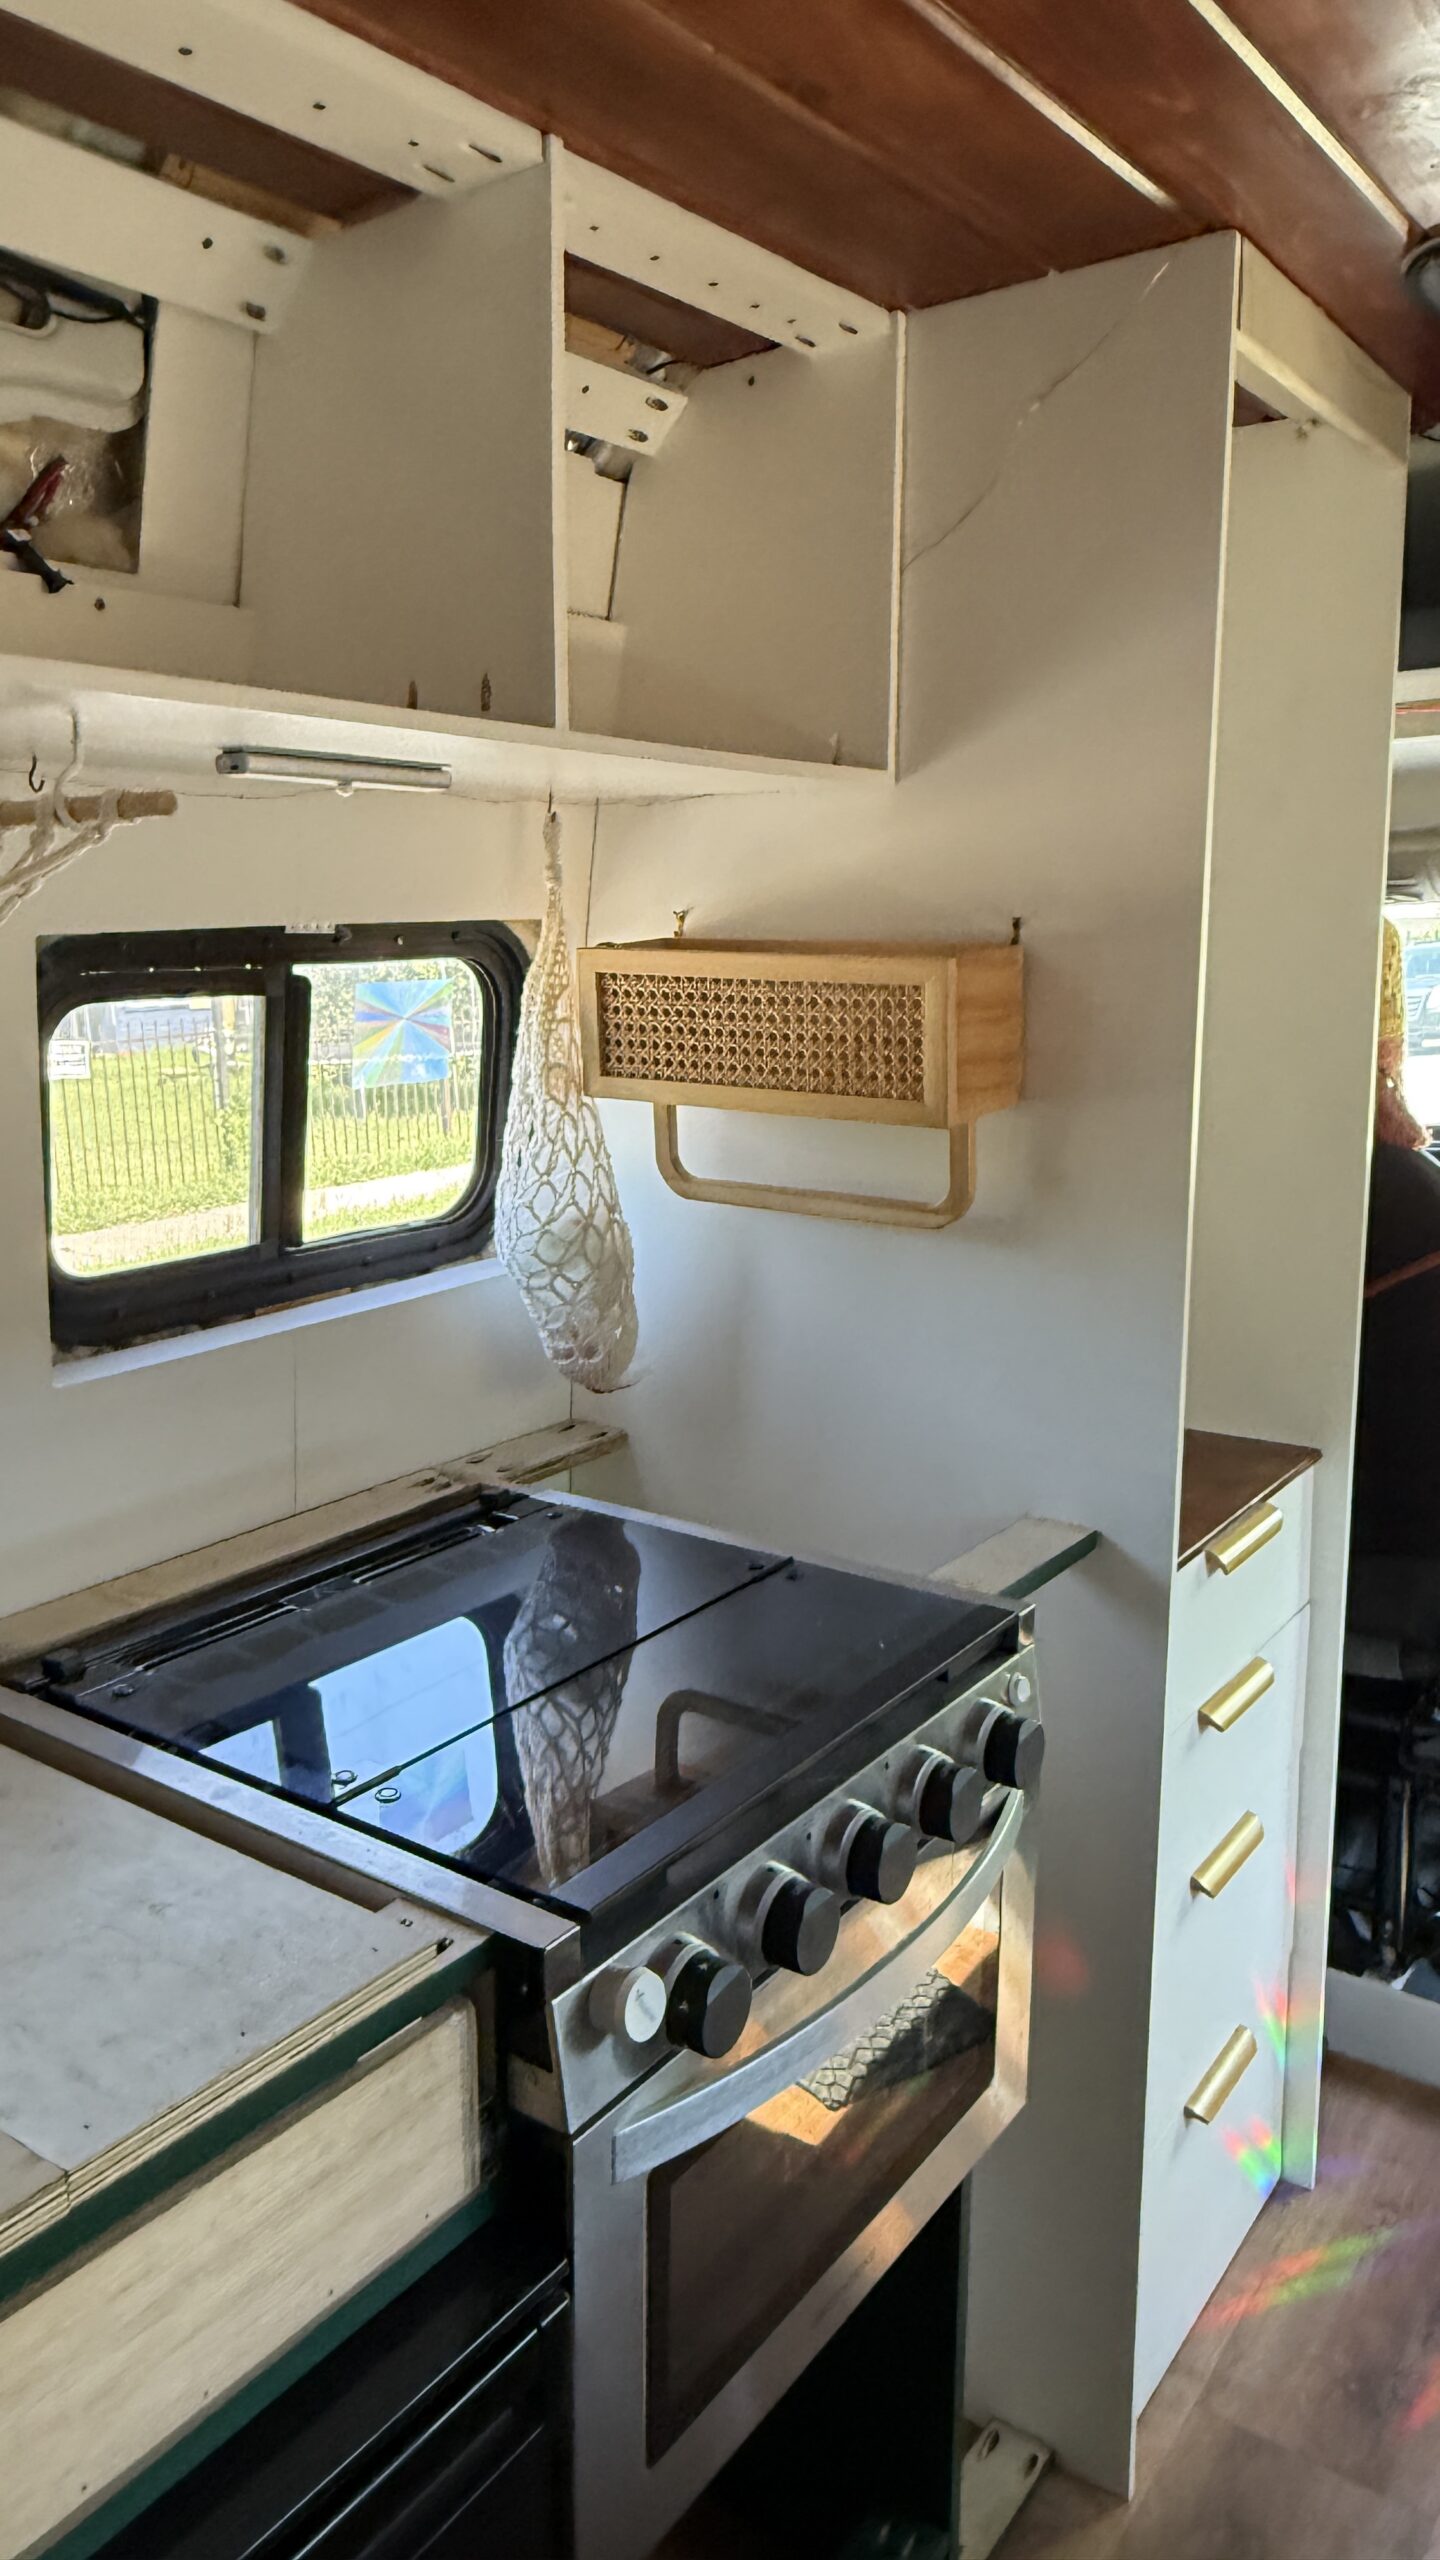
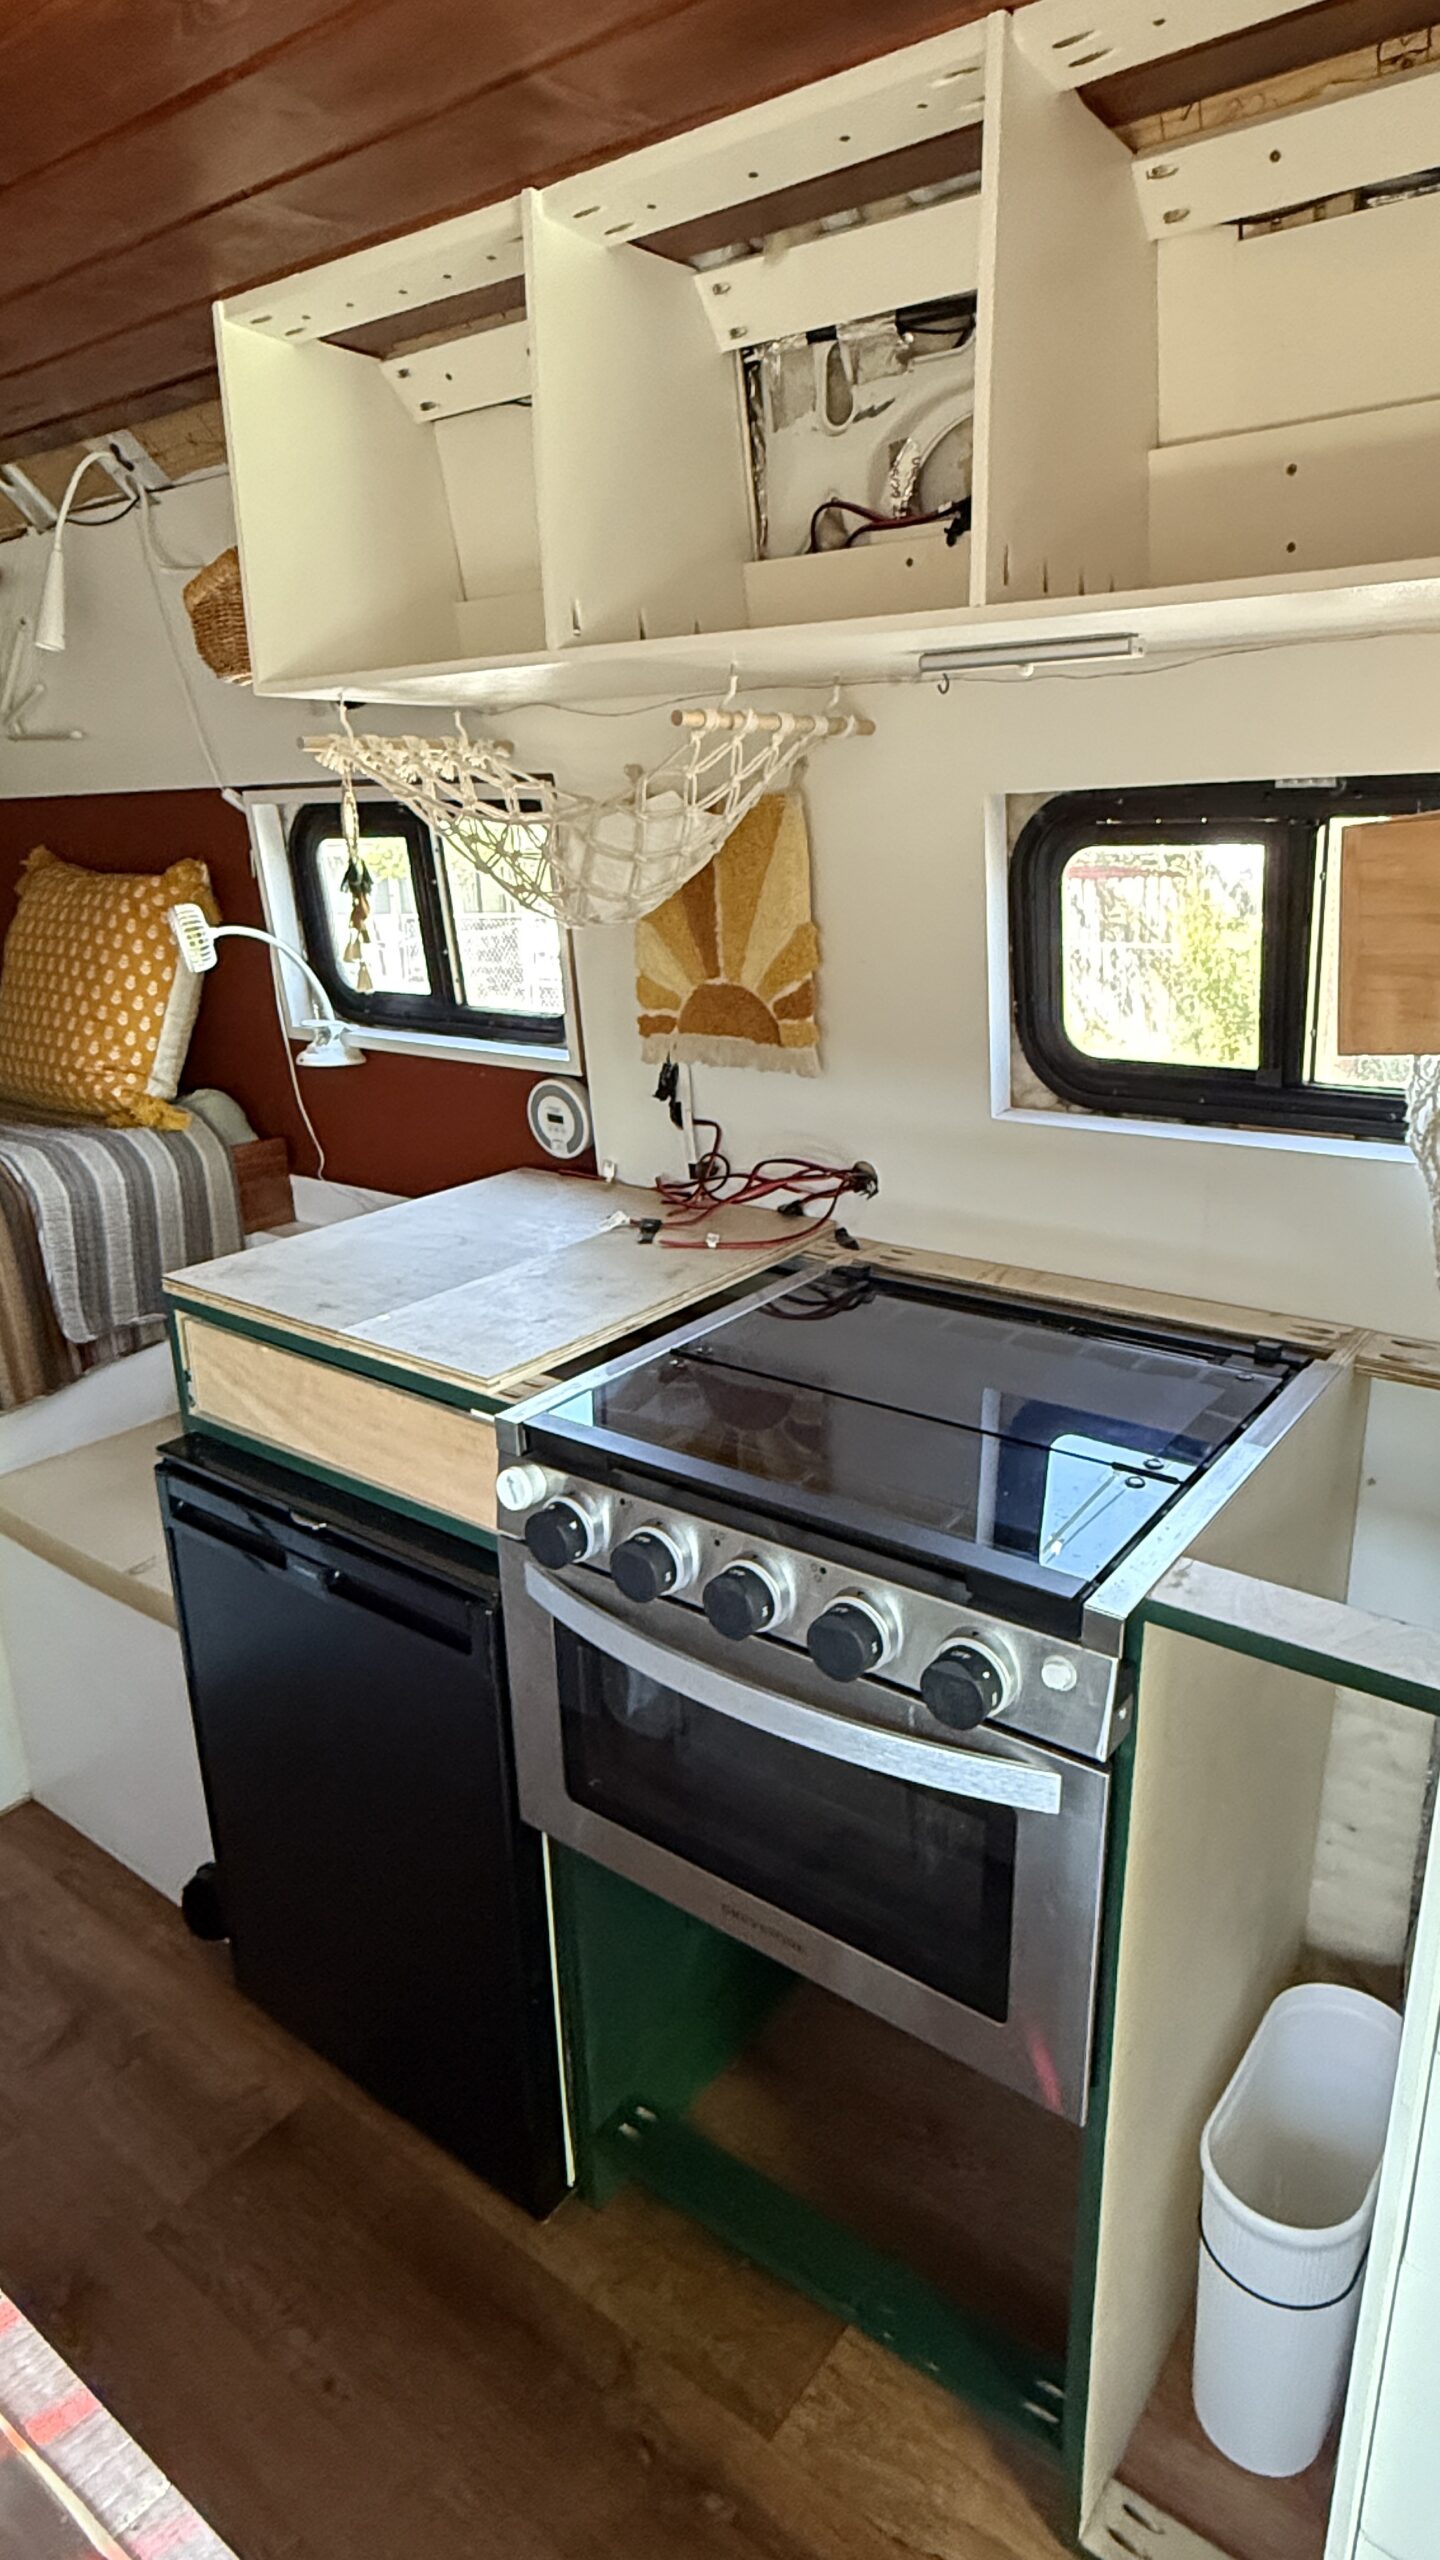
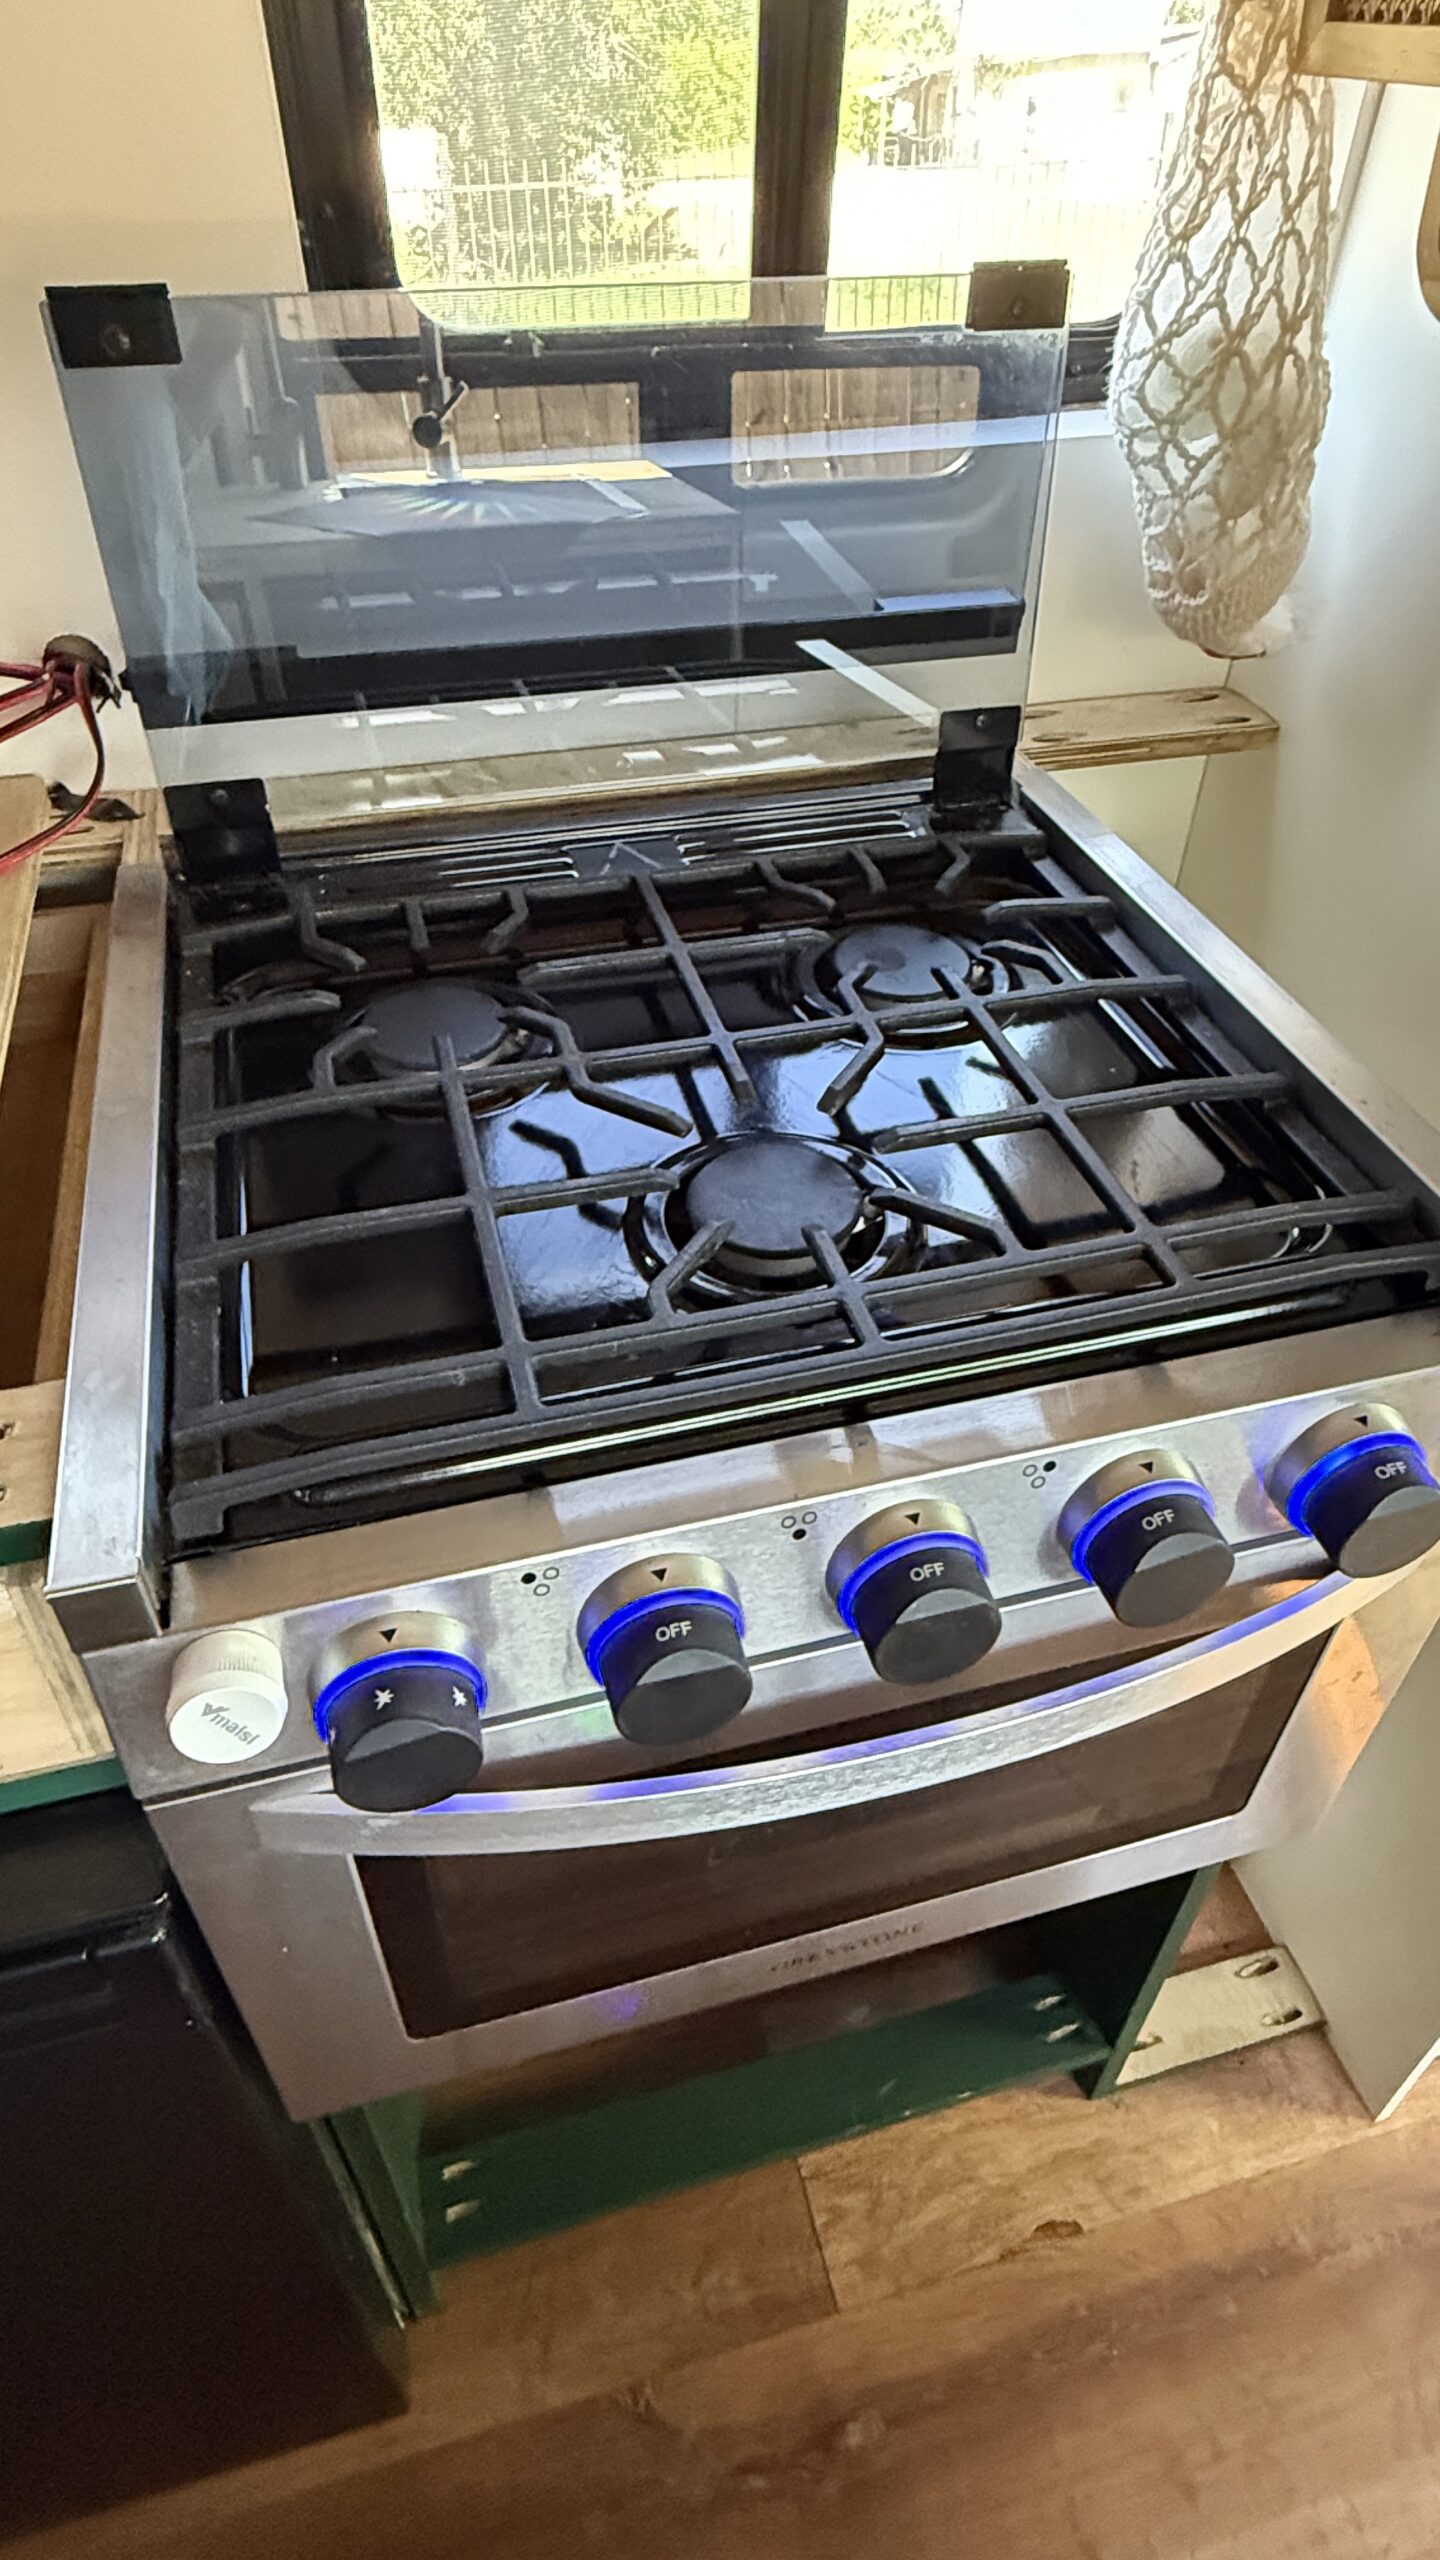
I opted for a propane oven and 3-burner cooktop over the common 2-burner induction cooktop which heats slowly and inconsistently. I love being able to bake cookies to share with friends at campsites. And propane lasts forever! A 20lb tank has lasted me about 1 year. Plus, it doesn’t require electricity!
Details:
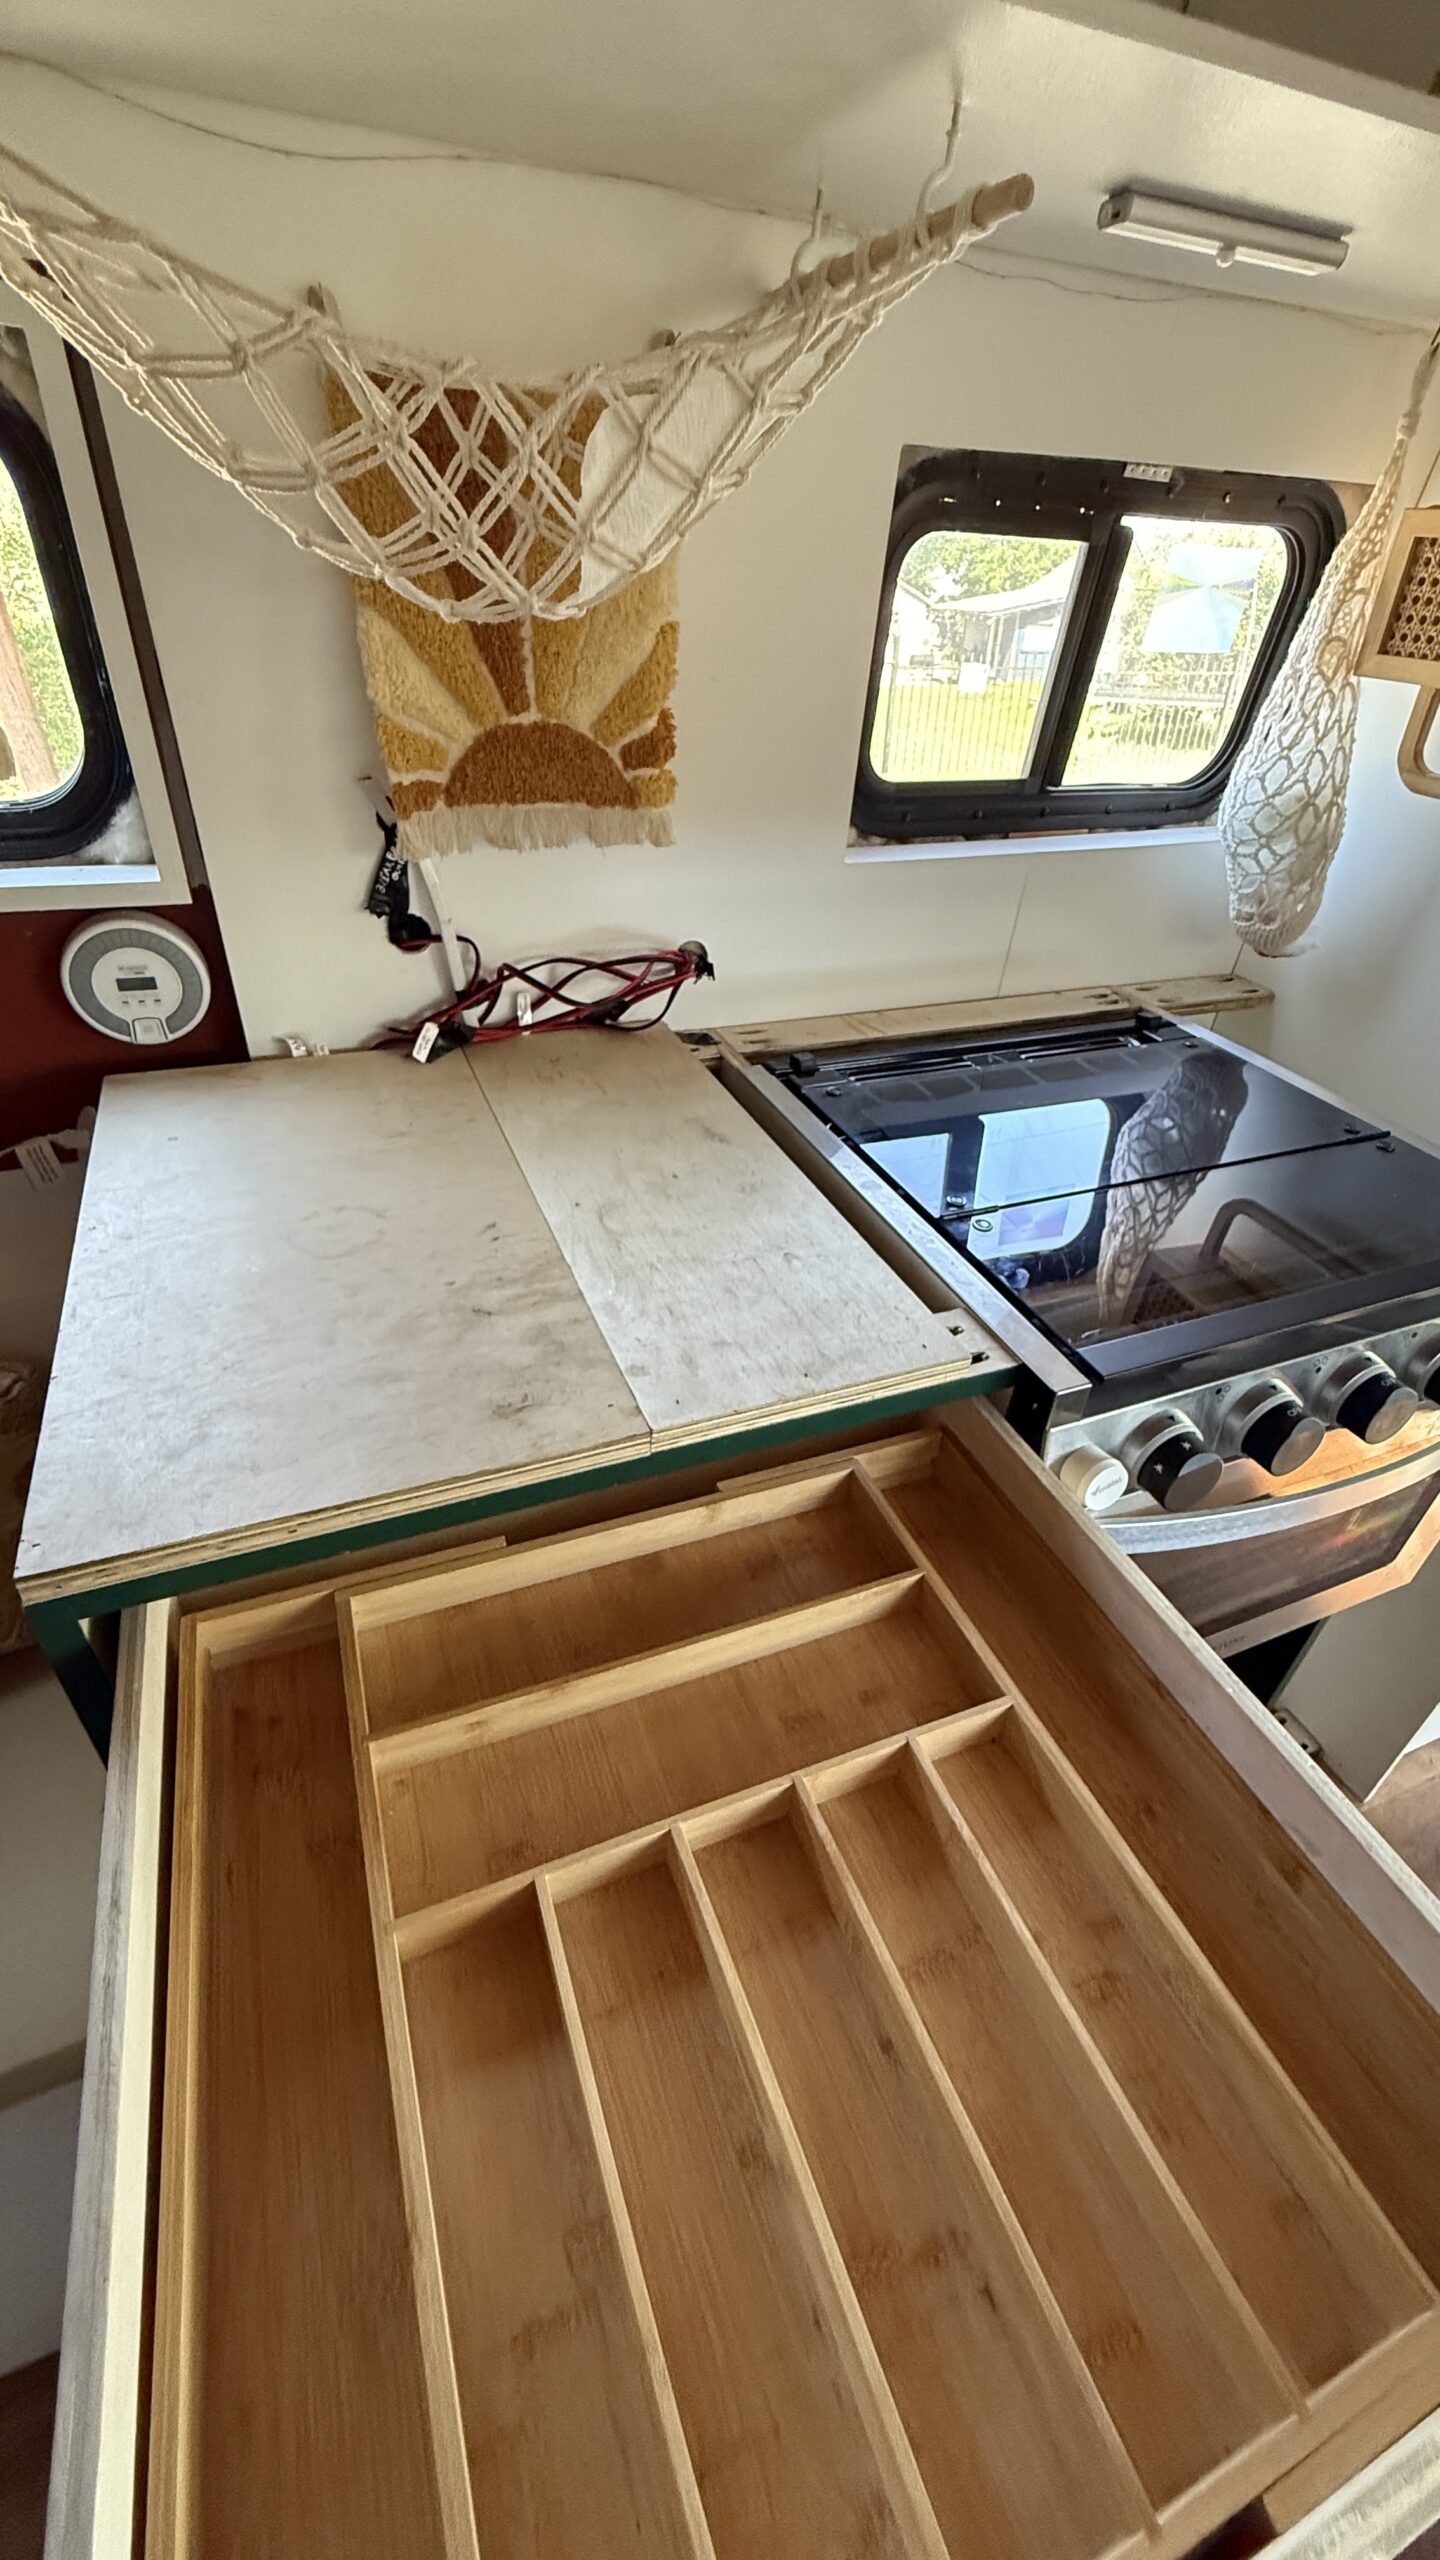
- RecPro 3-burner propane stove and 17” oven
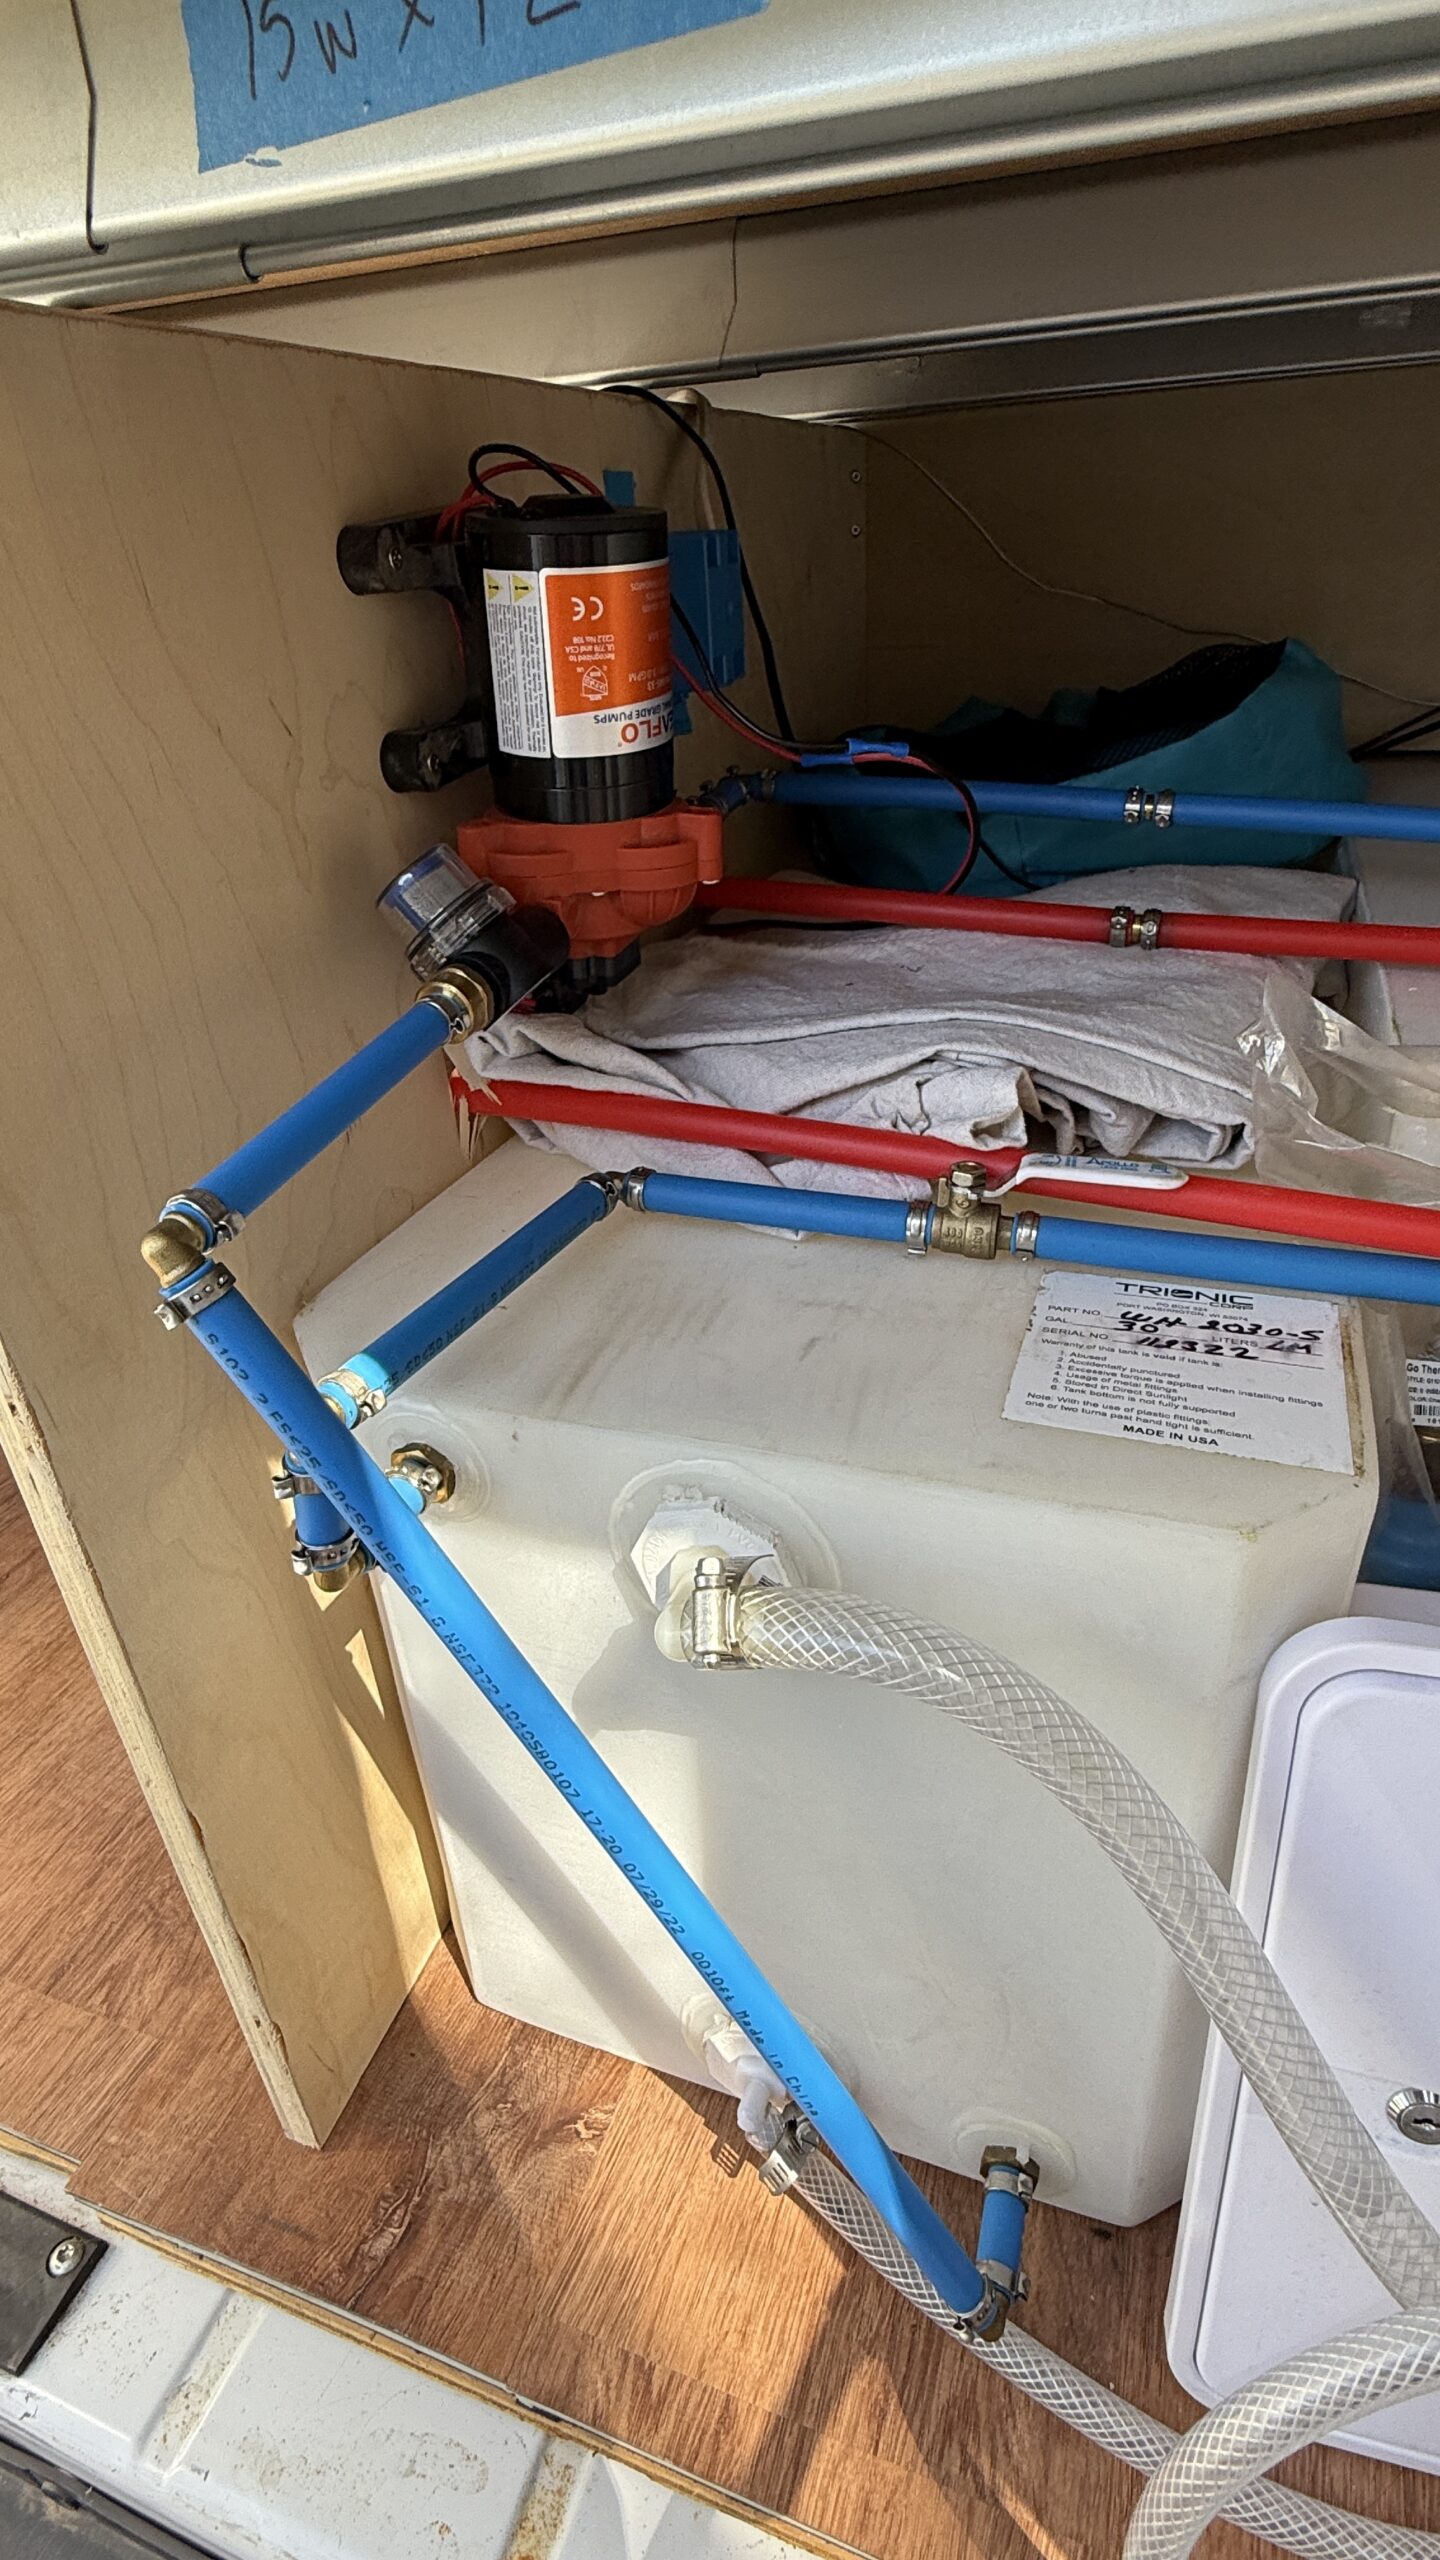
- 30 gallon freshwater tank (I got this custom made to fit under the bed)
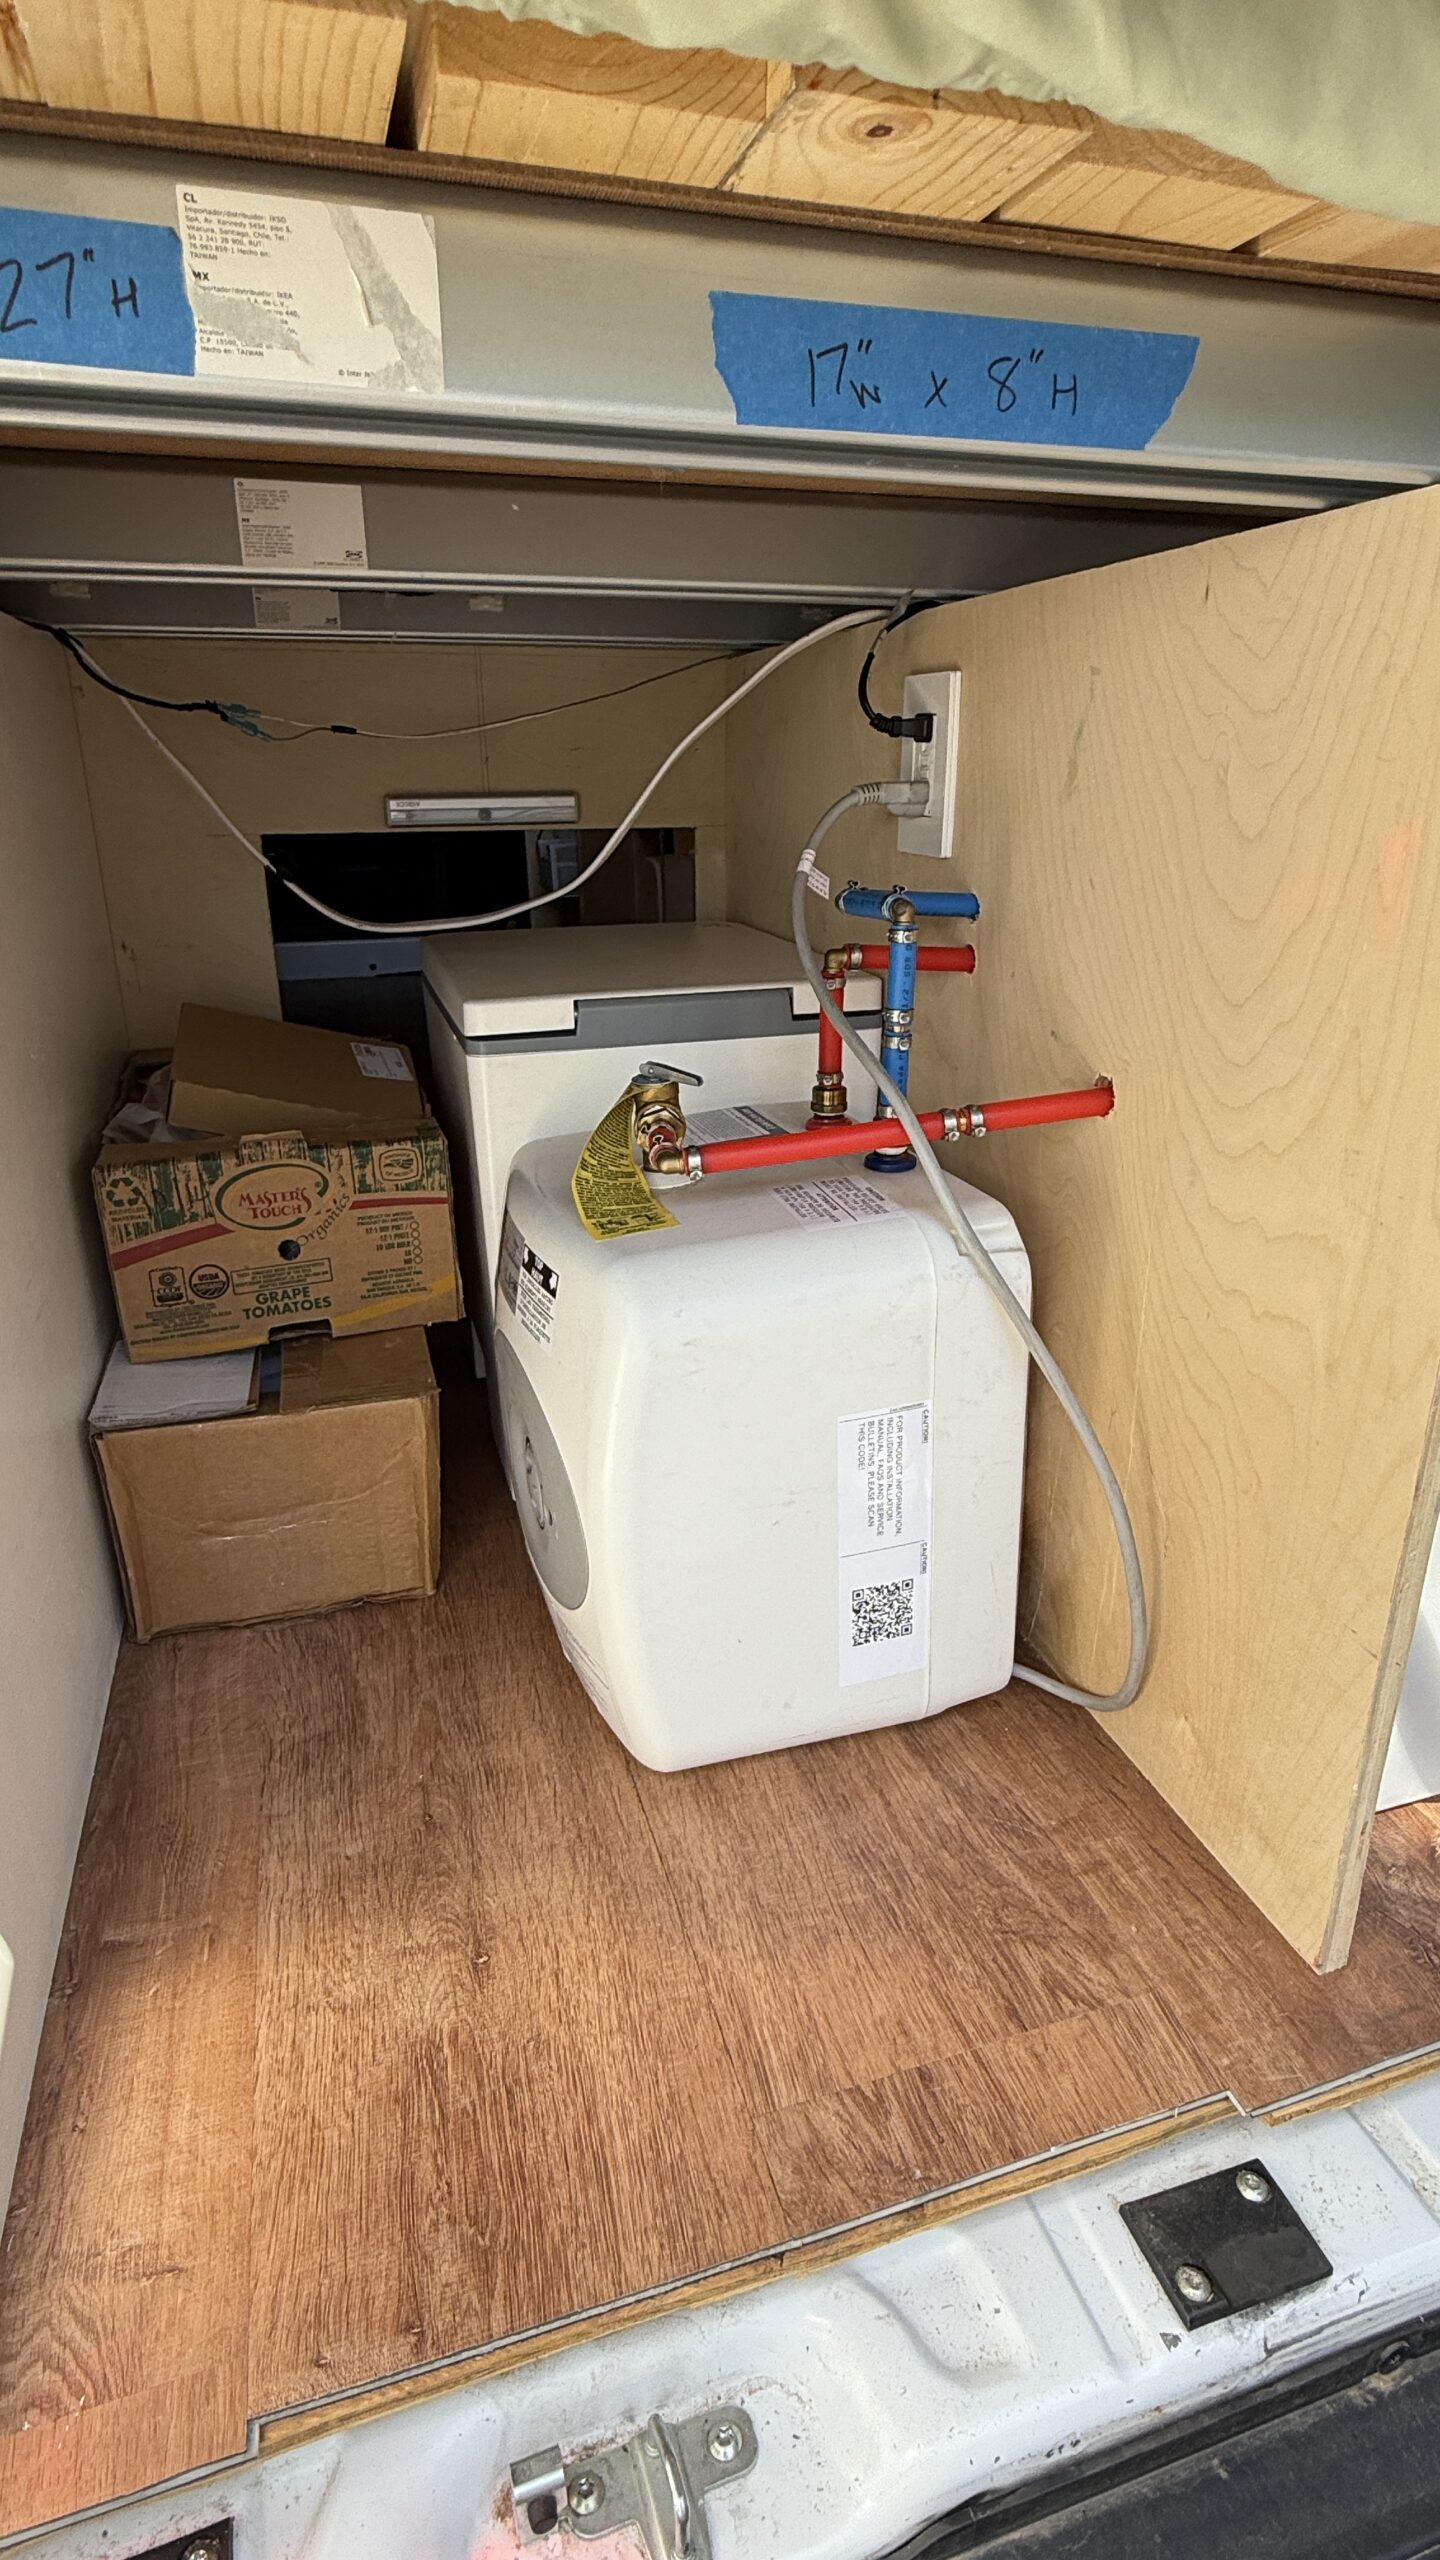
- 4 gallon water heater (unused)
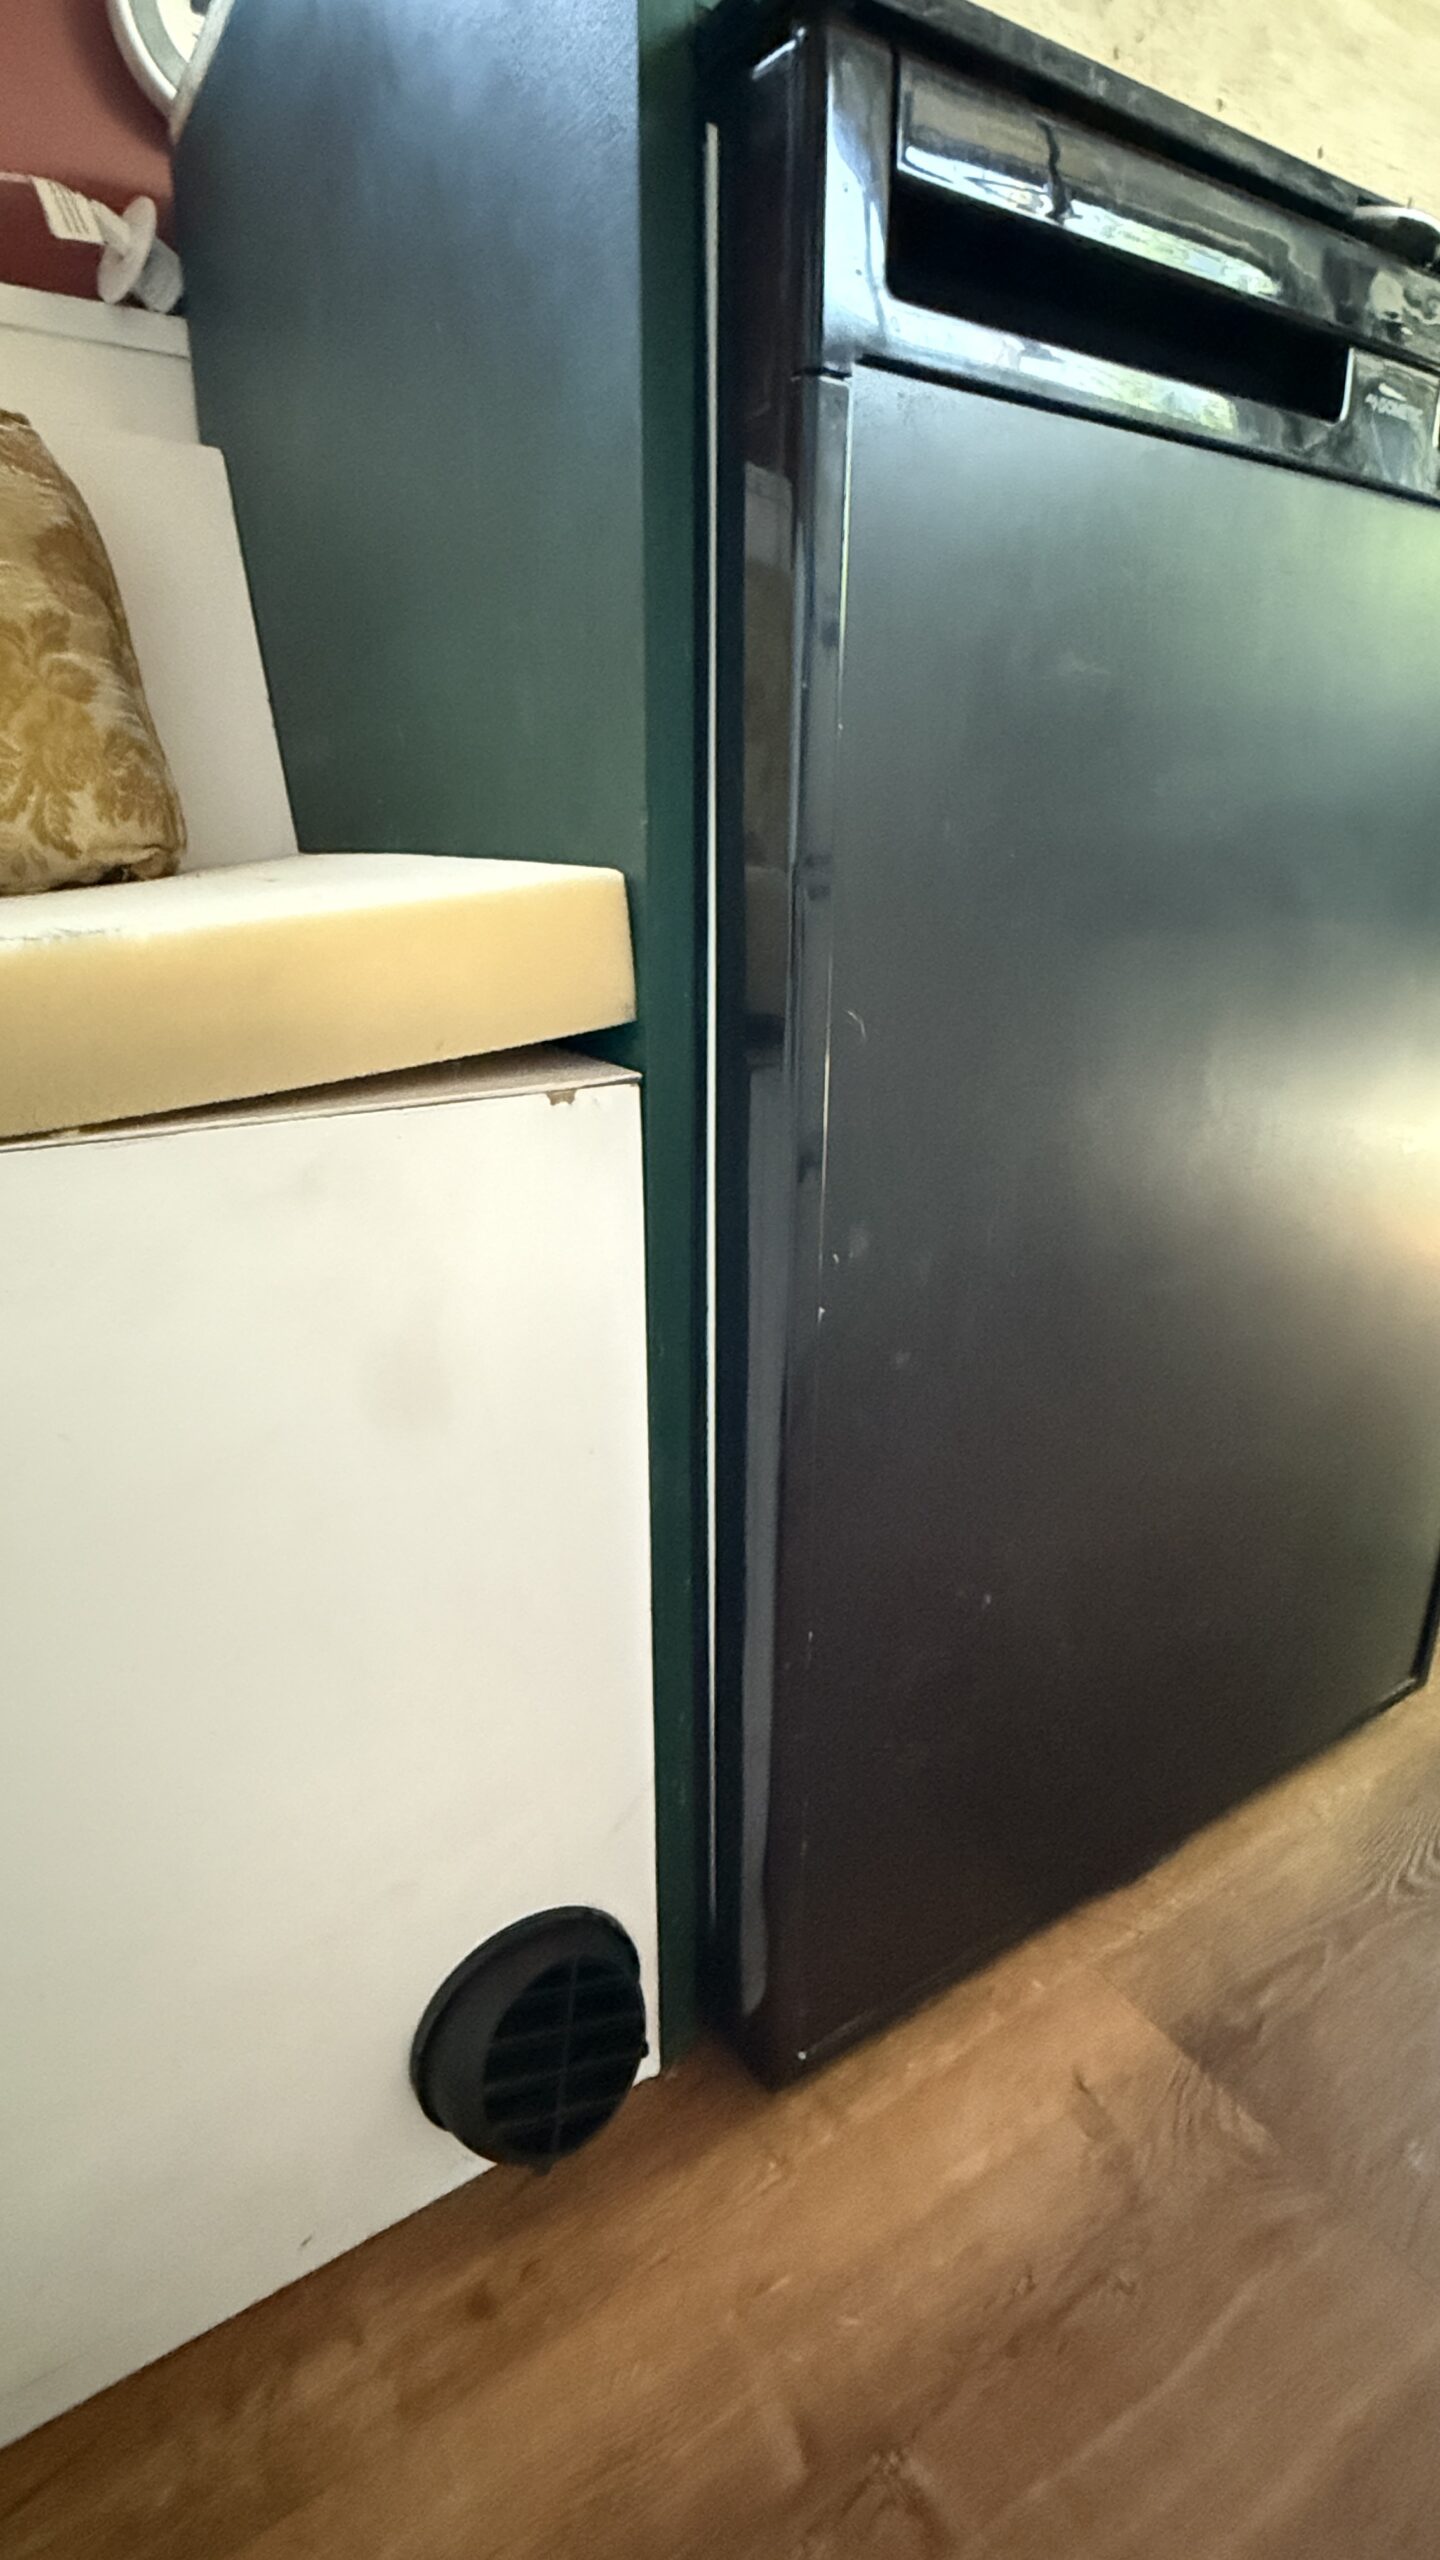
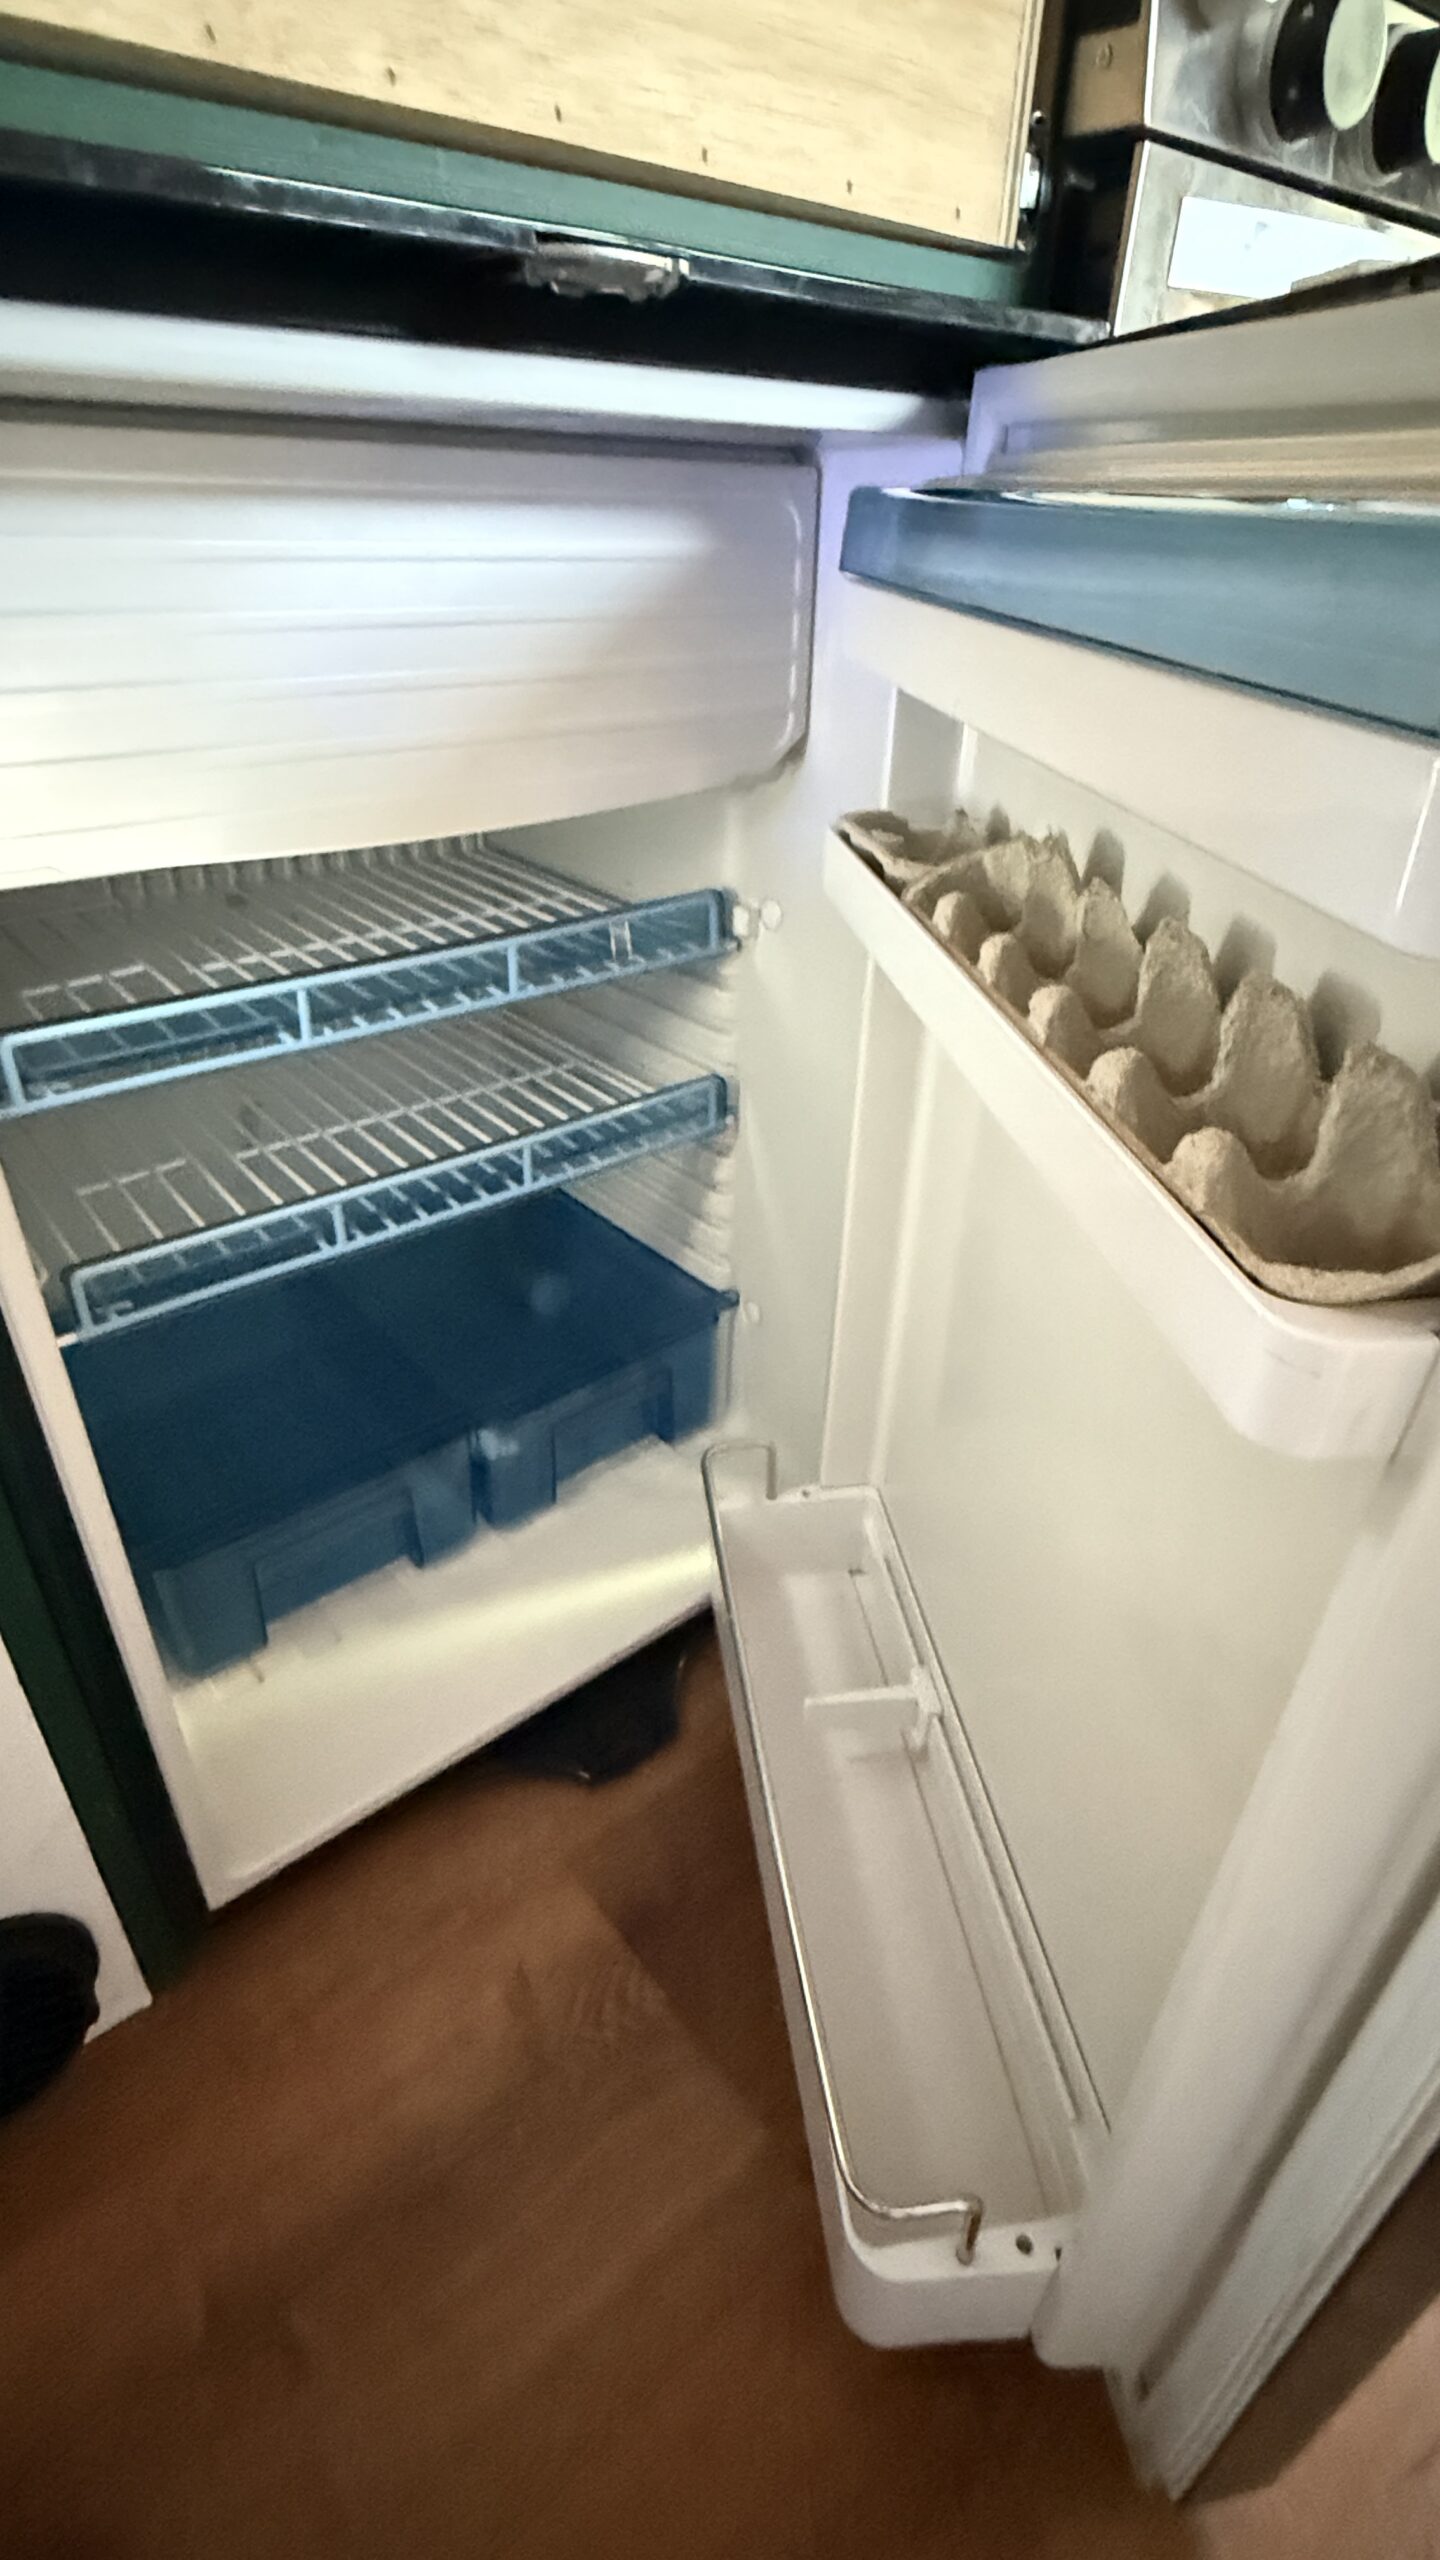
- Premium Dometic CRX refrigerator – I never ran out of space for my cold foods and drinks. I love this fridge.
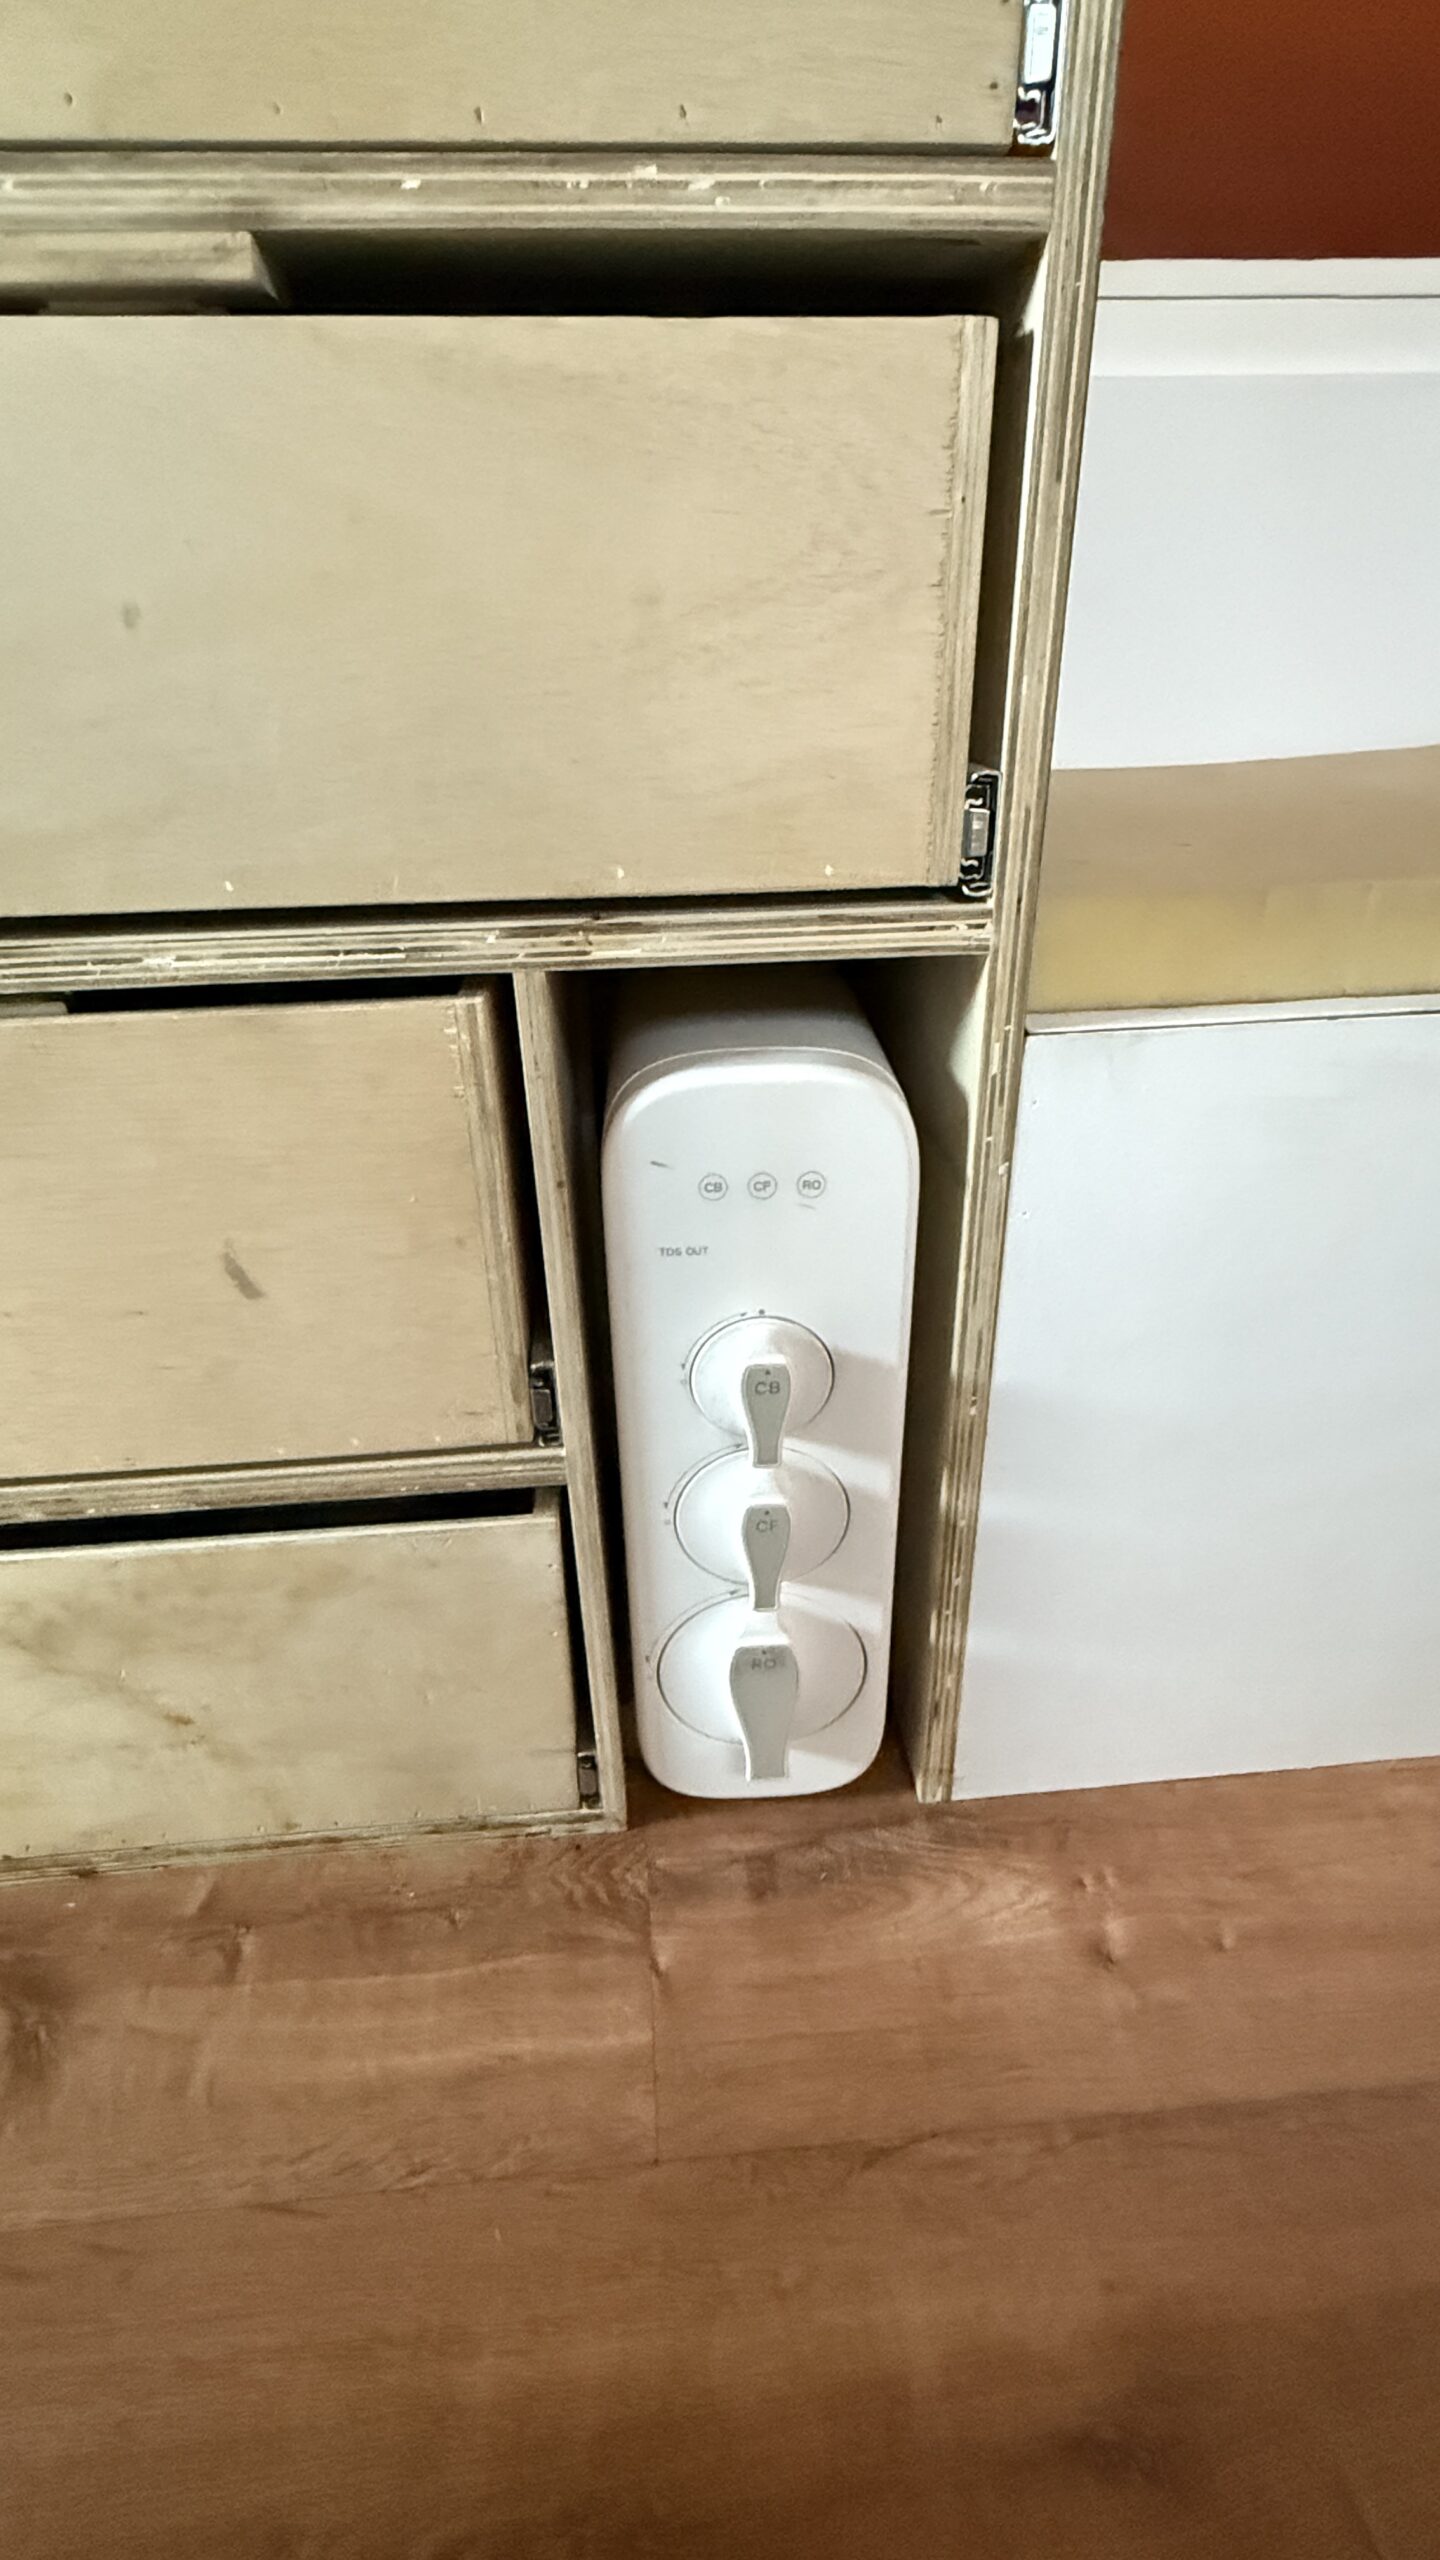
- Waterdrop reverse osmosis water filter system, with separate faucet (UV filter needs replacement or ditched due to a gasket, causing small leak)
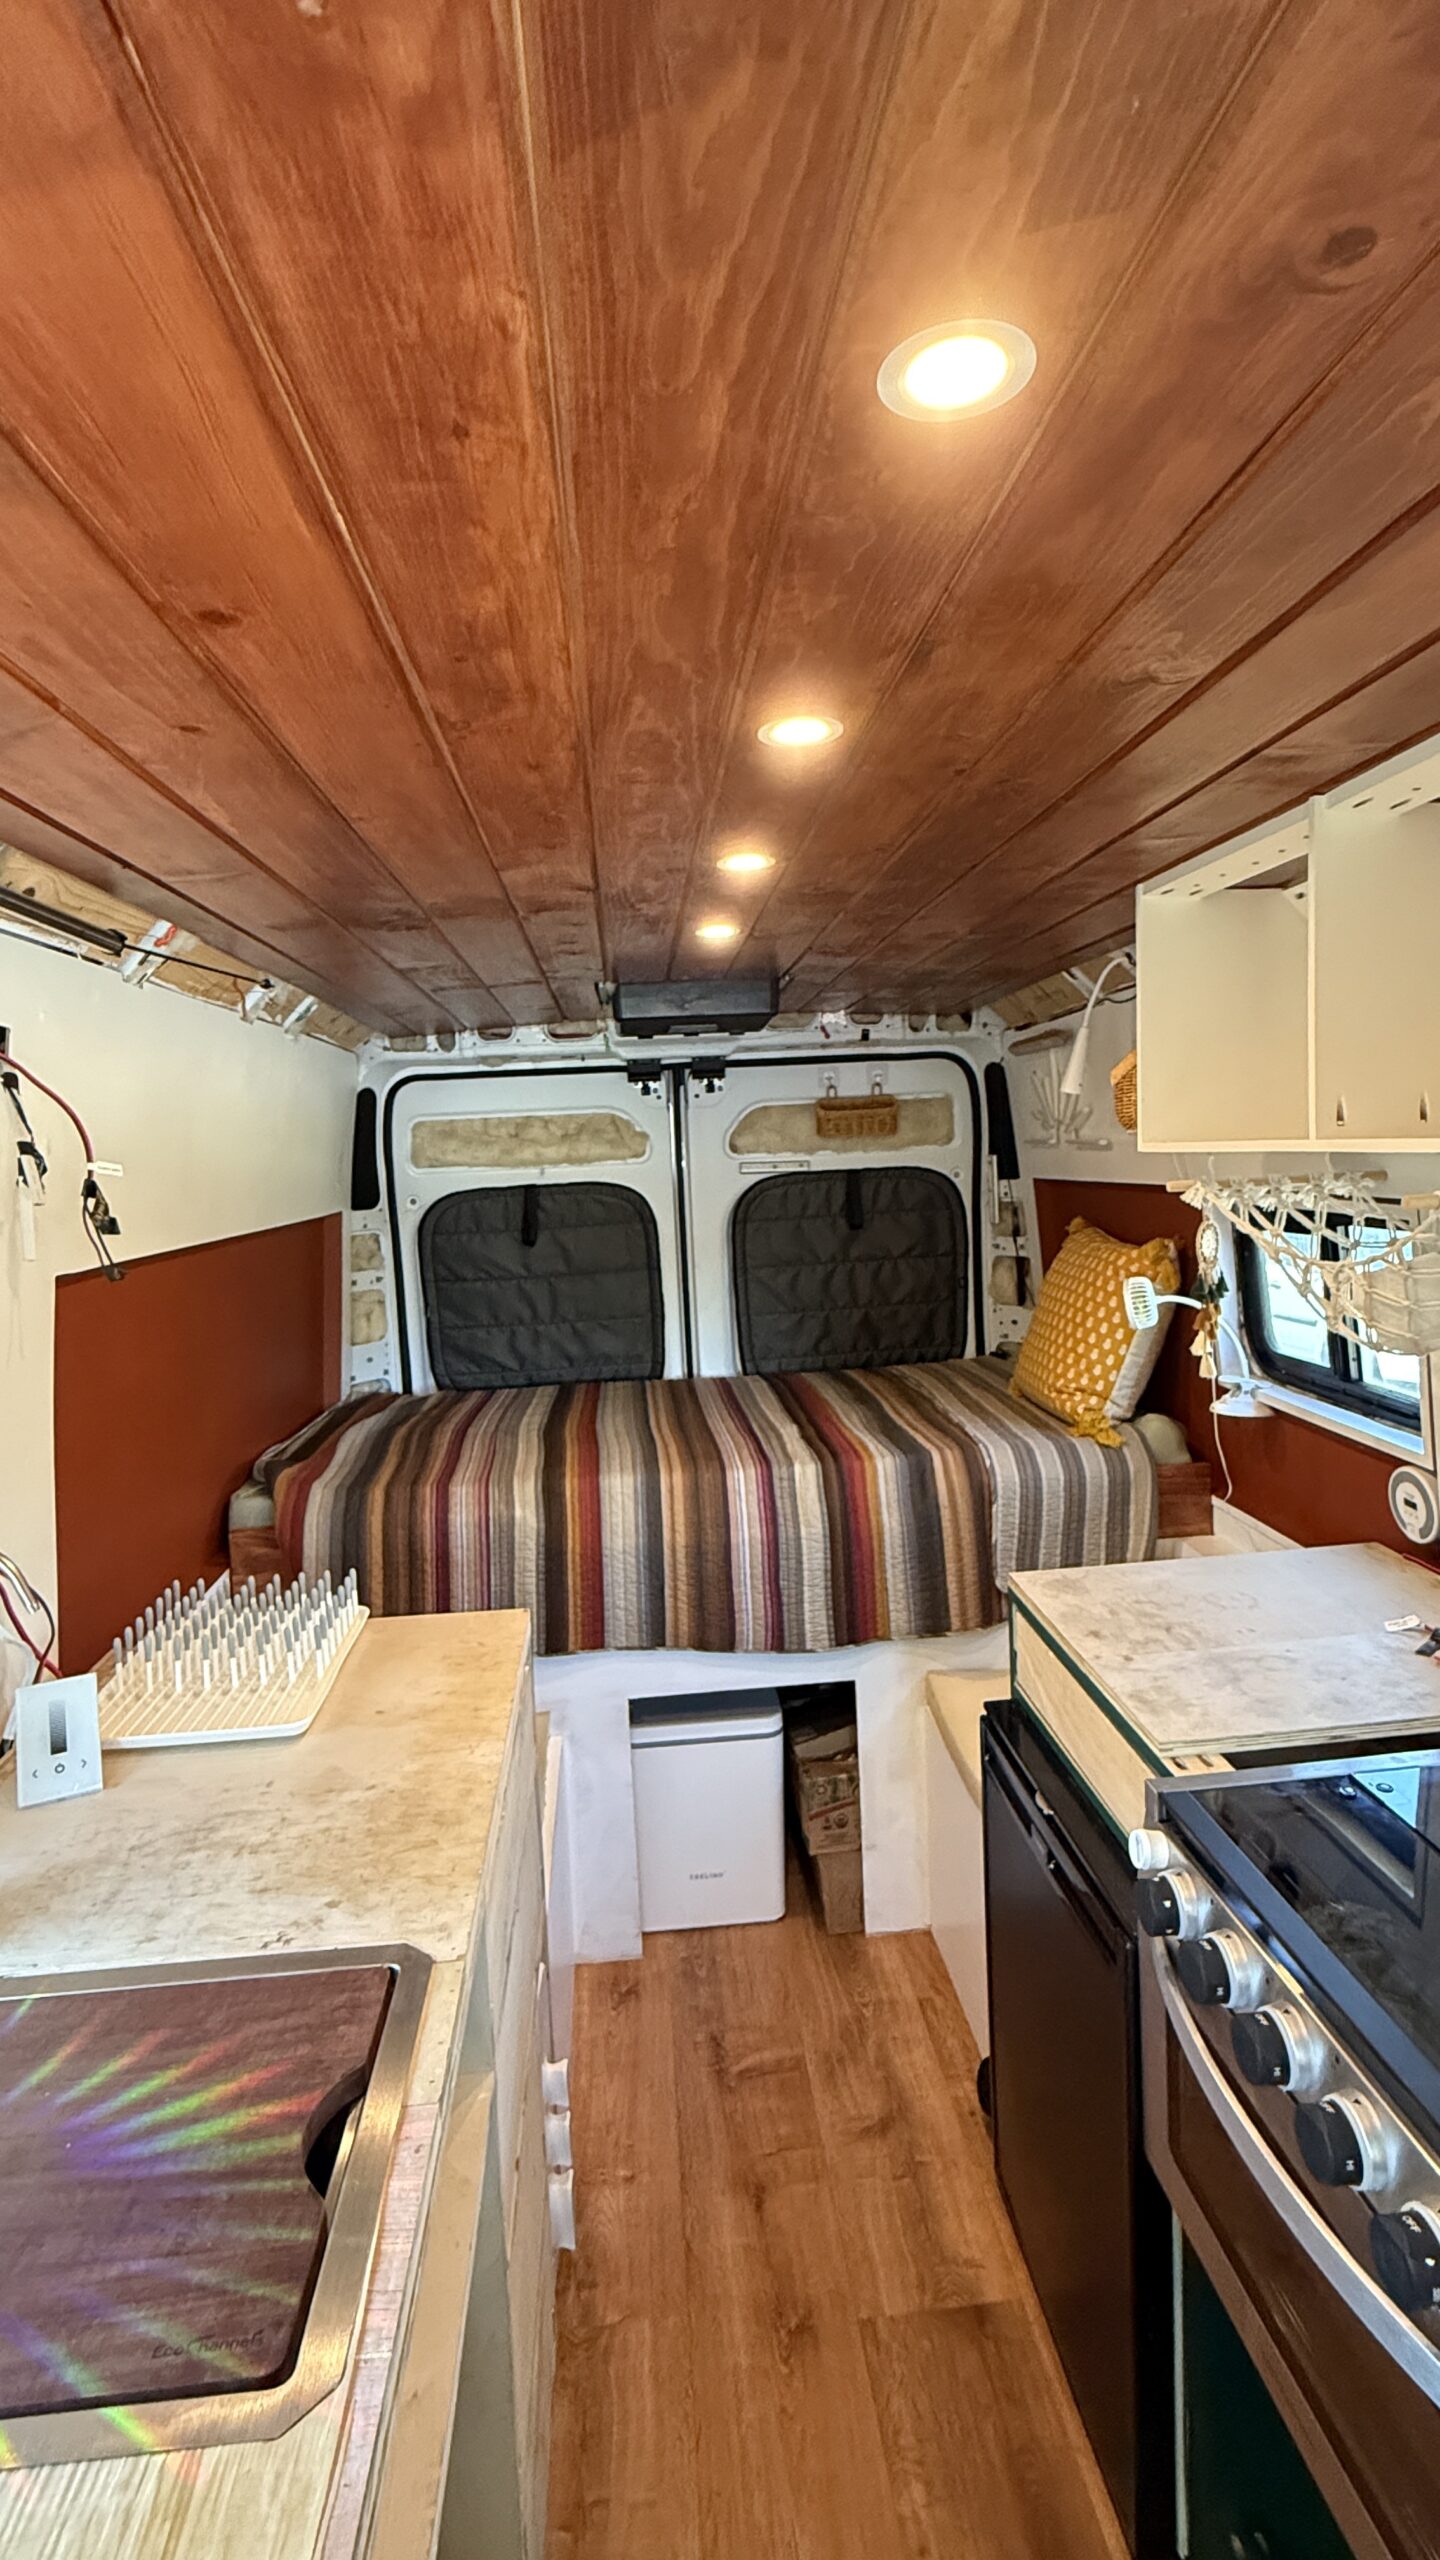
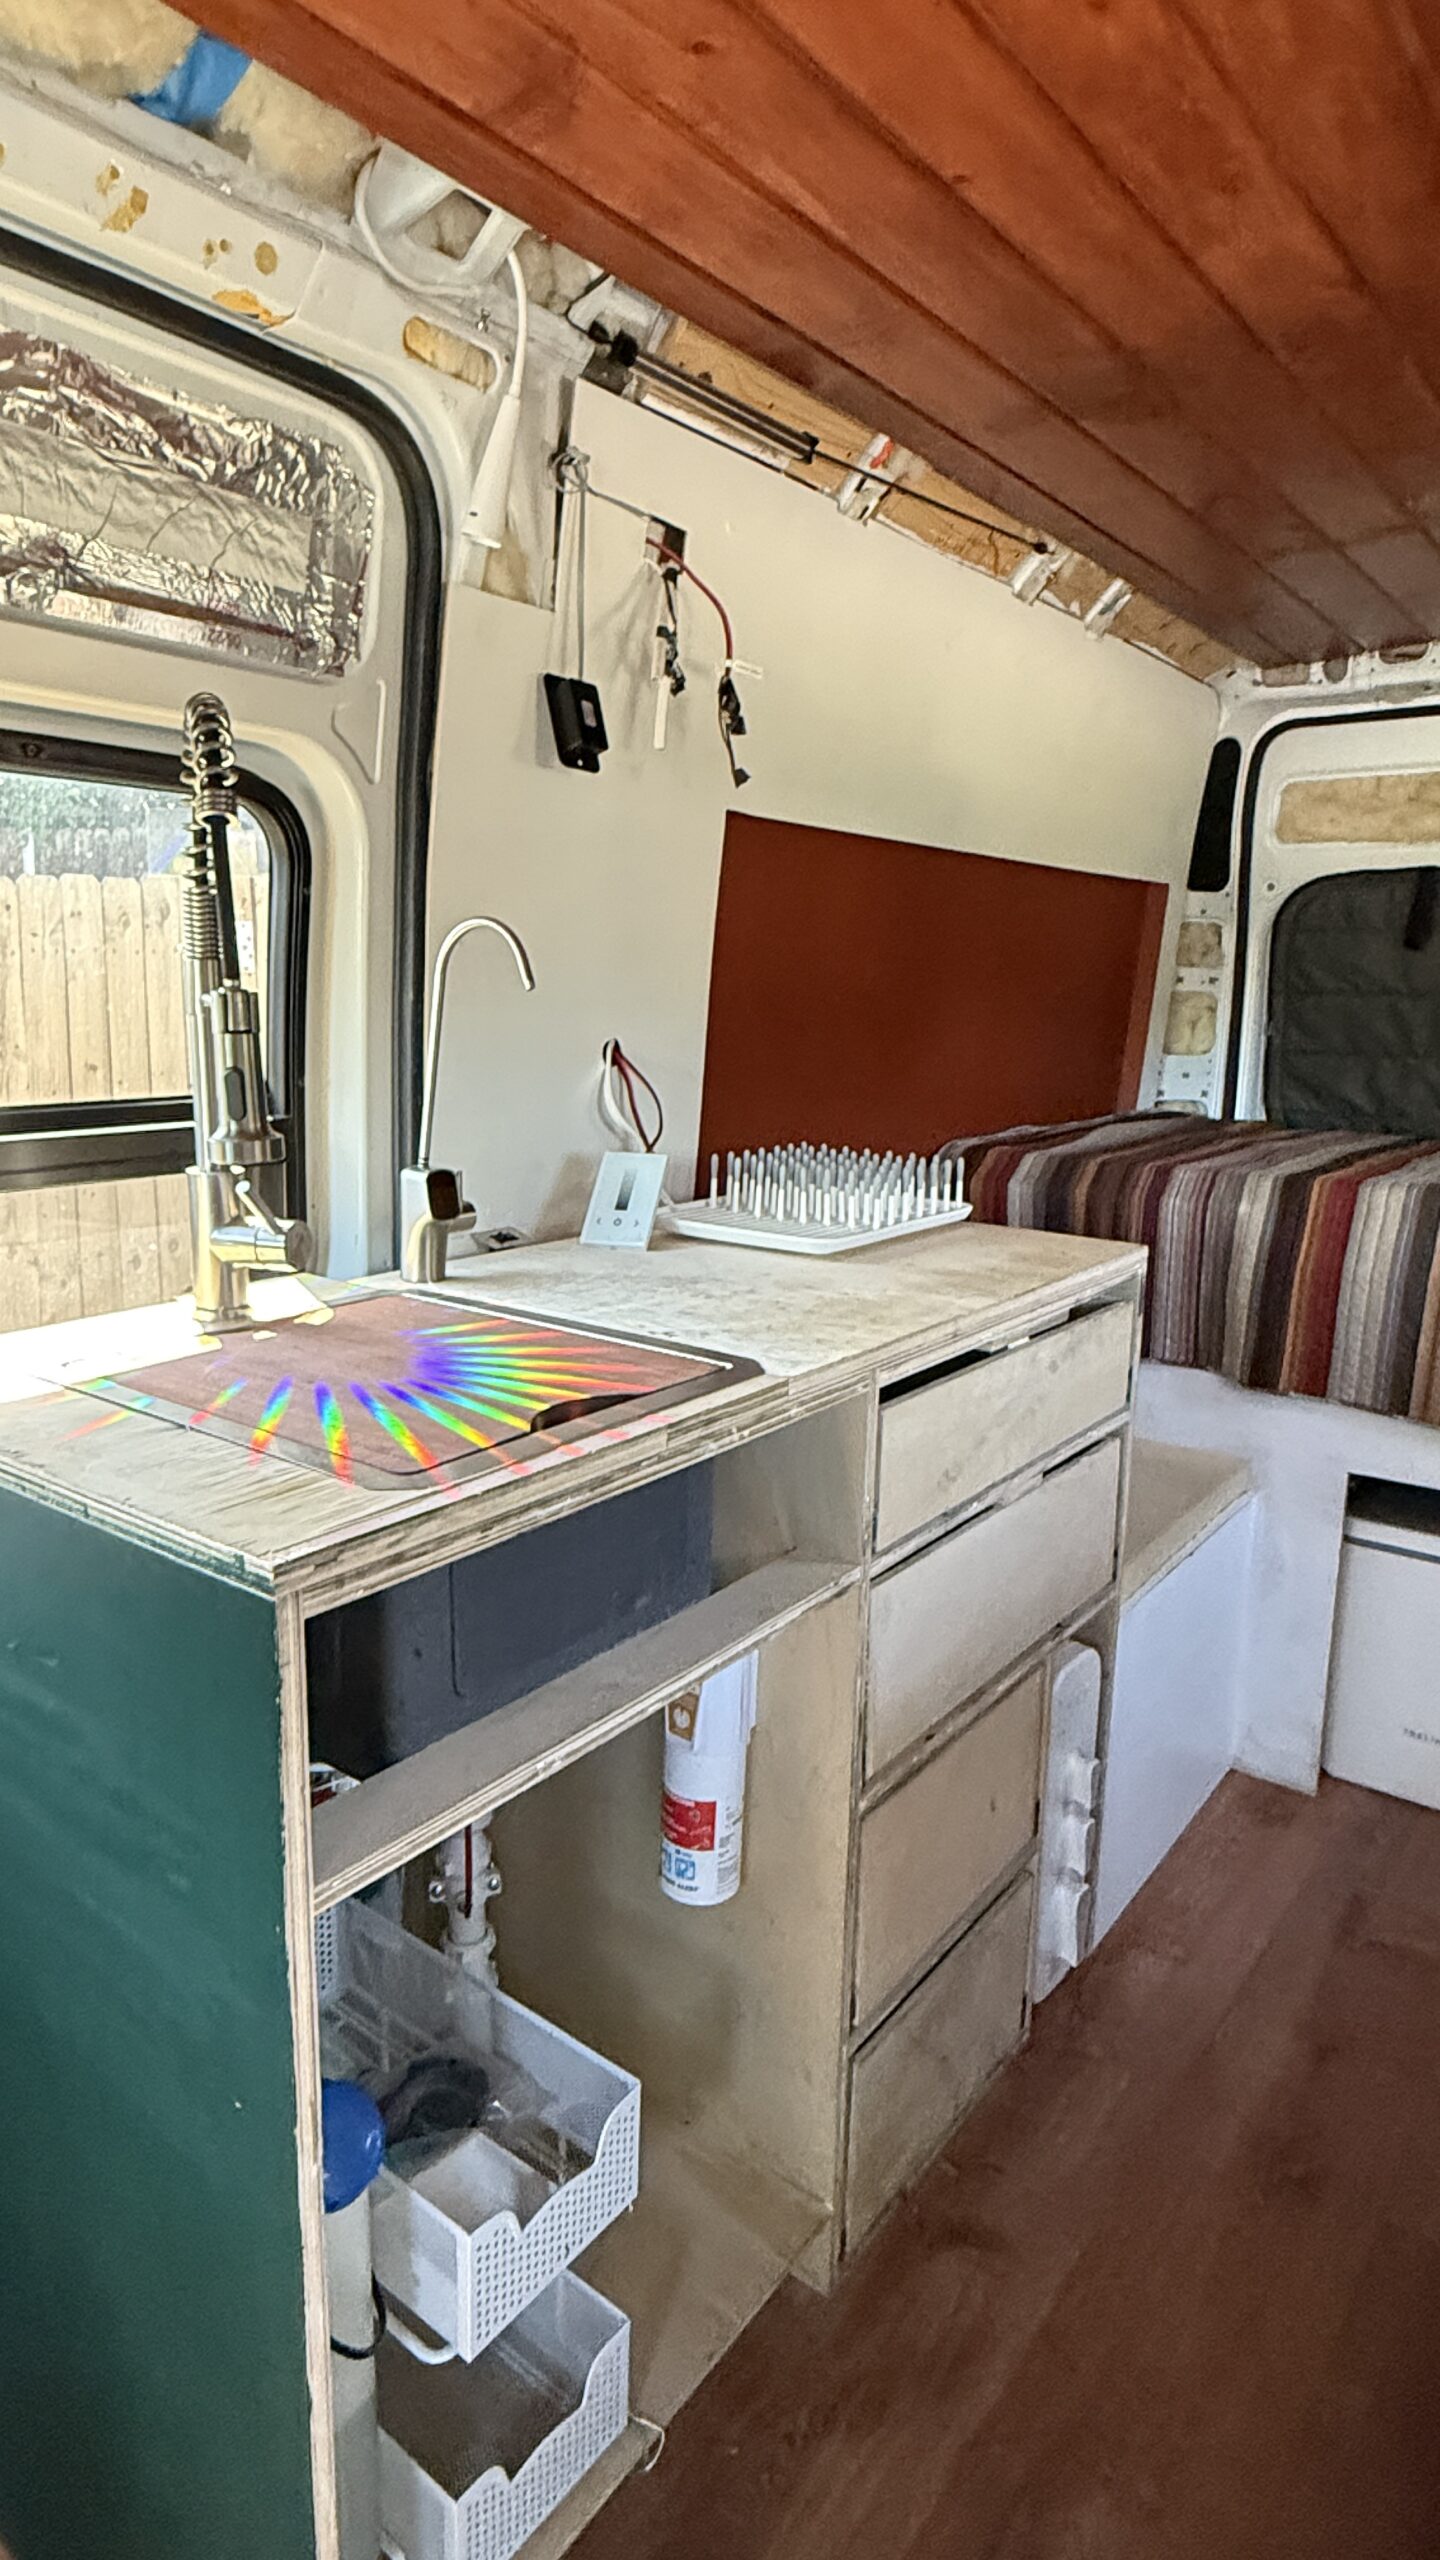
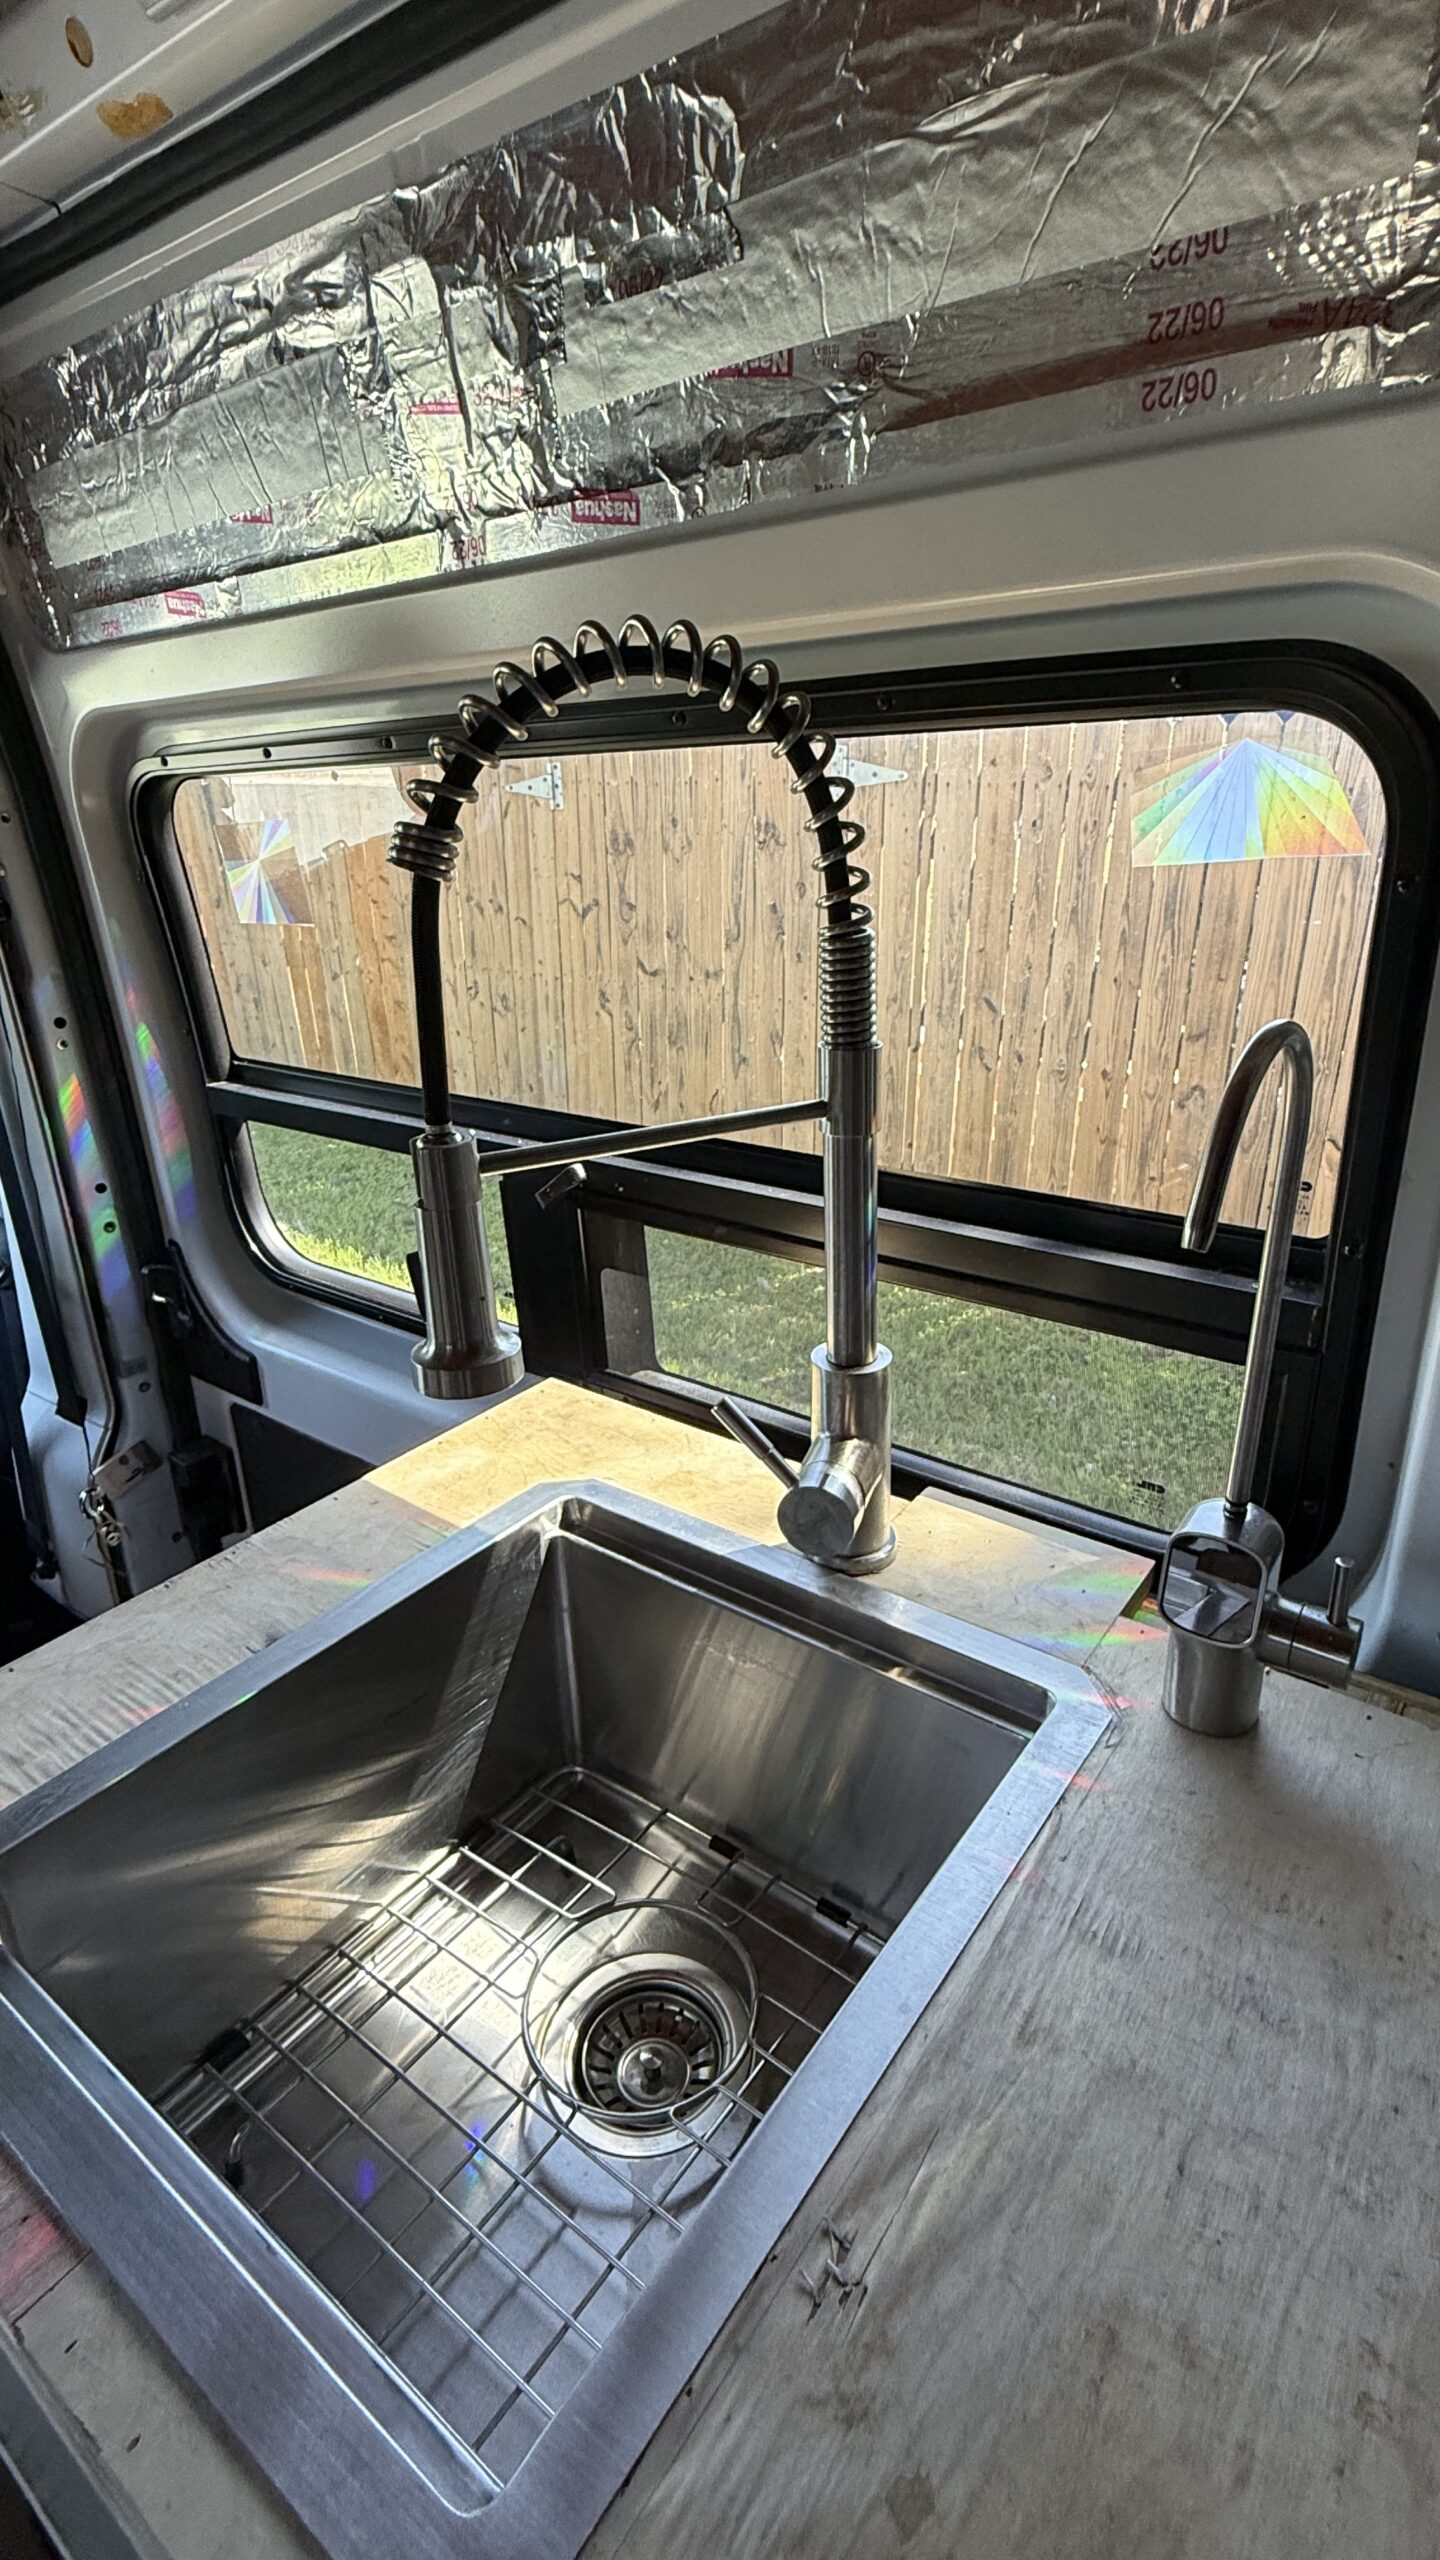
- Spacious sink – many people opt for small, round sinks. I find them to be annoying to wash dishes in, so I went with a larger, deep, and square sink which is much more accommodating when you need a place to put dishes before washing, and when you just need to clear the counter before driving – I used this to temporarily store things here while I'd drive. Includes a wooden lid for additional counter space when desired, and an in-sink grid.
- SeaFlow water pump, & nice faucet
Retailing at a total of ~$8,200
Spacious Storage
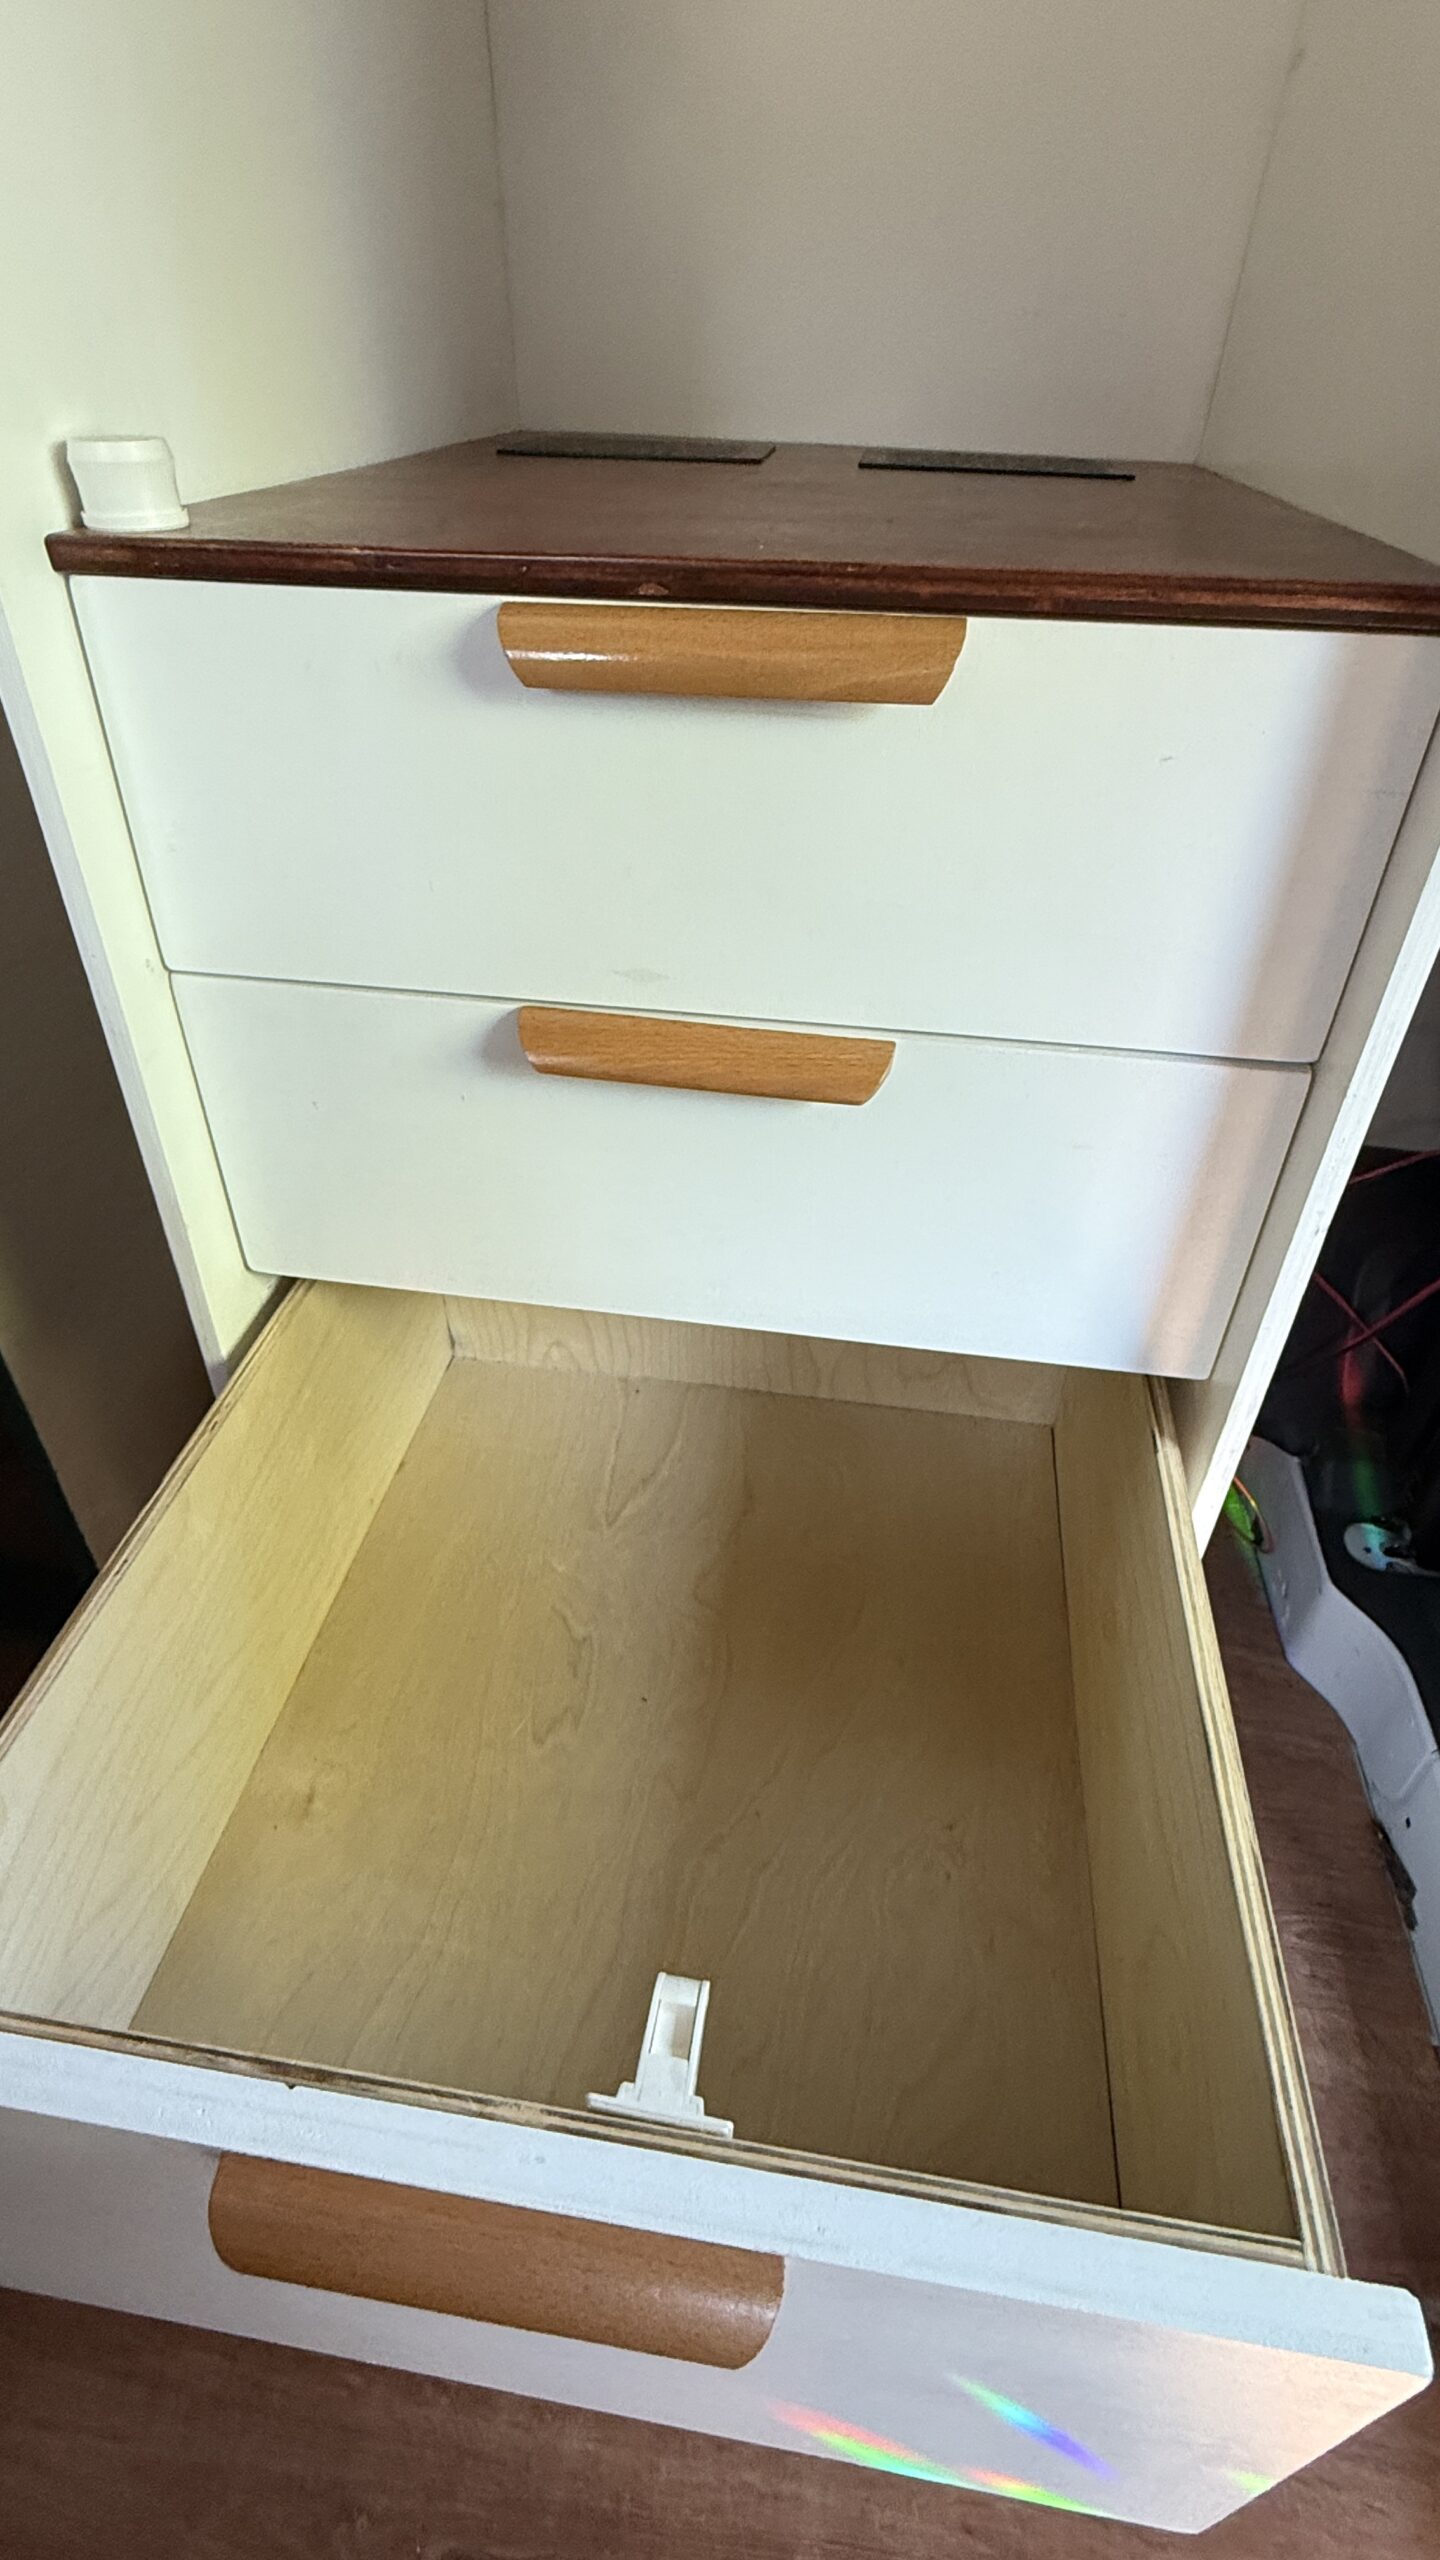
- Tons of drawer space in the kitchen to store your food, dishes, toiletries, and smaller travel gear.
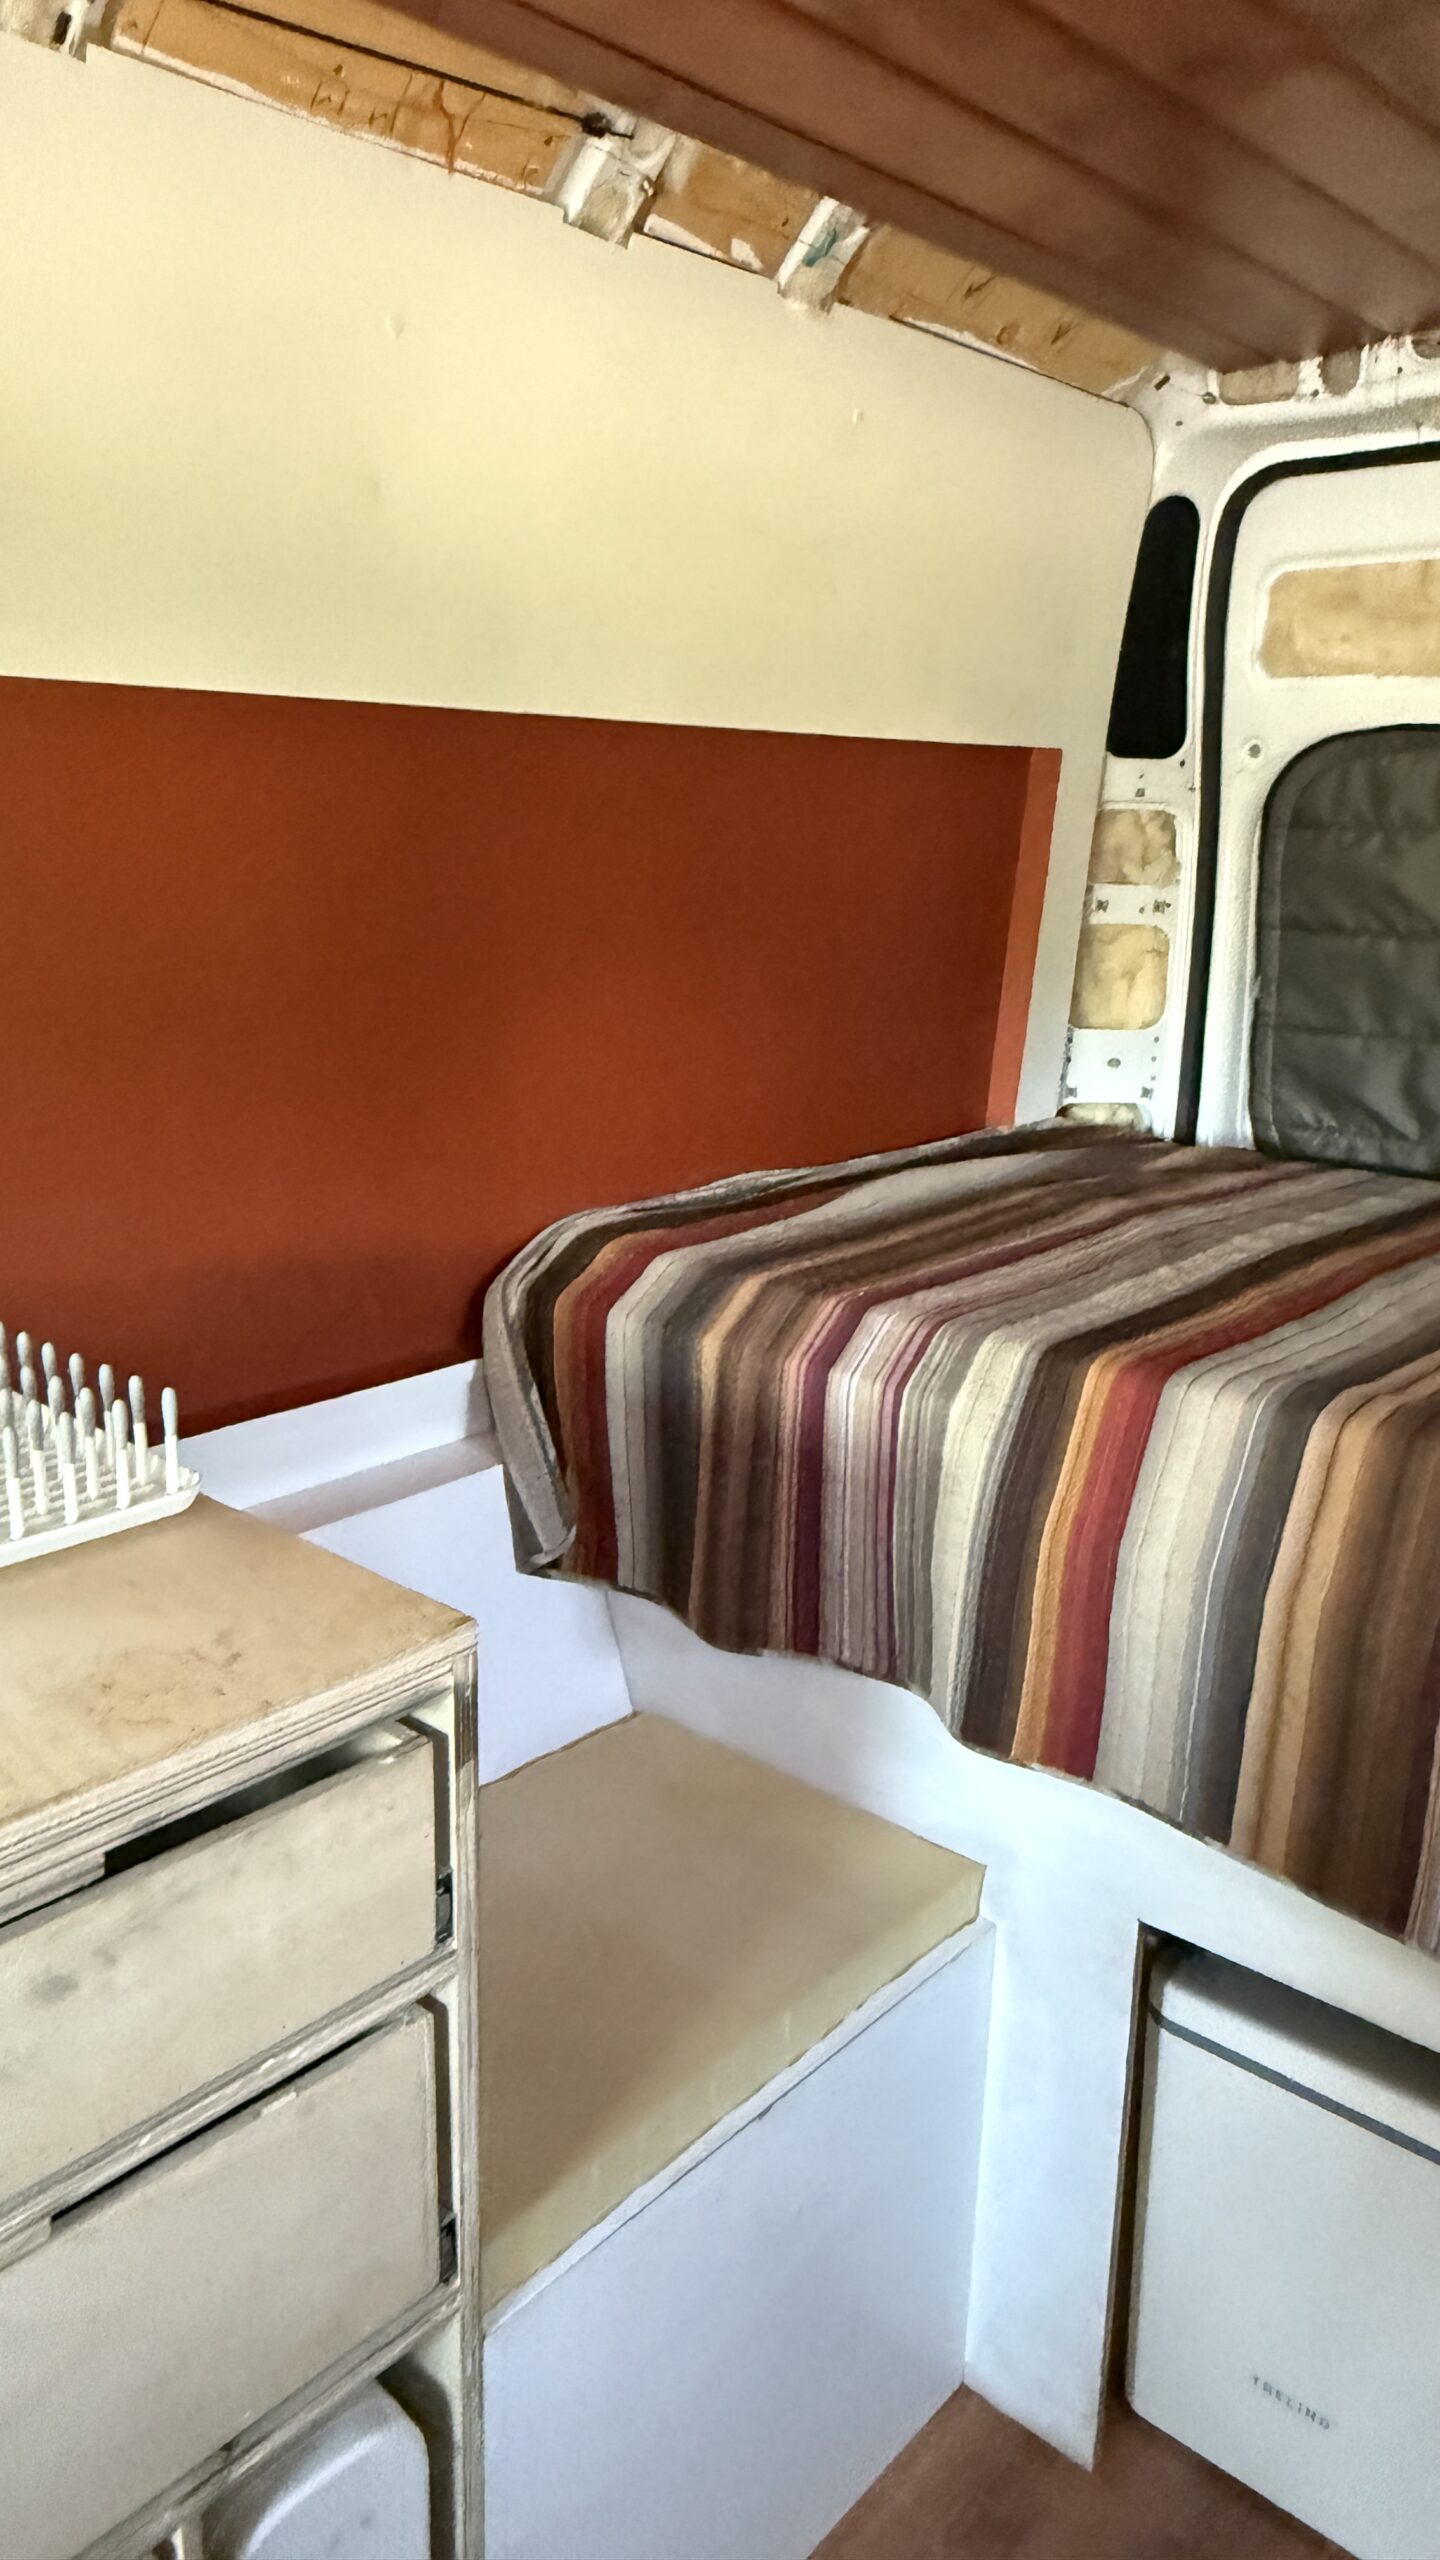
- Both seats by the bed double as additional storage. Great for small and medium items. I’ve used this space to store jackets, board games, a small collapsible table, my drone and camera gear. It’s pretty nonchalant so it’s a great place to hide valuables.
- Cabinets over the stove are nearly finished, they only require doors to be added. Great space for food, dishes, and/or clothing.
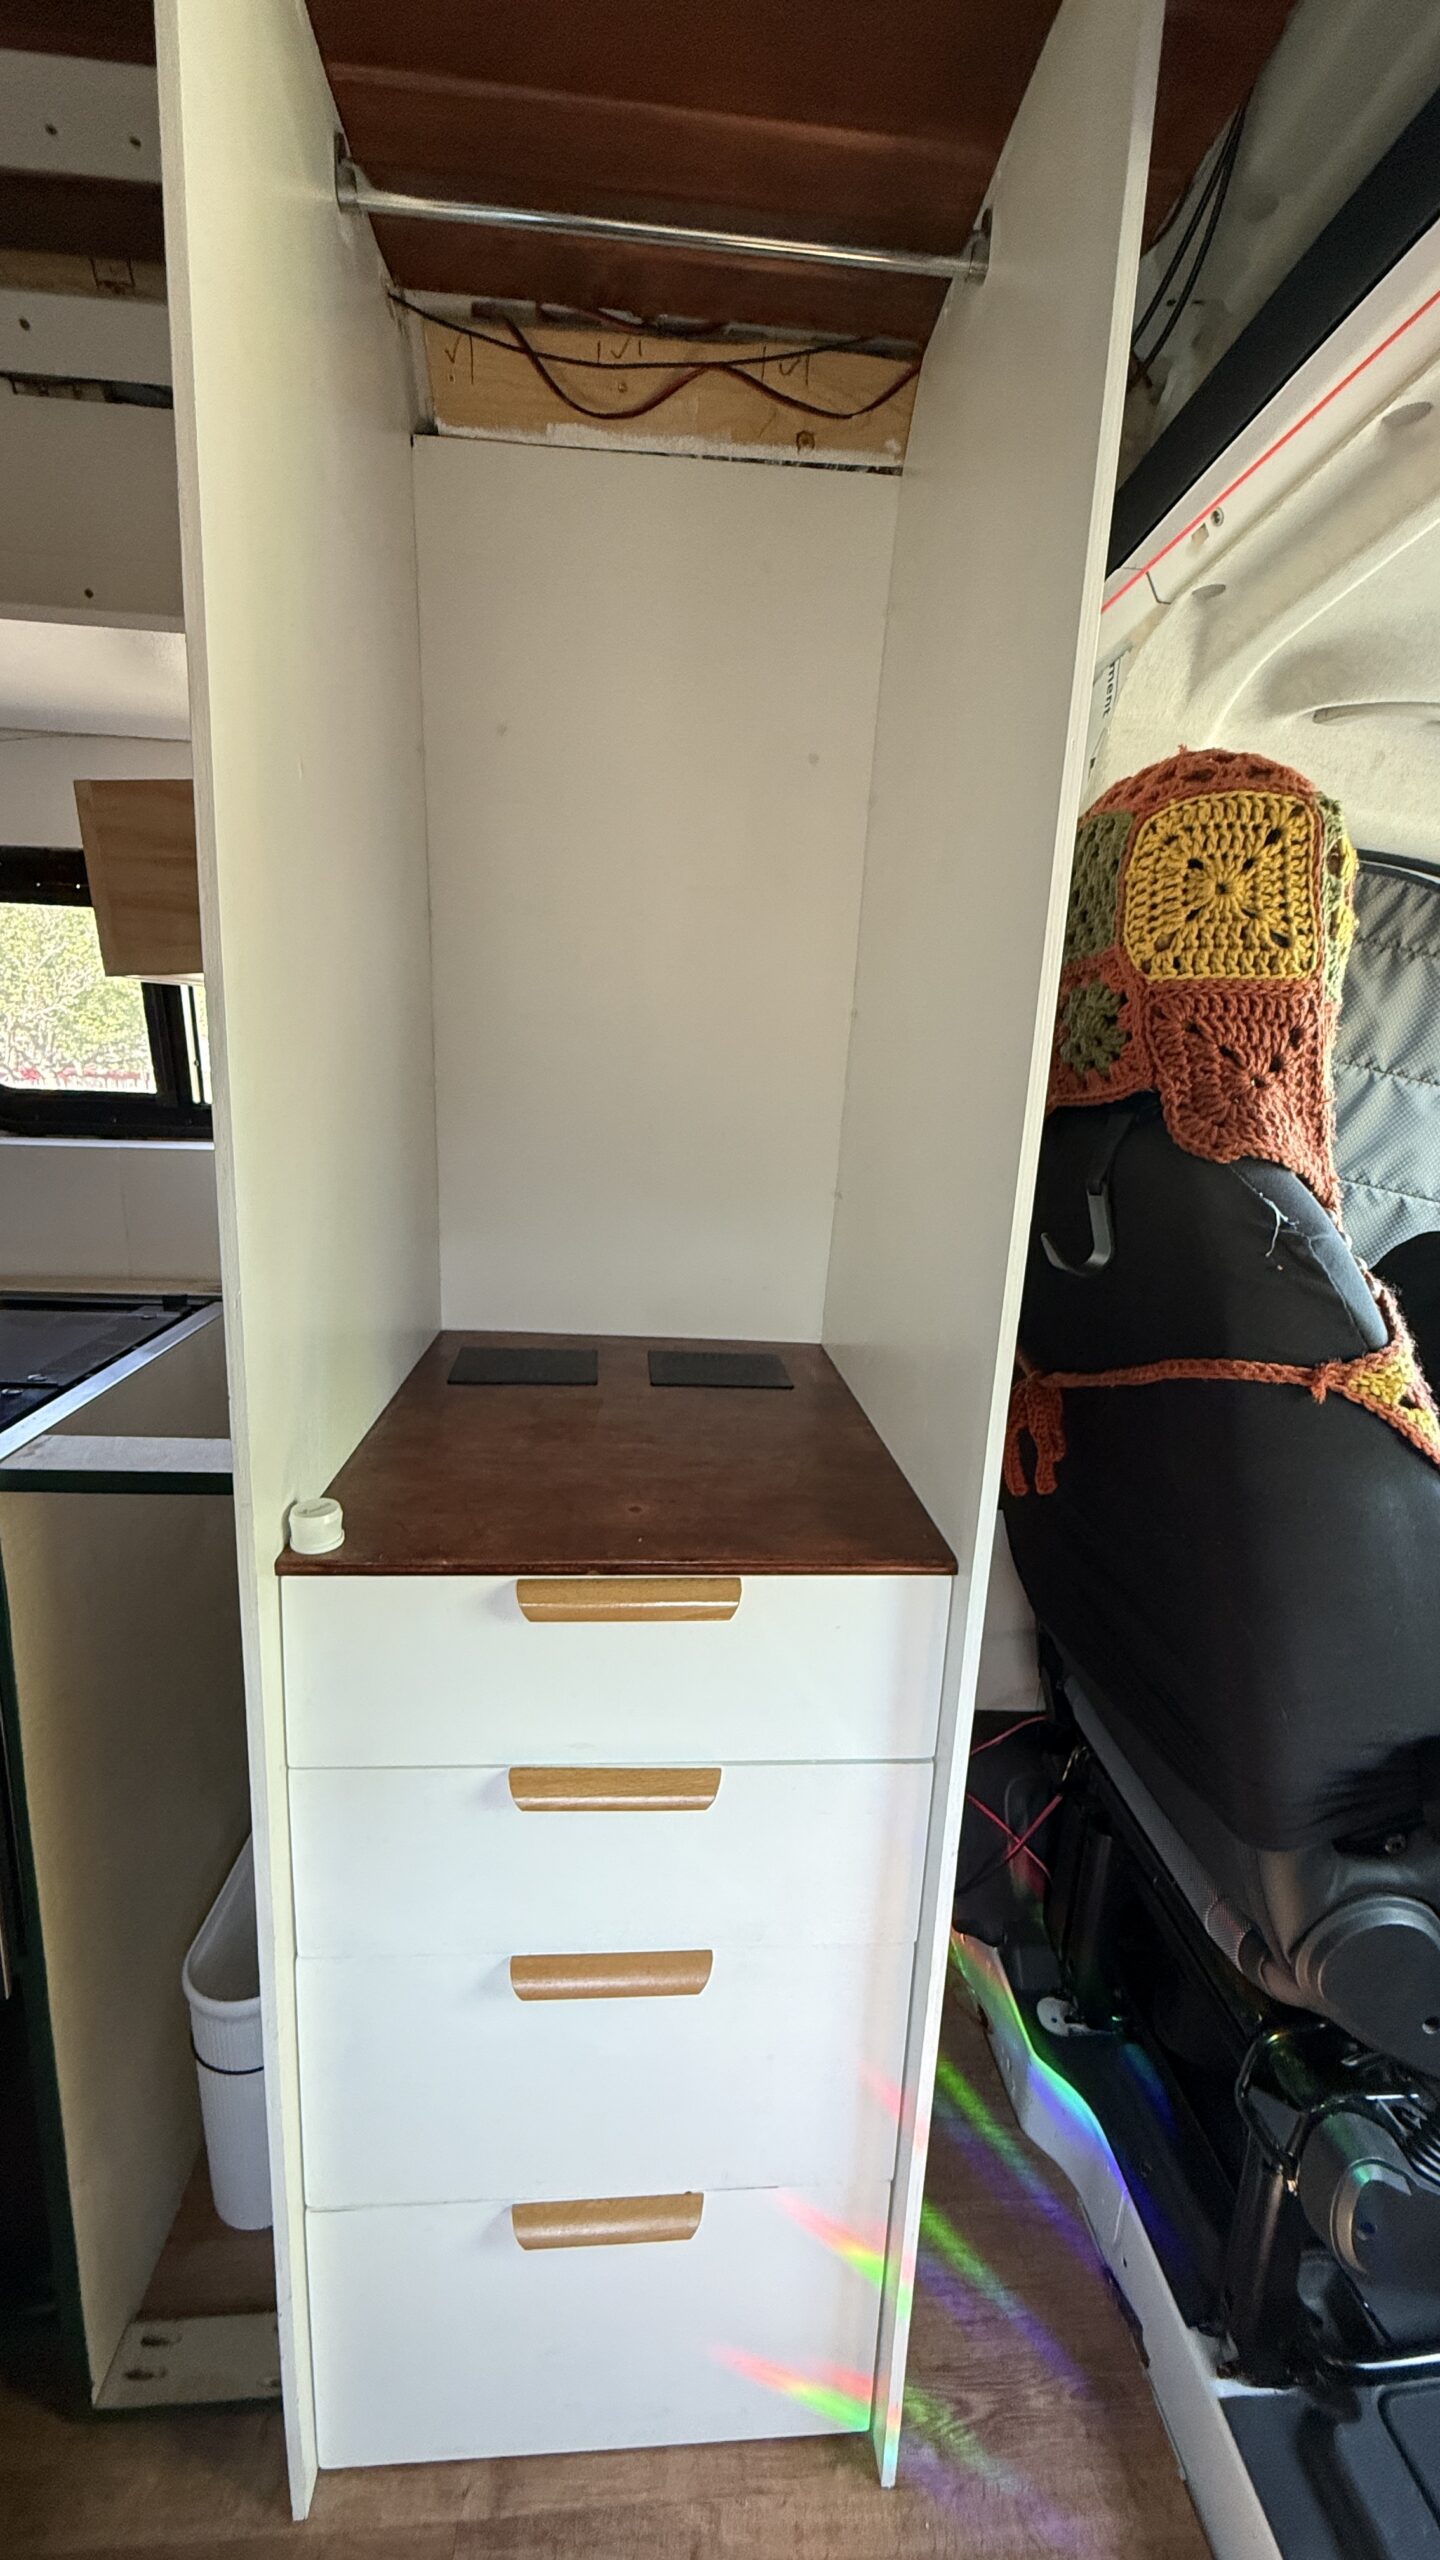
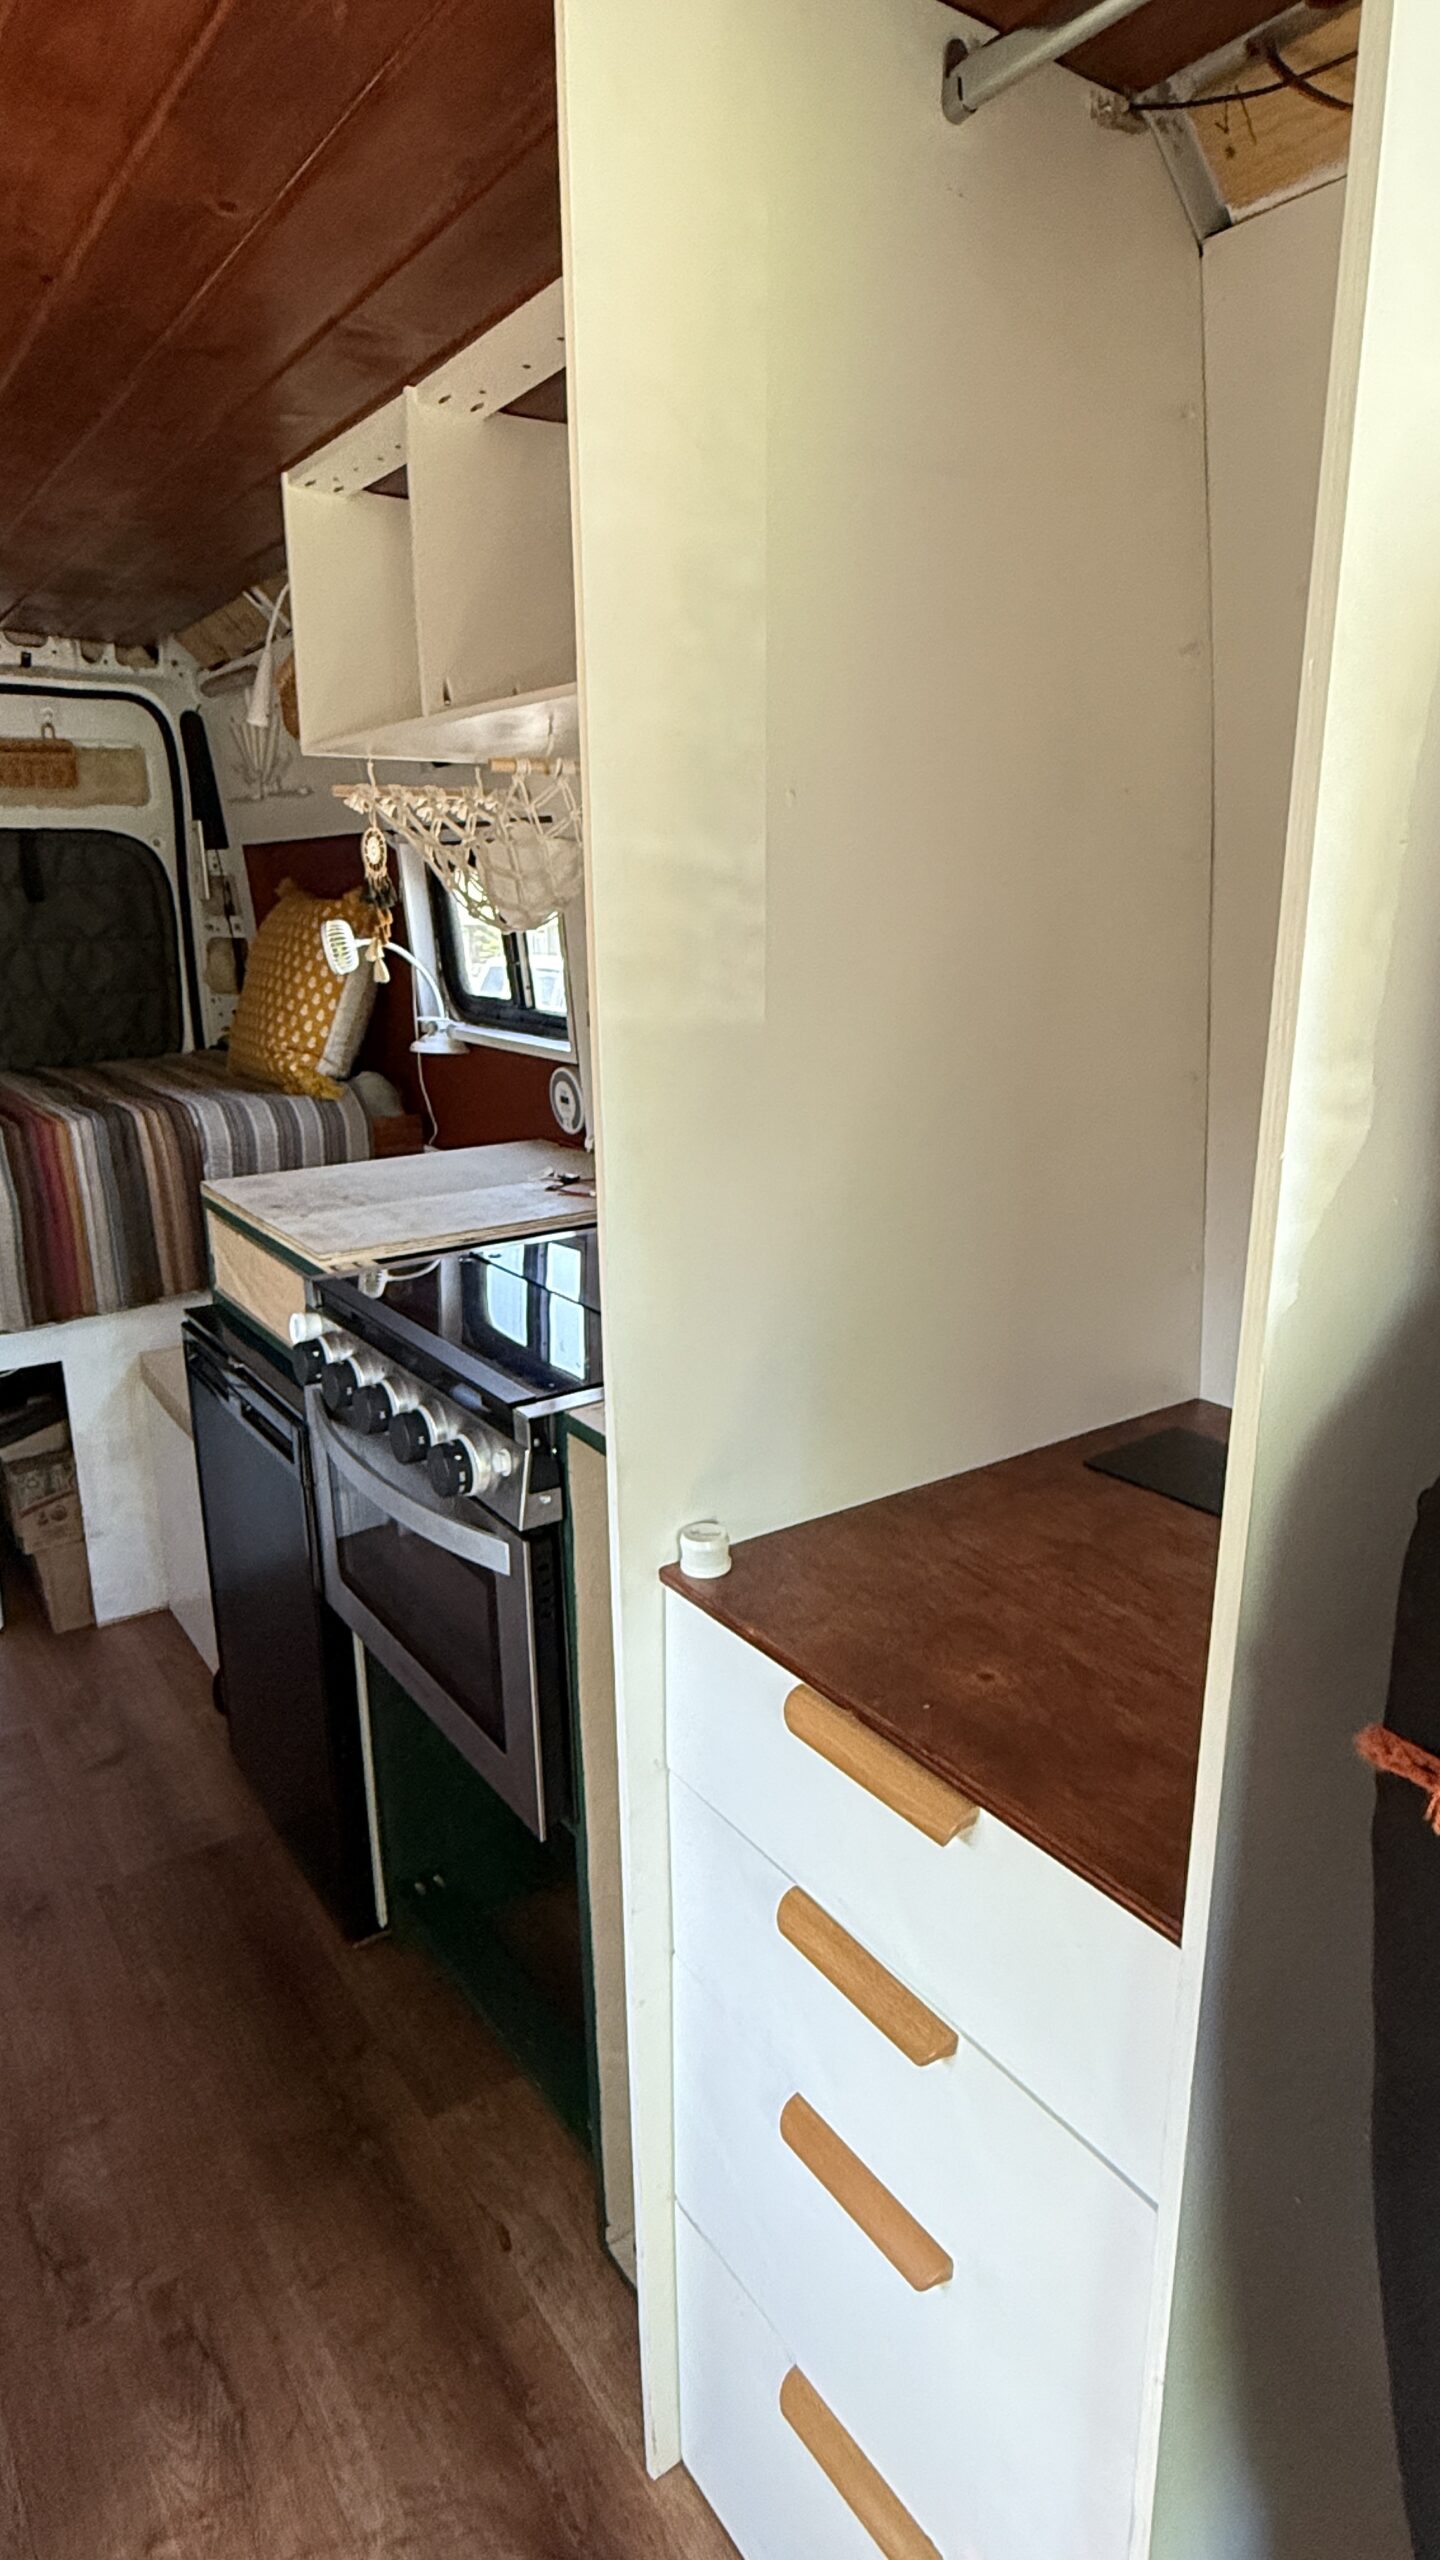
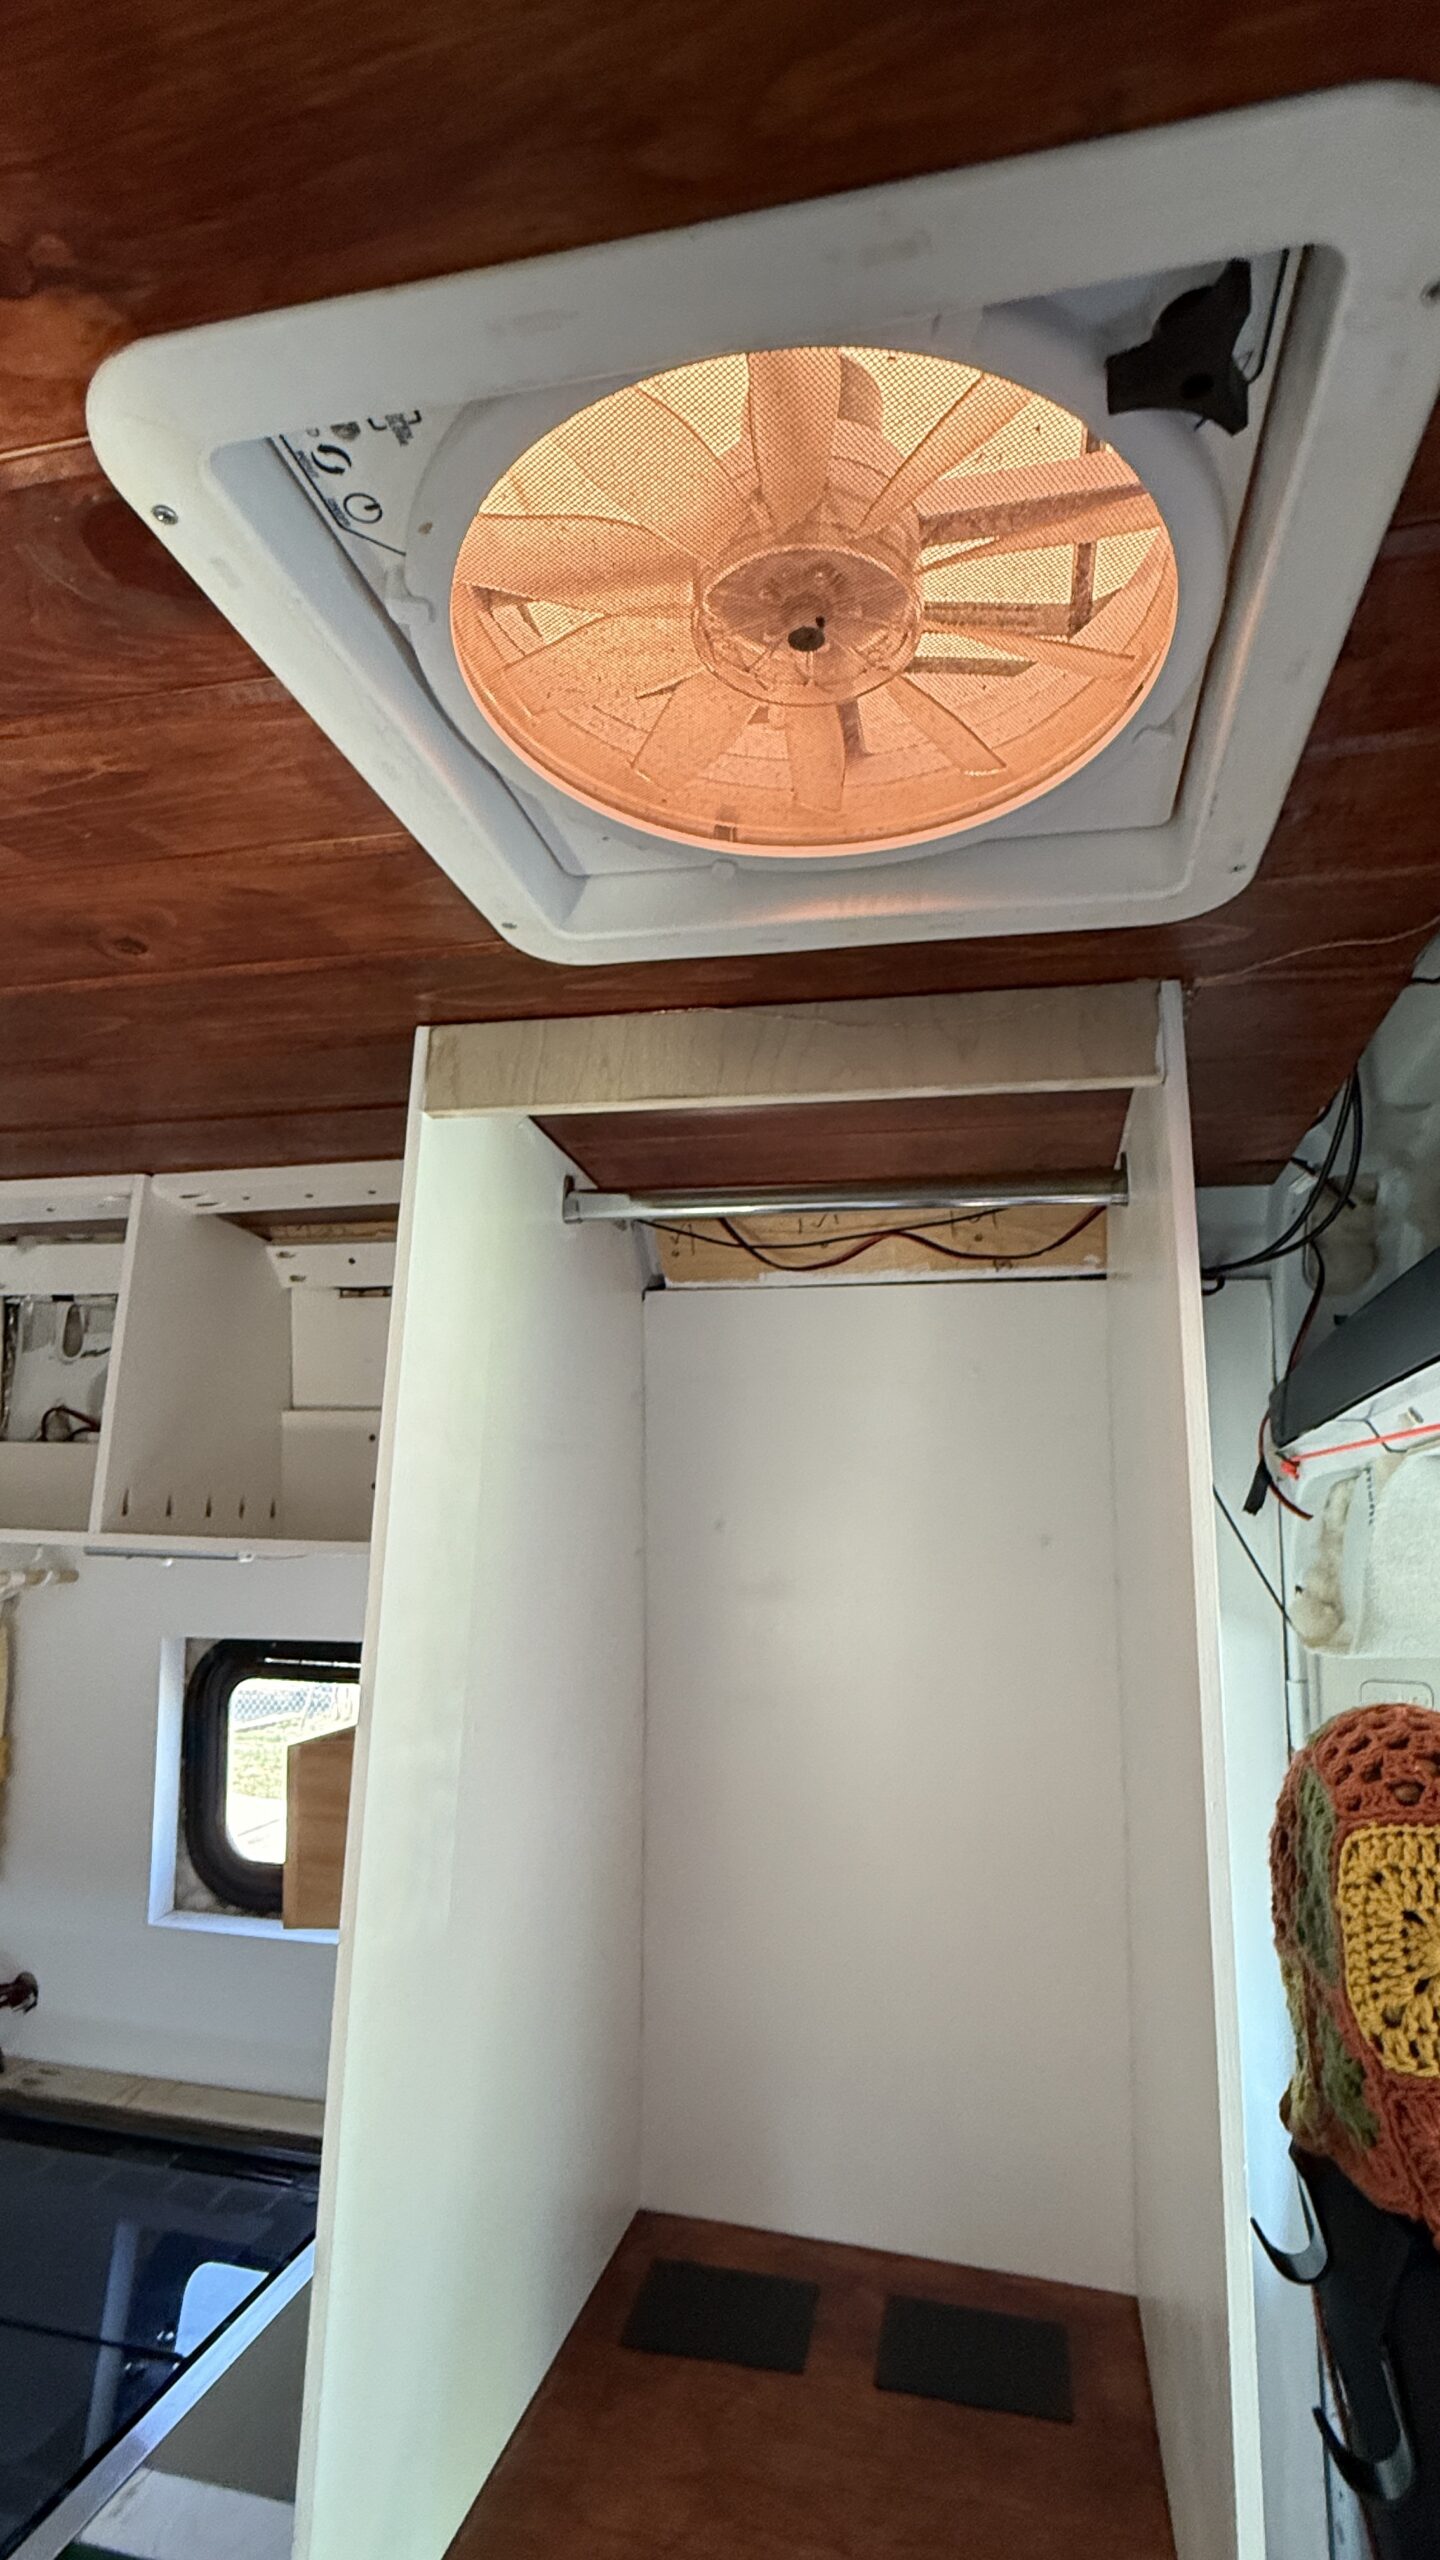
- Closet space was important to me after living out of bags and cubbies in other vehicles I’ve lived out of. My clothes wrinkled and it was a big hassle to keep organized. Having real estate to hang clothes, and ample drawer space with a variety of depth to accommodate small and large items, is a game changer. I love this closet.
- Under the bed (known as the “garage”) is ample space for medium to large items like backpacks, hoses, tents, blankets, fold-up chairs, etc.
- Bulkhead (the space over the front seats) is great for things like shoes. I stored all of my shoes, toilet supplies (bags, wipes, TP, compost material, etc), a first aid kit, a jewelry box, and then some.
Climate Control
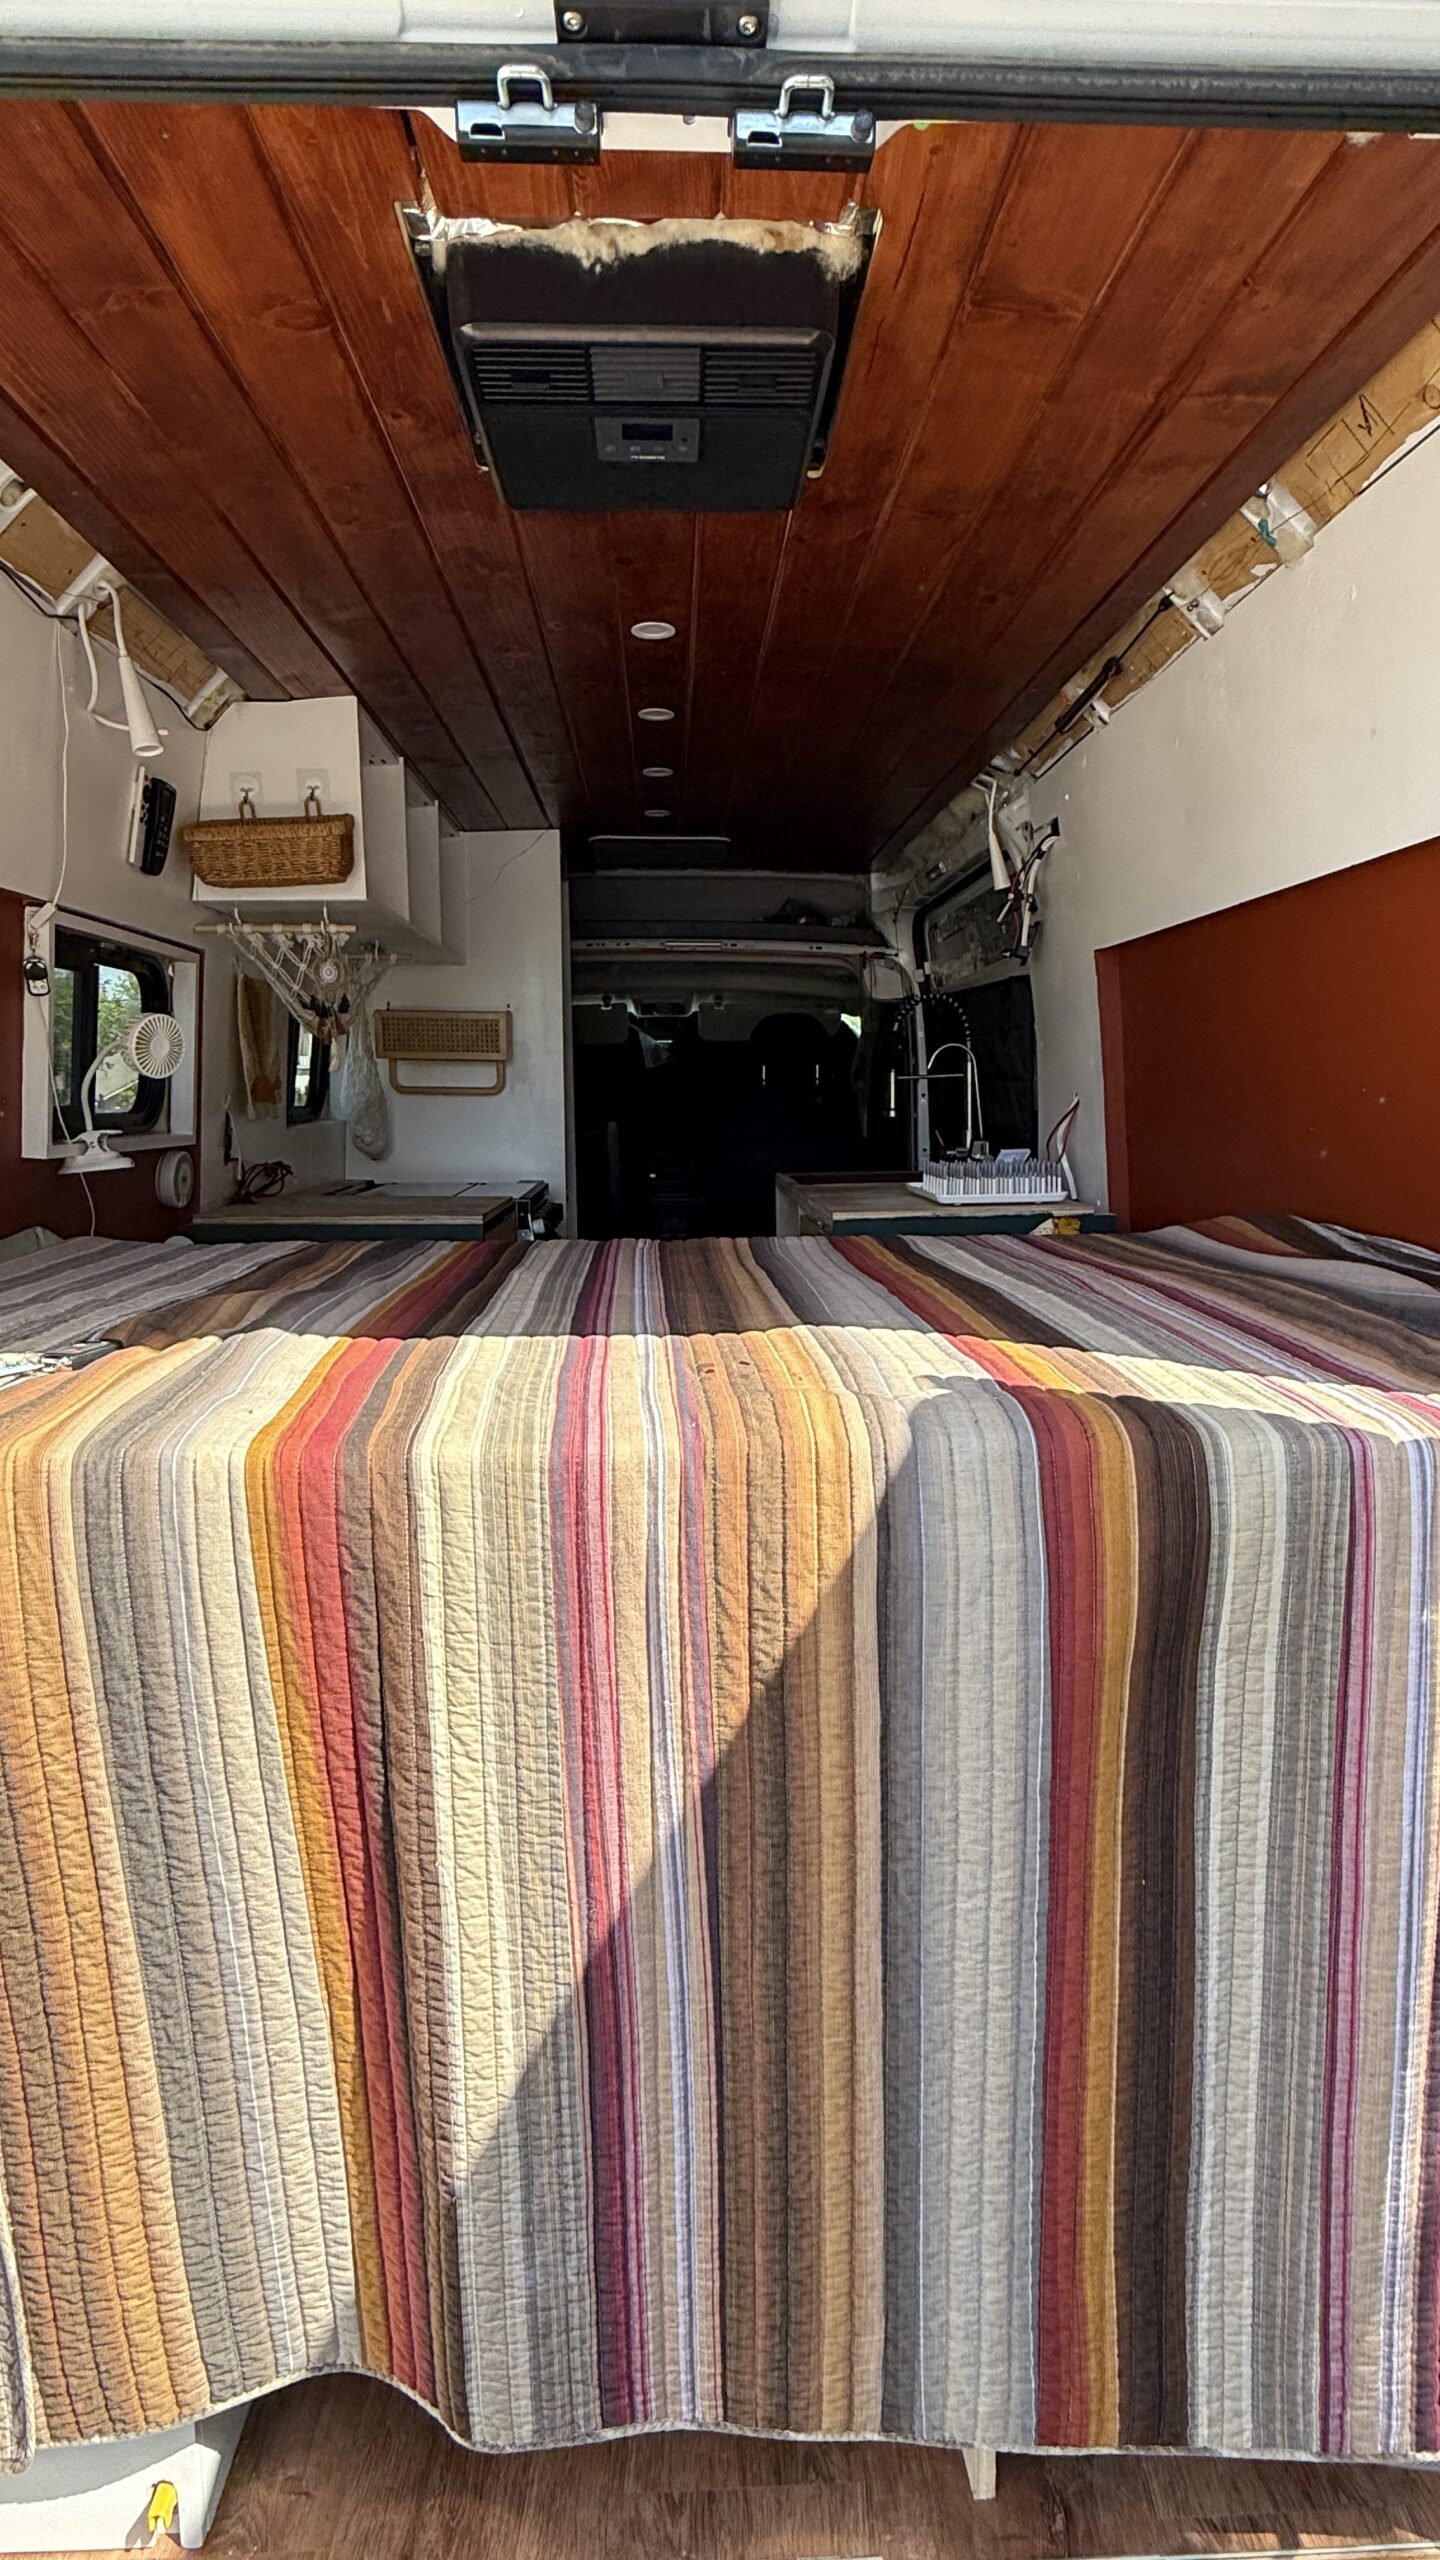
I chose to install windows on every side of the van to allow for lots of air flow. Opening the windows and turning on the vent fan cools the van significantly. When that’s not enough, there’s a robust AC unit, which most van-lifers don’t even have.
Featuring:
- Maxxair Maxxfan Deluxe Roof Vent Fan with remote control, and magnetic cover for light control and insulation
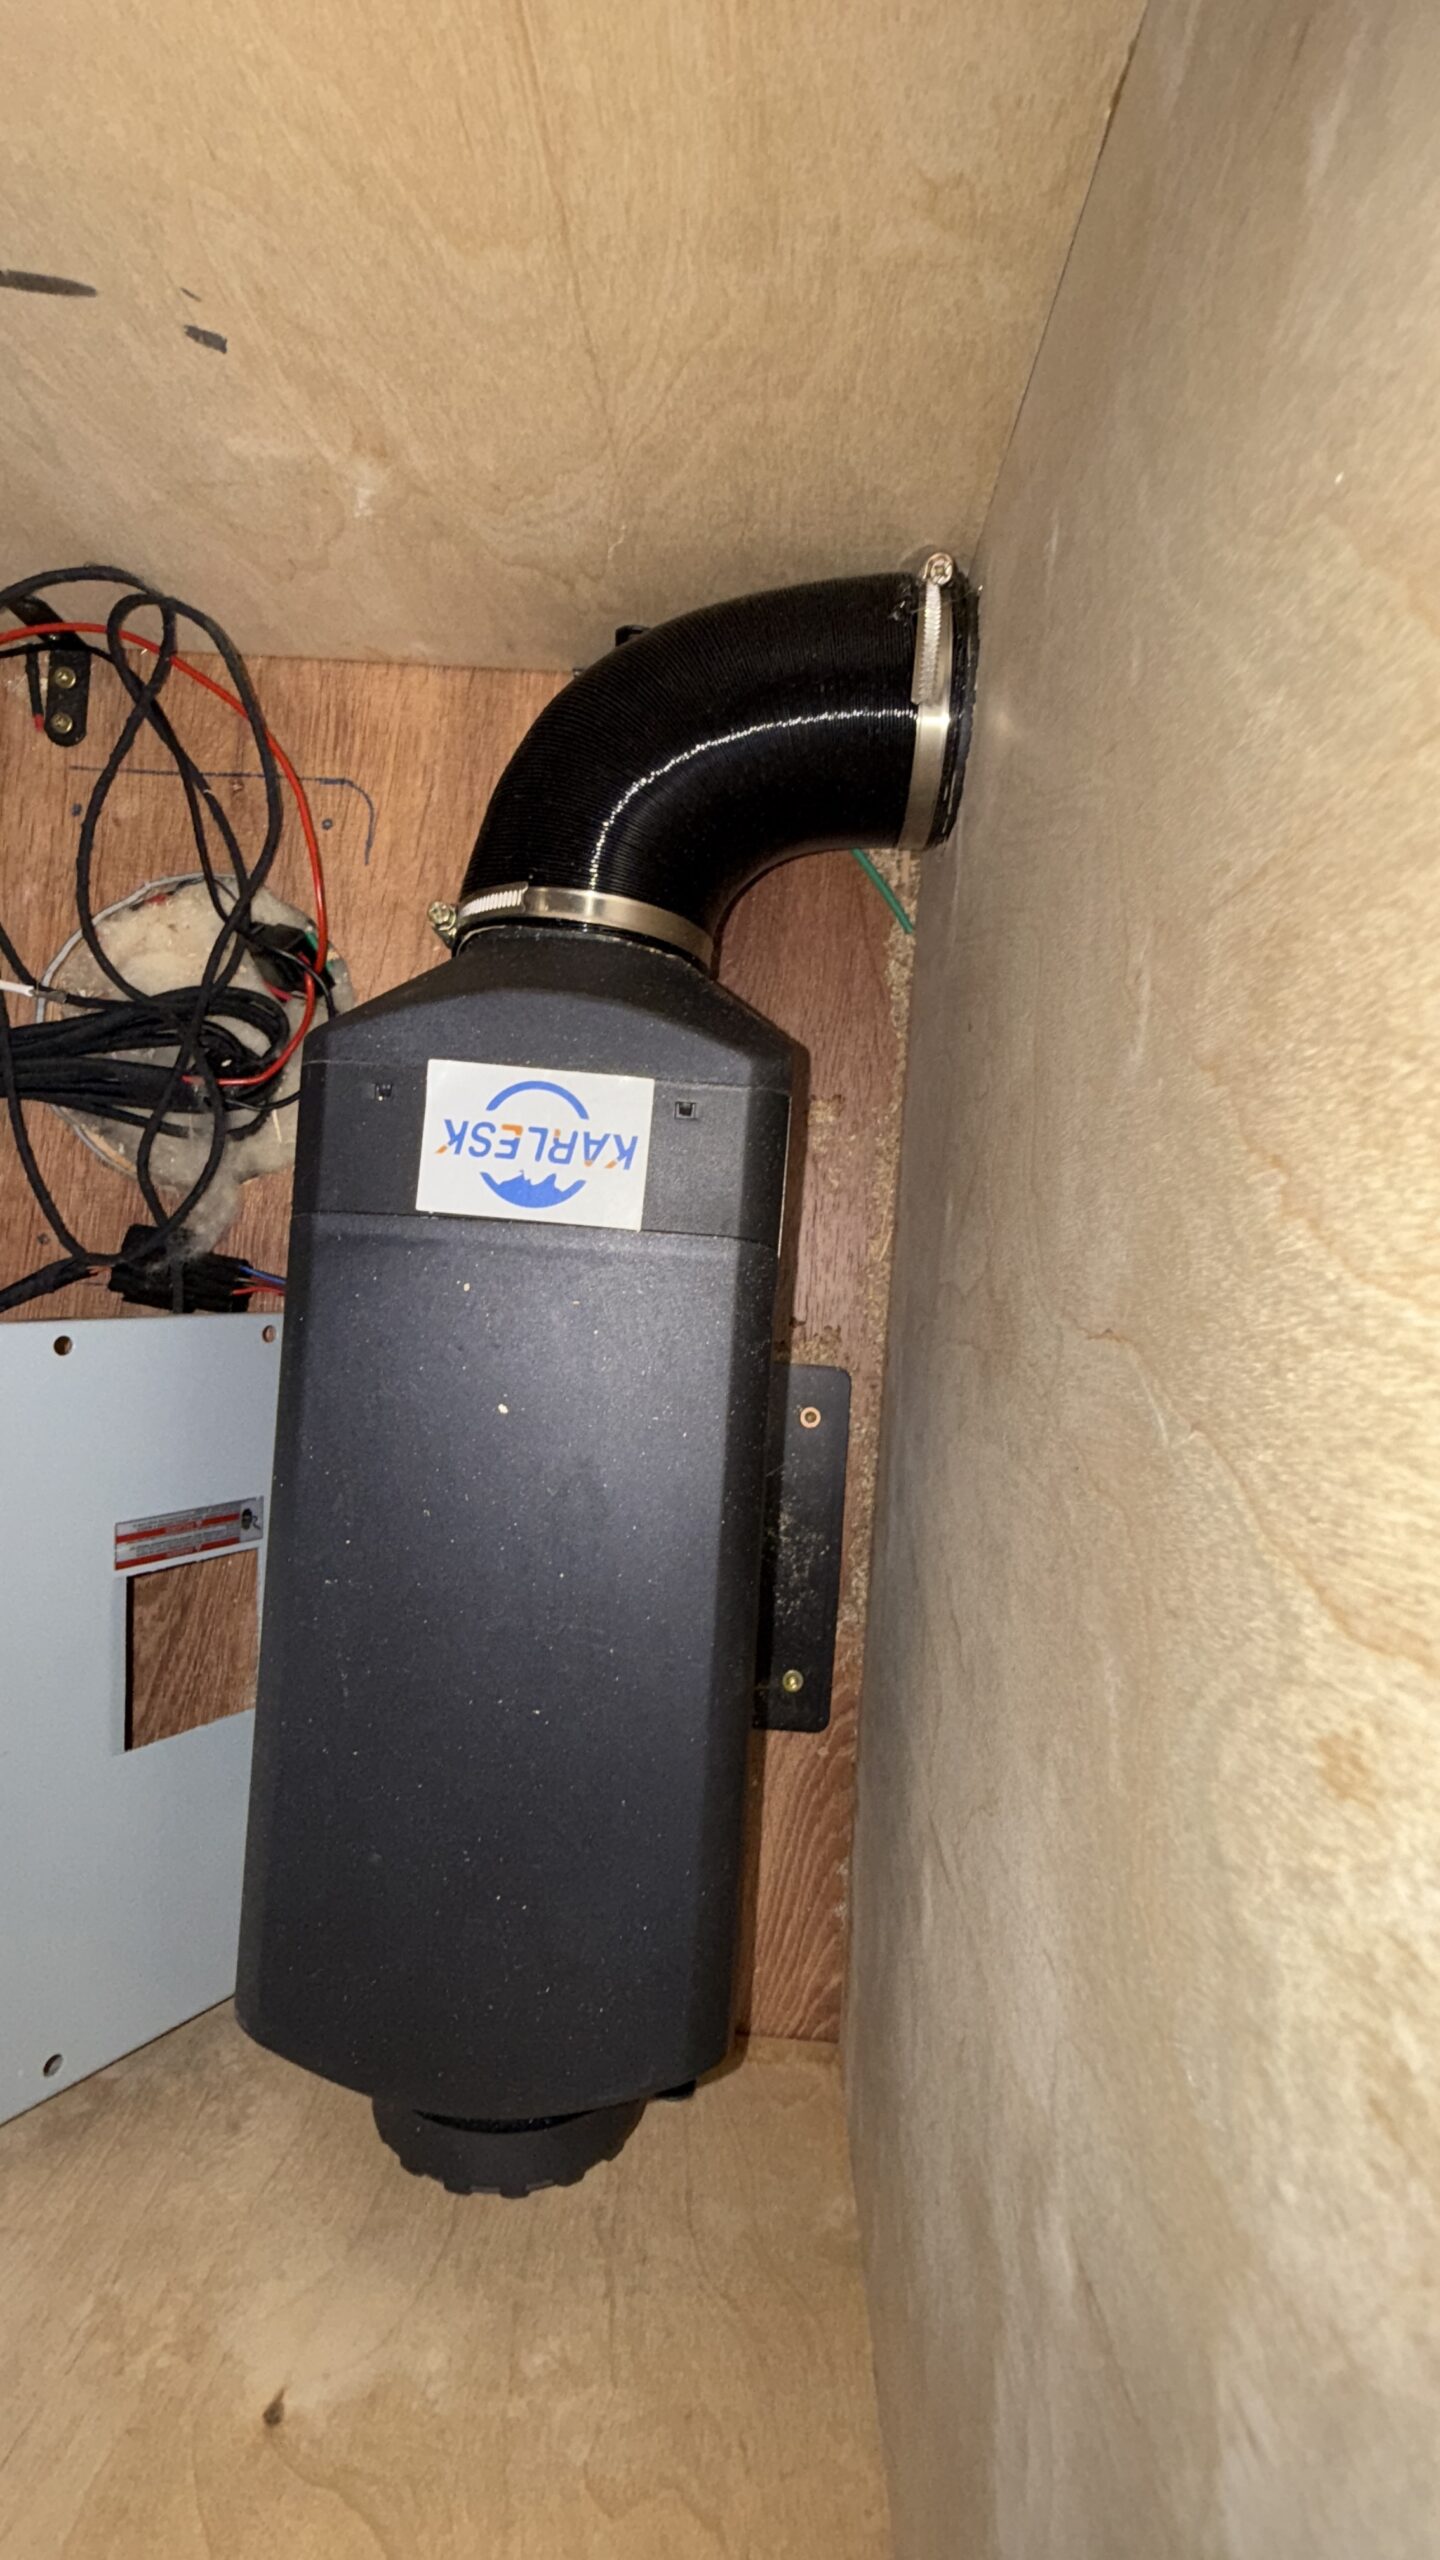
- Diesel heater with remote control (unit within one of the seats, diesel tank under the sink for easy access at the fuel pump)
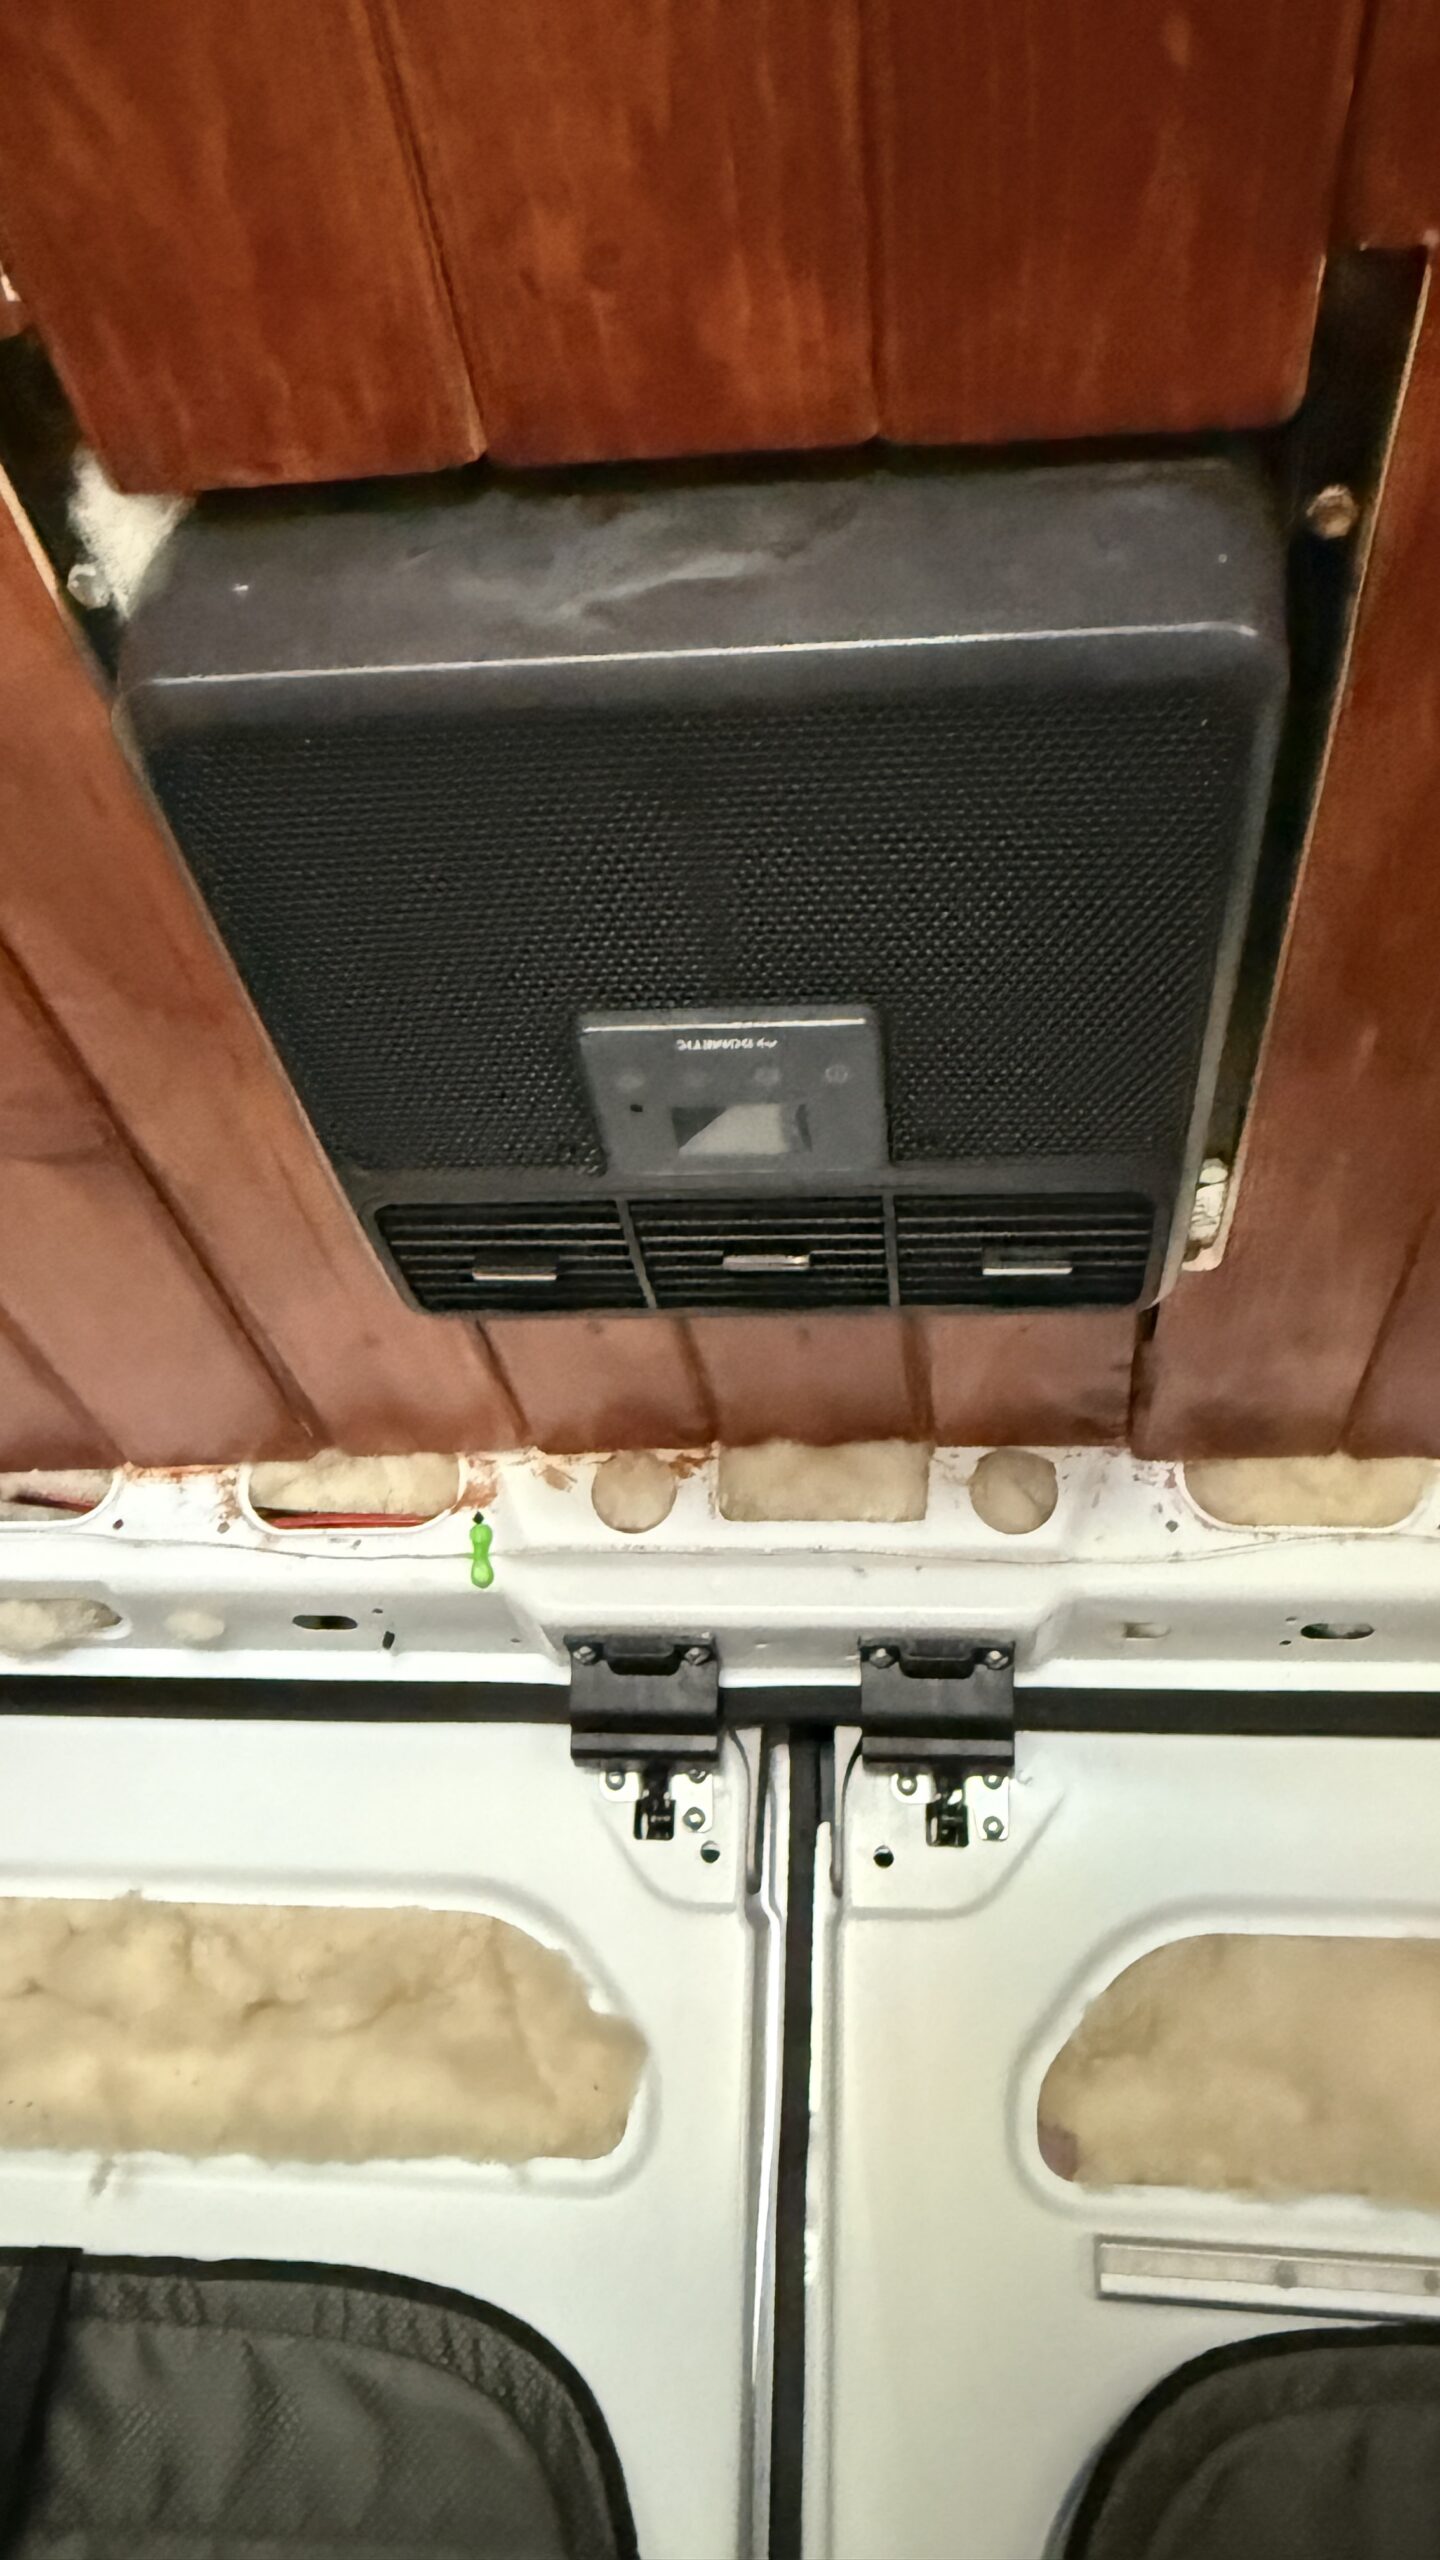
- Dometic RTX2000 AC unit (note: The unit has a leak when raining, that’s believed to be a gasket repair. It must be addressed)**
Retailing at a total of ~$2,930
Bedroom
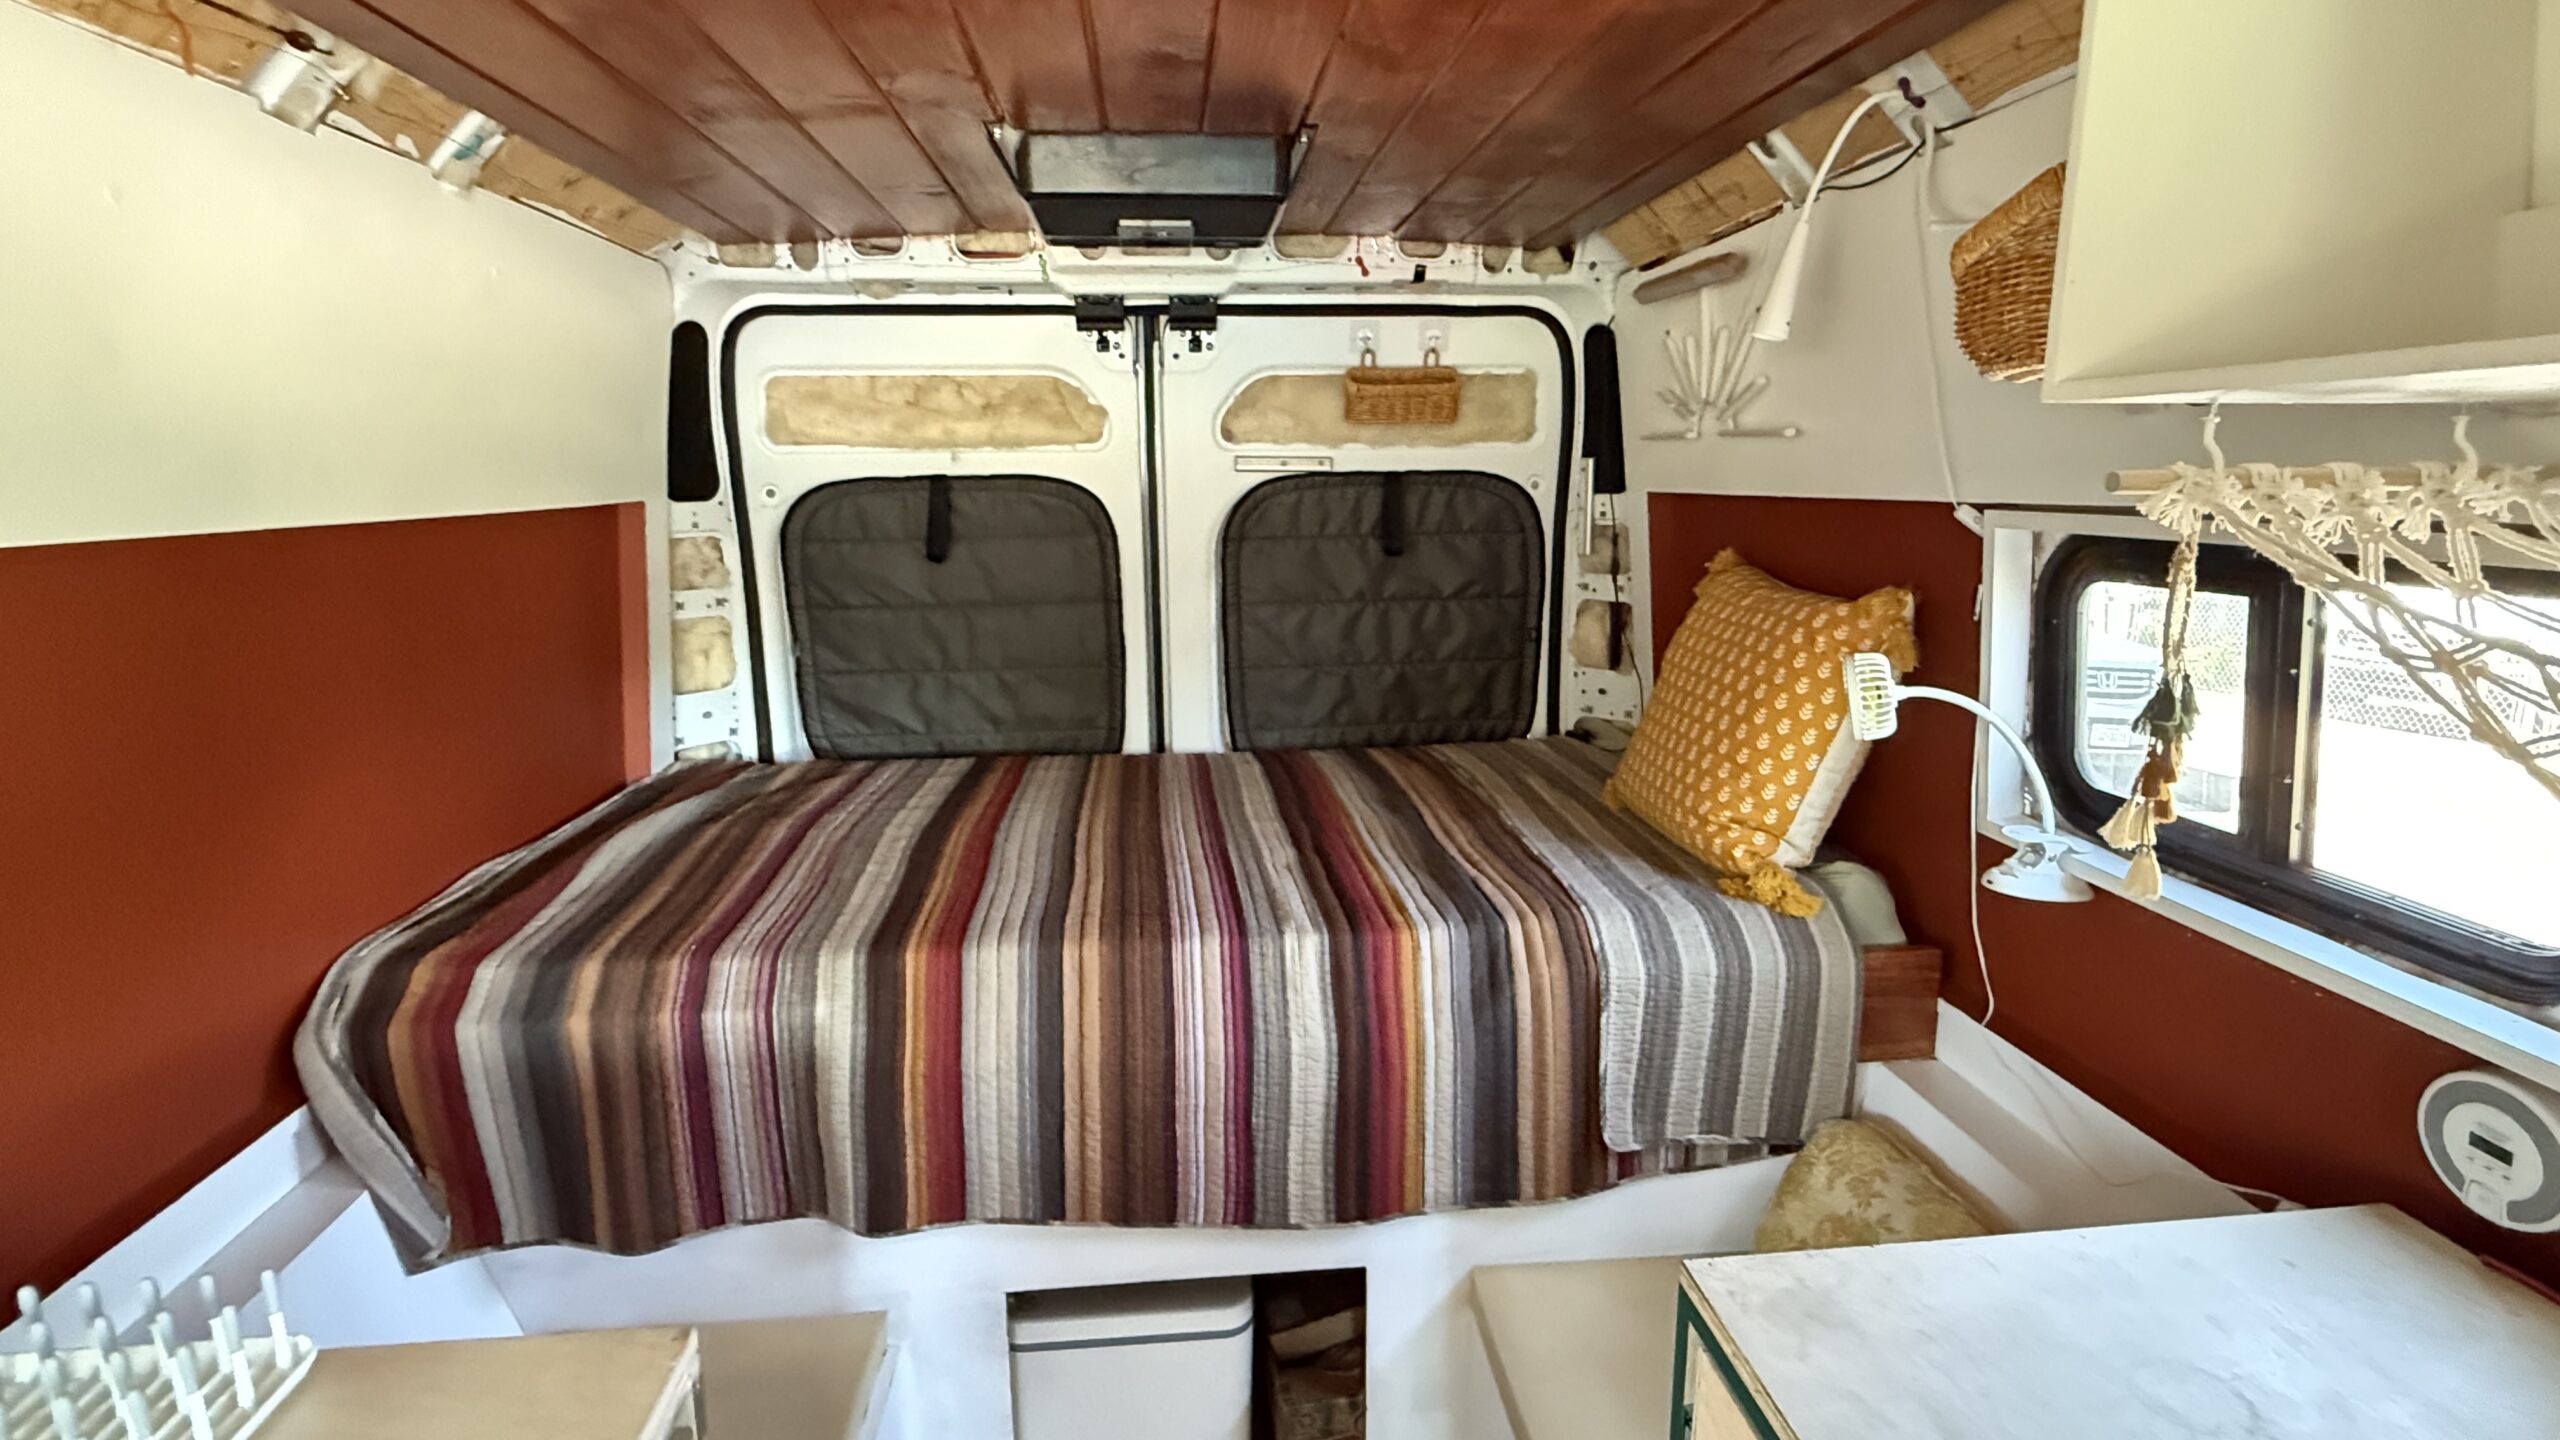
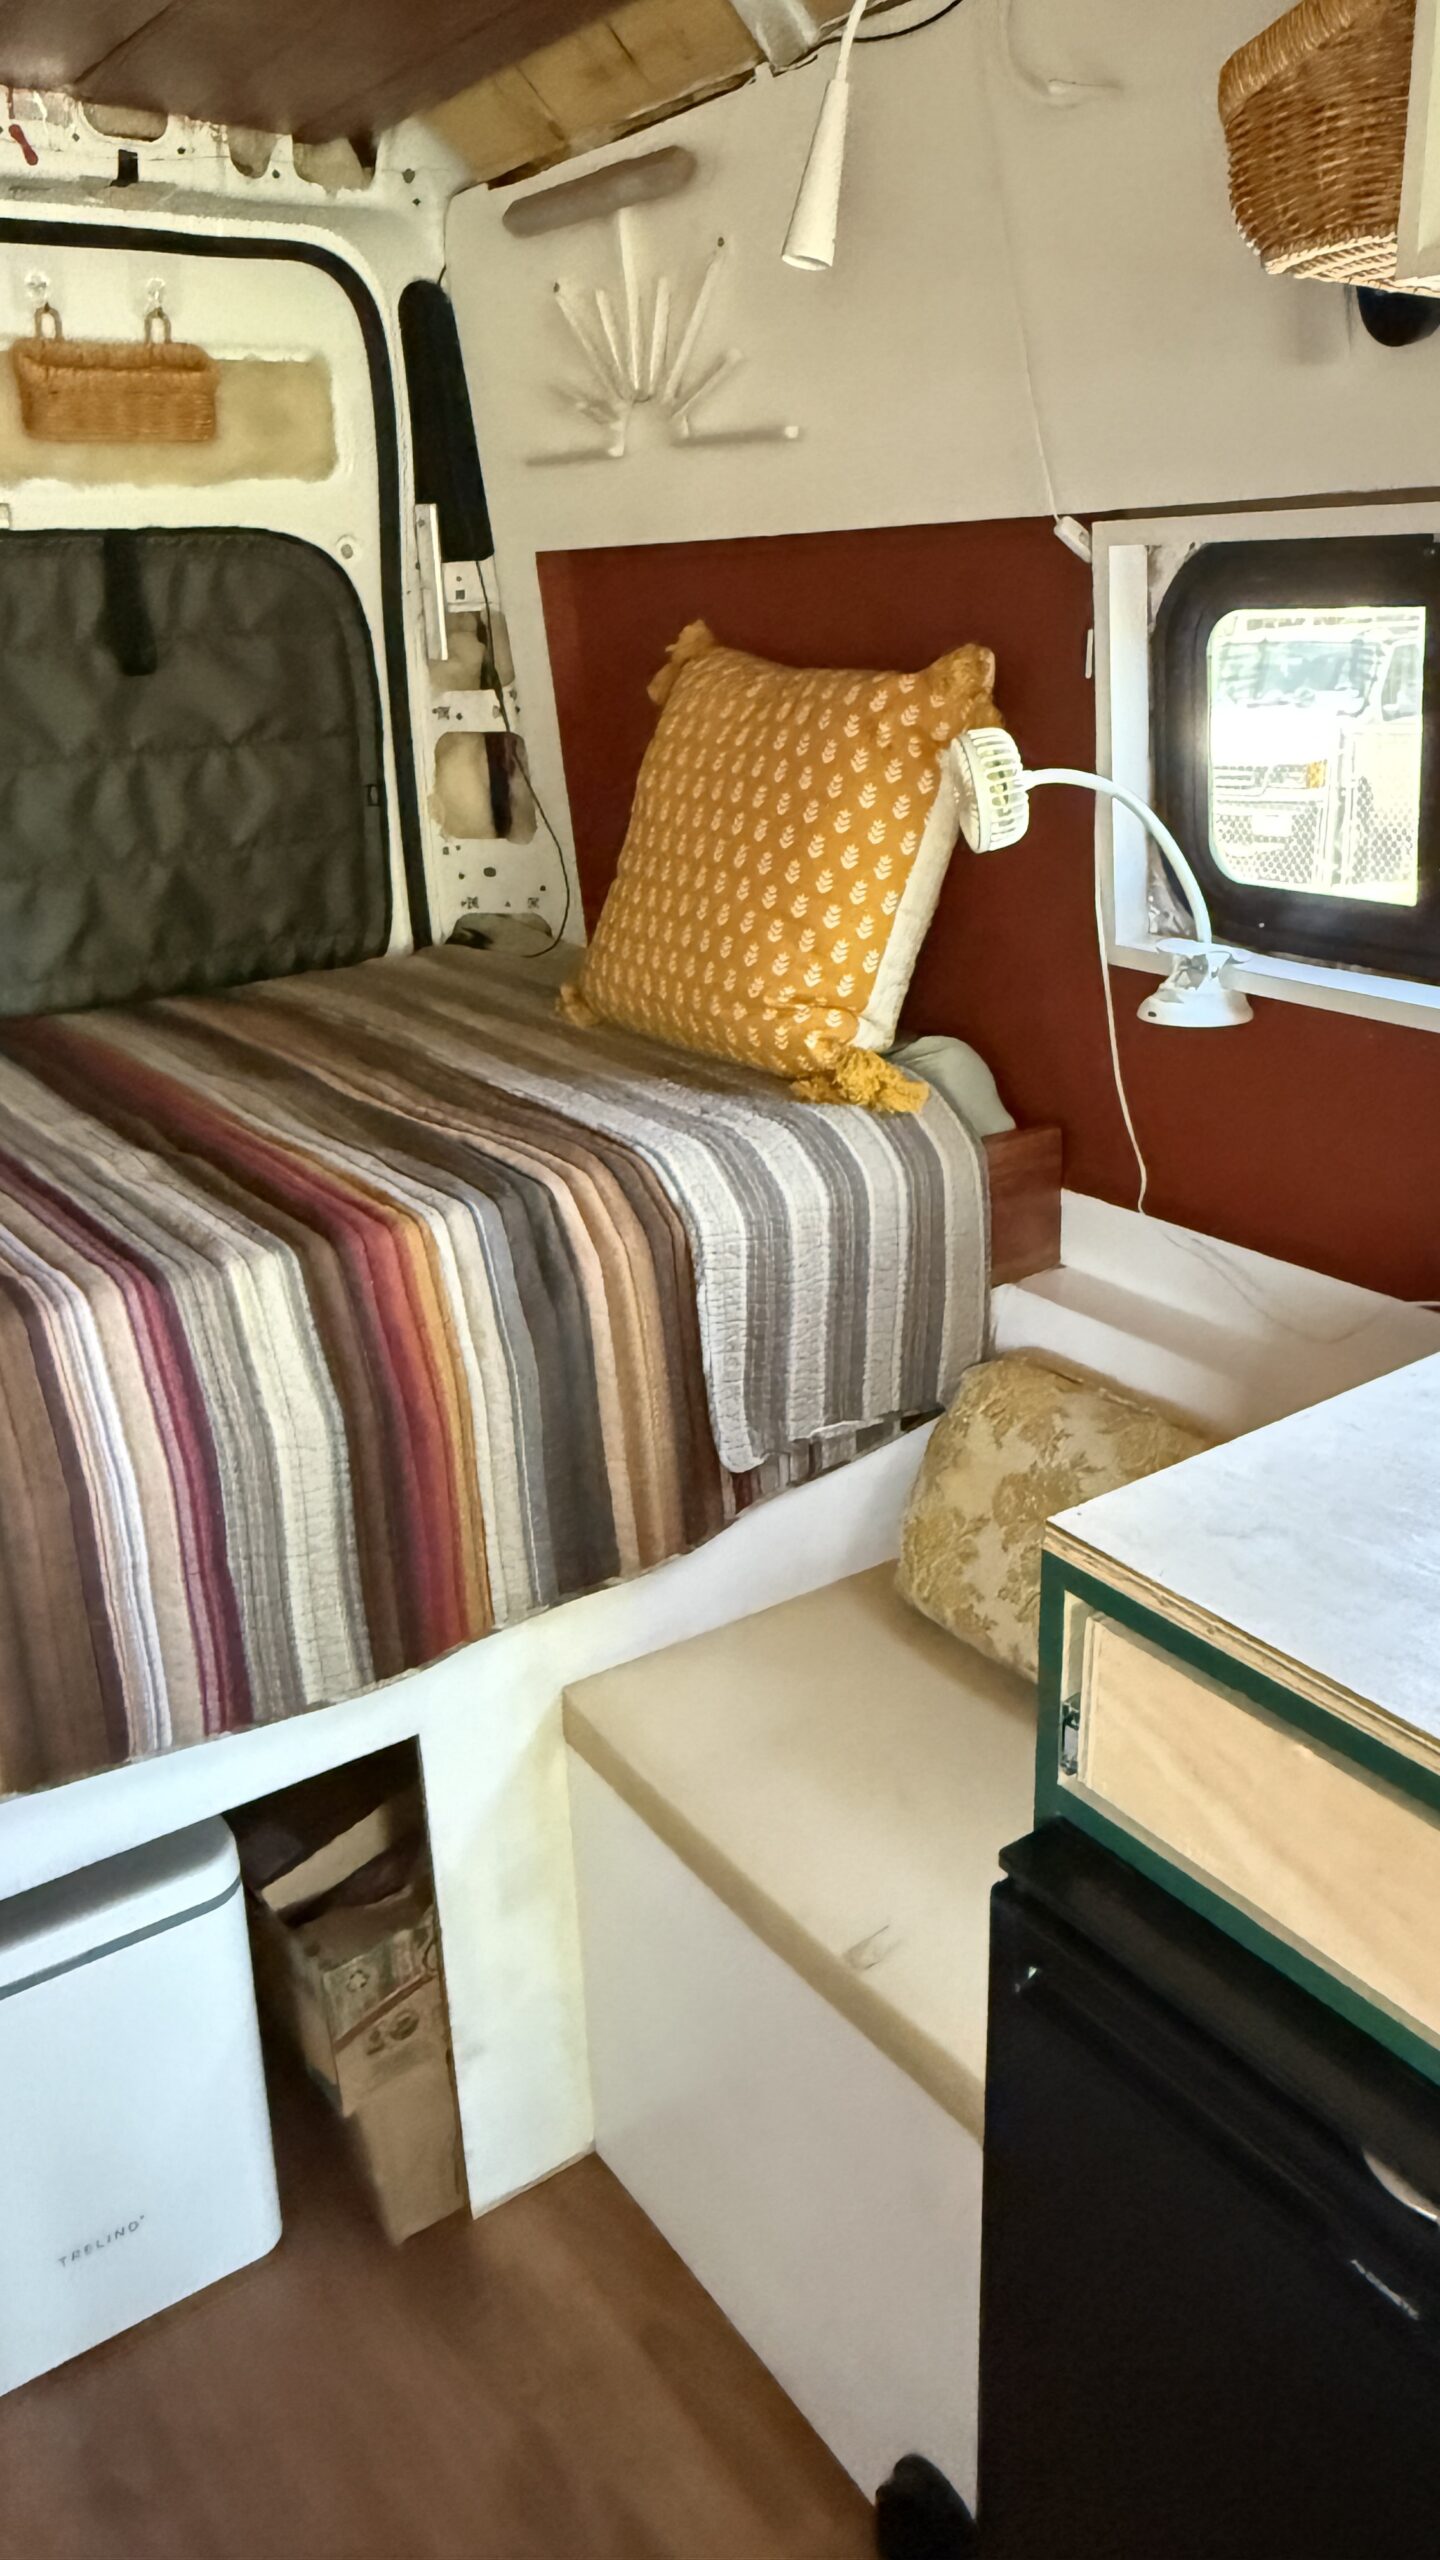
I find rigs that are built with large, stationary beds to be uninviting. I wanted a rig that could accommodate a few friends piling in and having some space to sit that wasn’t just the bed. I wanted the space to feel more like a tiny home and less like a van with a bed in it.
The bed converts from a twin size (it’s actually slightly wider than a twin, but also slightly shorter), to a queen size. You pull the face of the bed toward the front of the van to expand it to its queen size.
Eco-Friendly Bathroom
The “bathroom” is a Trelino composting toilet beneath the bed. My intention was to build a drawer for this to be contained within. For the time being, I simply slide it out on the floor, and slide it back under the bed. I initially considered a Natures Head toilet but learned how nasty and difficult those are to clean out. This Trelino was supposed to just be a placeholder but I ended up loving the simplicity of it. It’s very easy to empty and clean.
Retailing at a total of ~$600
Windows Galore
This cargo van came as a blank slate without a single window in the back. I installed 2 back windows, 2 drivers-side windows, and a sliding-door window on the passenger side. These allow for lots of sunlight, airflow, and the sliding door and back doors come with proper magnetic covers for privacy and/or darkness.
- T-vent Sliding Door Window – has a crank-out bottom panel for air flow, with a detachable screen, giving you excellent ventilation, especially when combined with a vented window on the other side.
- 2 small windows on the driver’s side that open horizontally, with screens.
- 2 back-door windows that open horizontally.
Retailing at a total of ~$1,900
Other interior upgrades/features worth mentioning
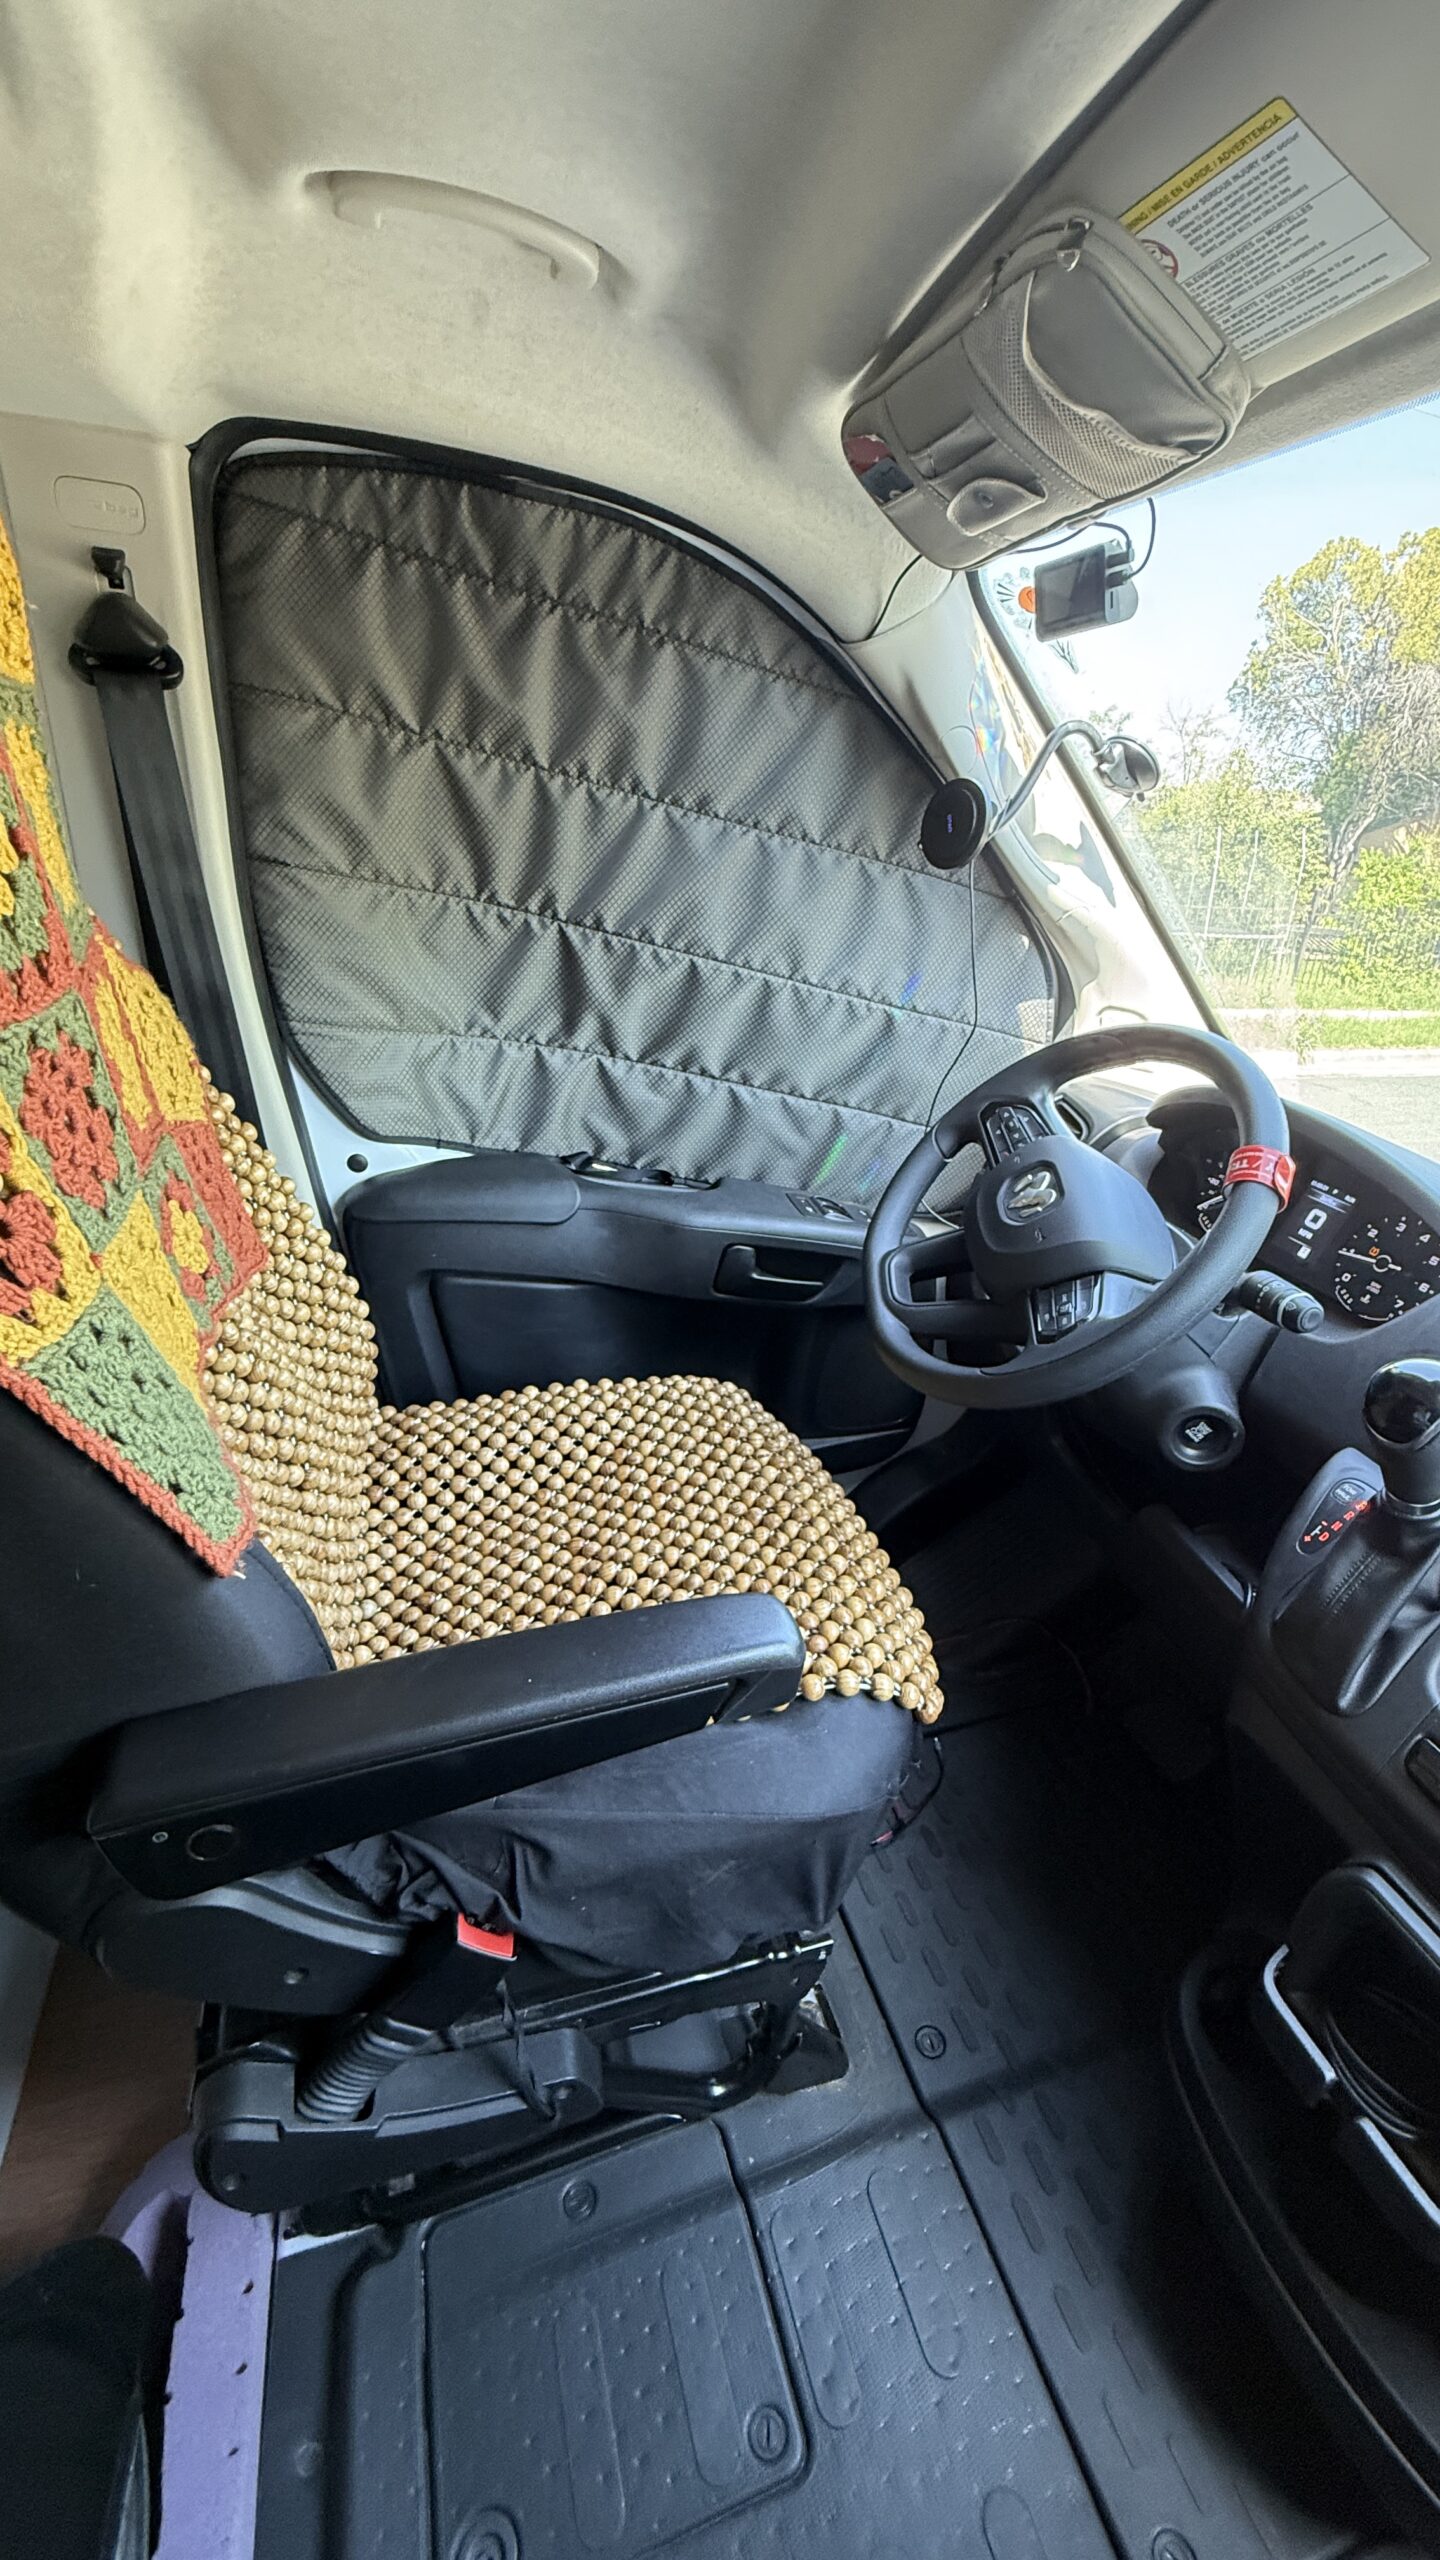
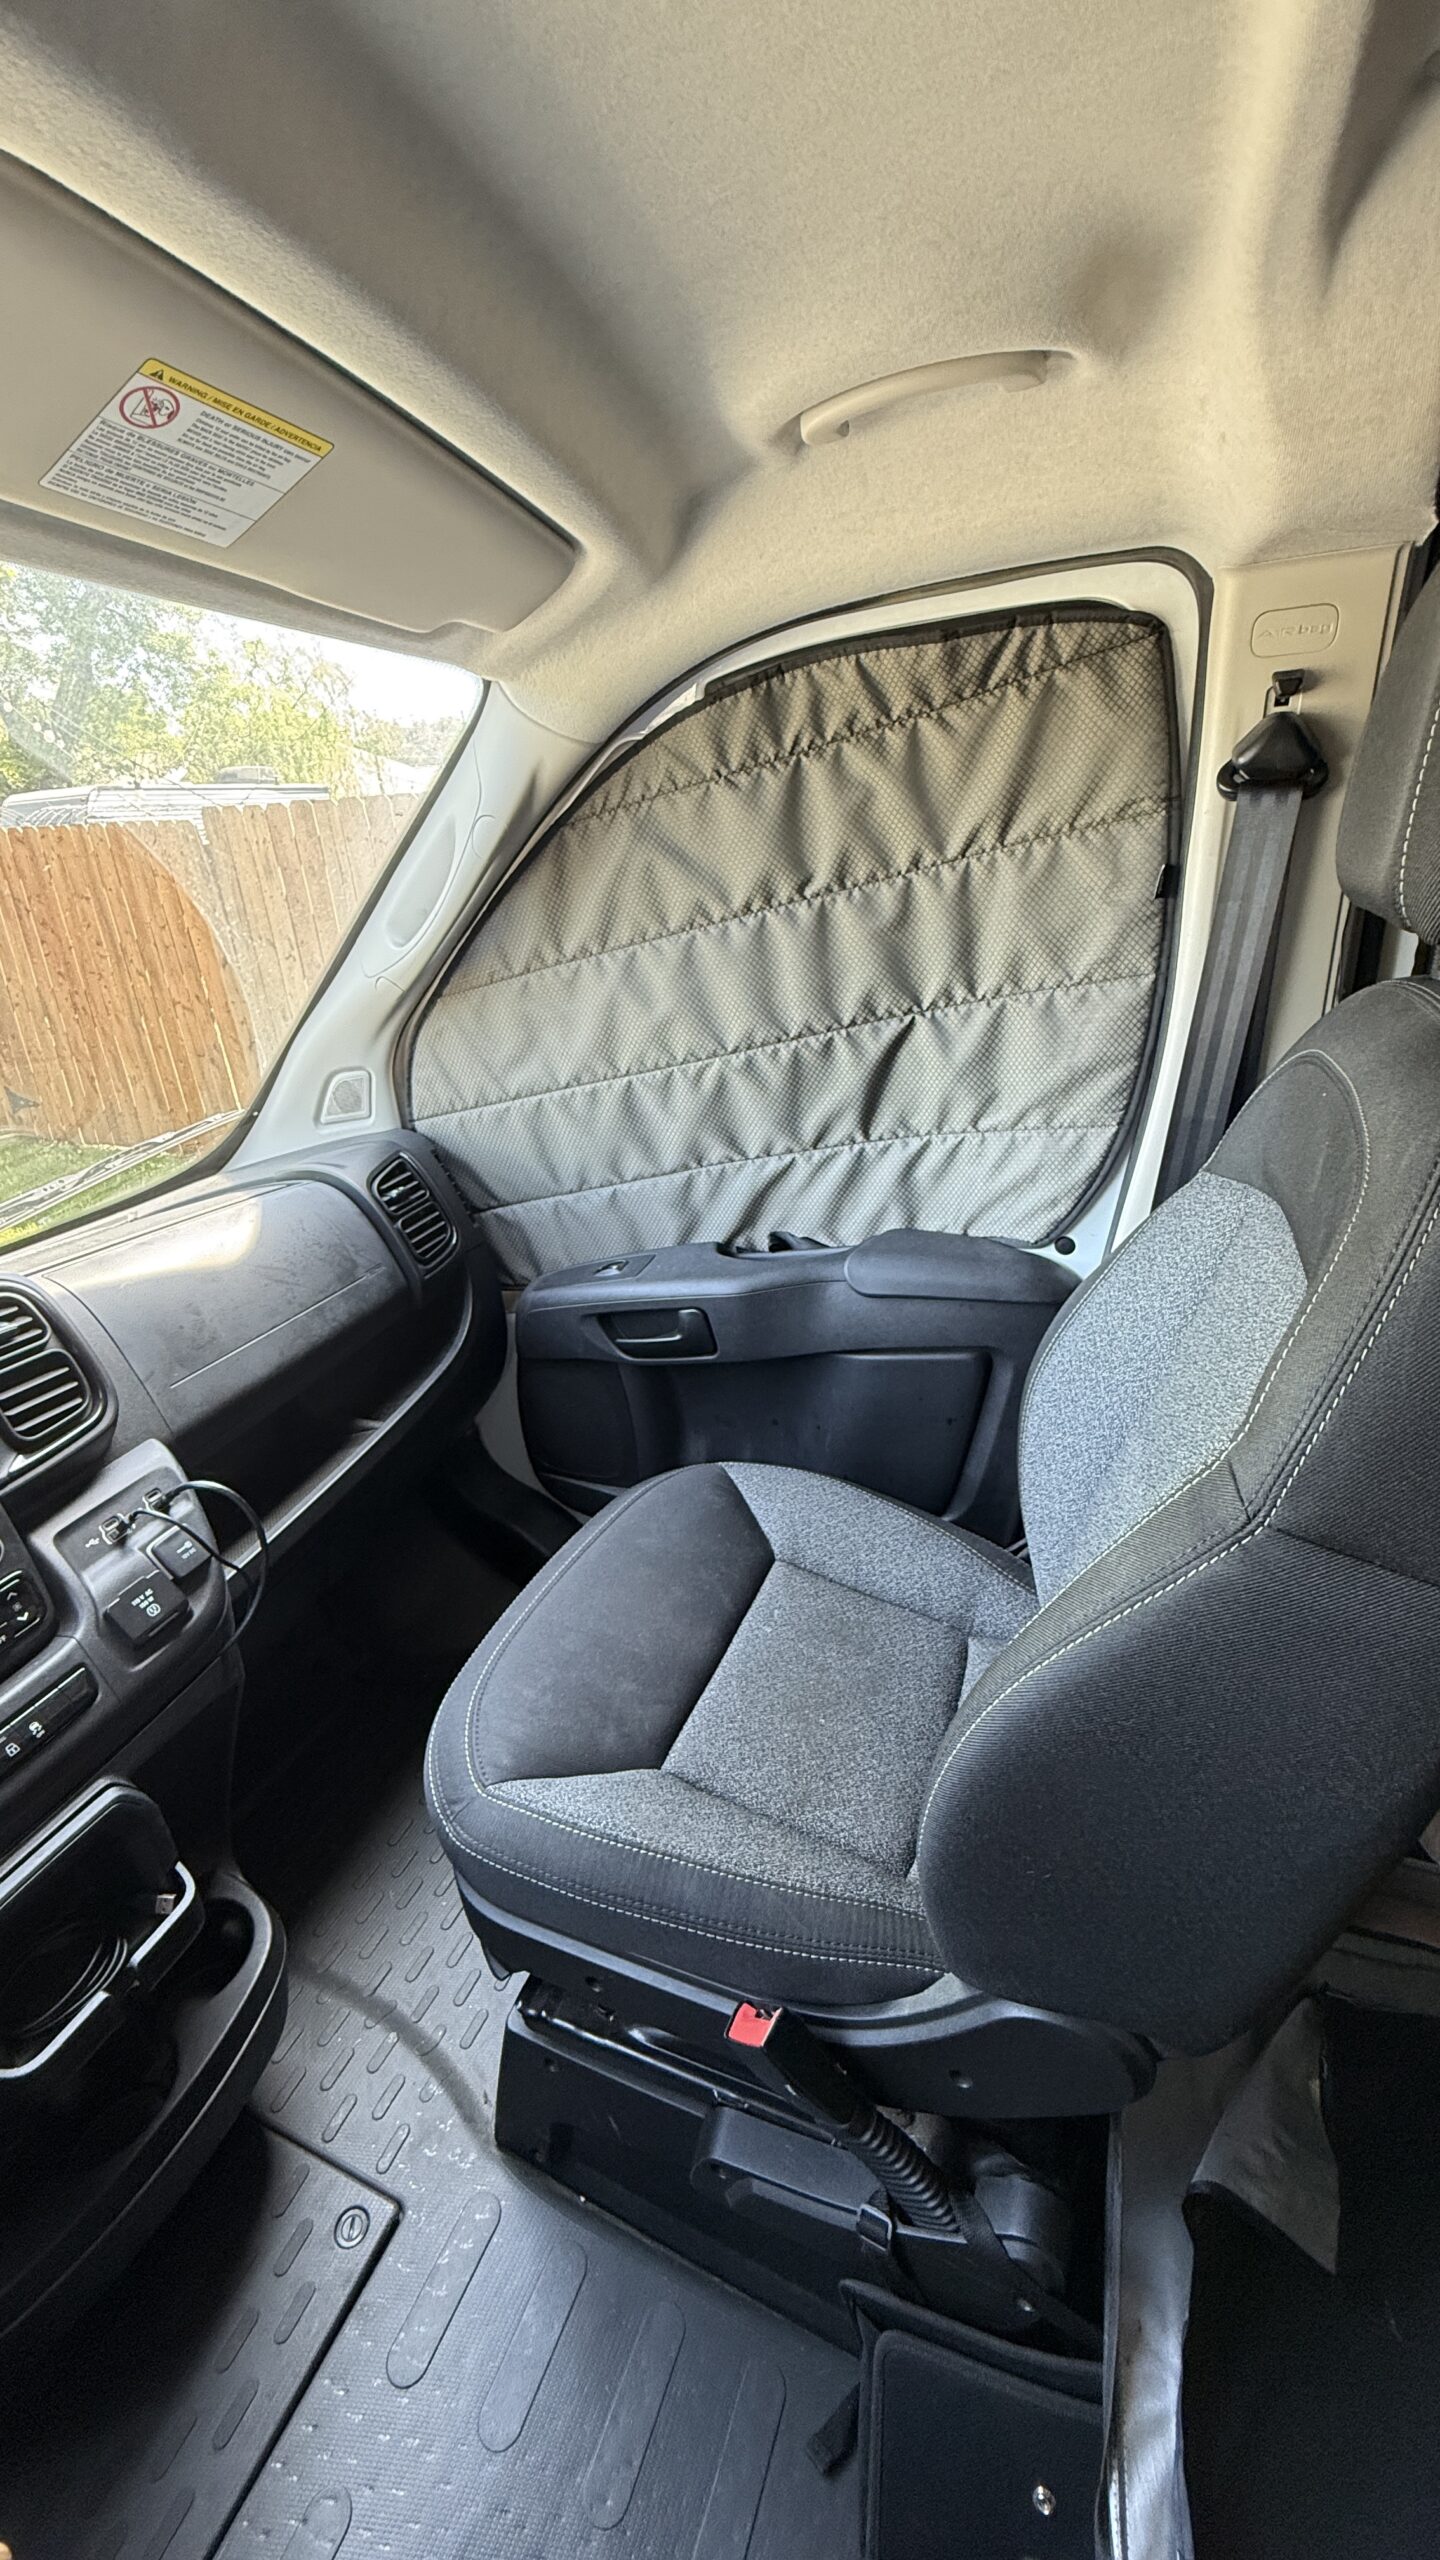
- I swapped out the original bench for a single passenger seat, creating extra living space and allowing occupants to easily go from the front and back without exiting the van or climbing over the bench to do so. You wouldn’t believe the difference this made. One of my favorite changes to the van.
- Dimmable main lighting
- Faux wood flooring. Super durable and waterproof.
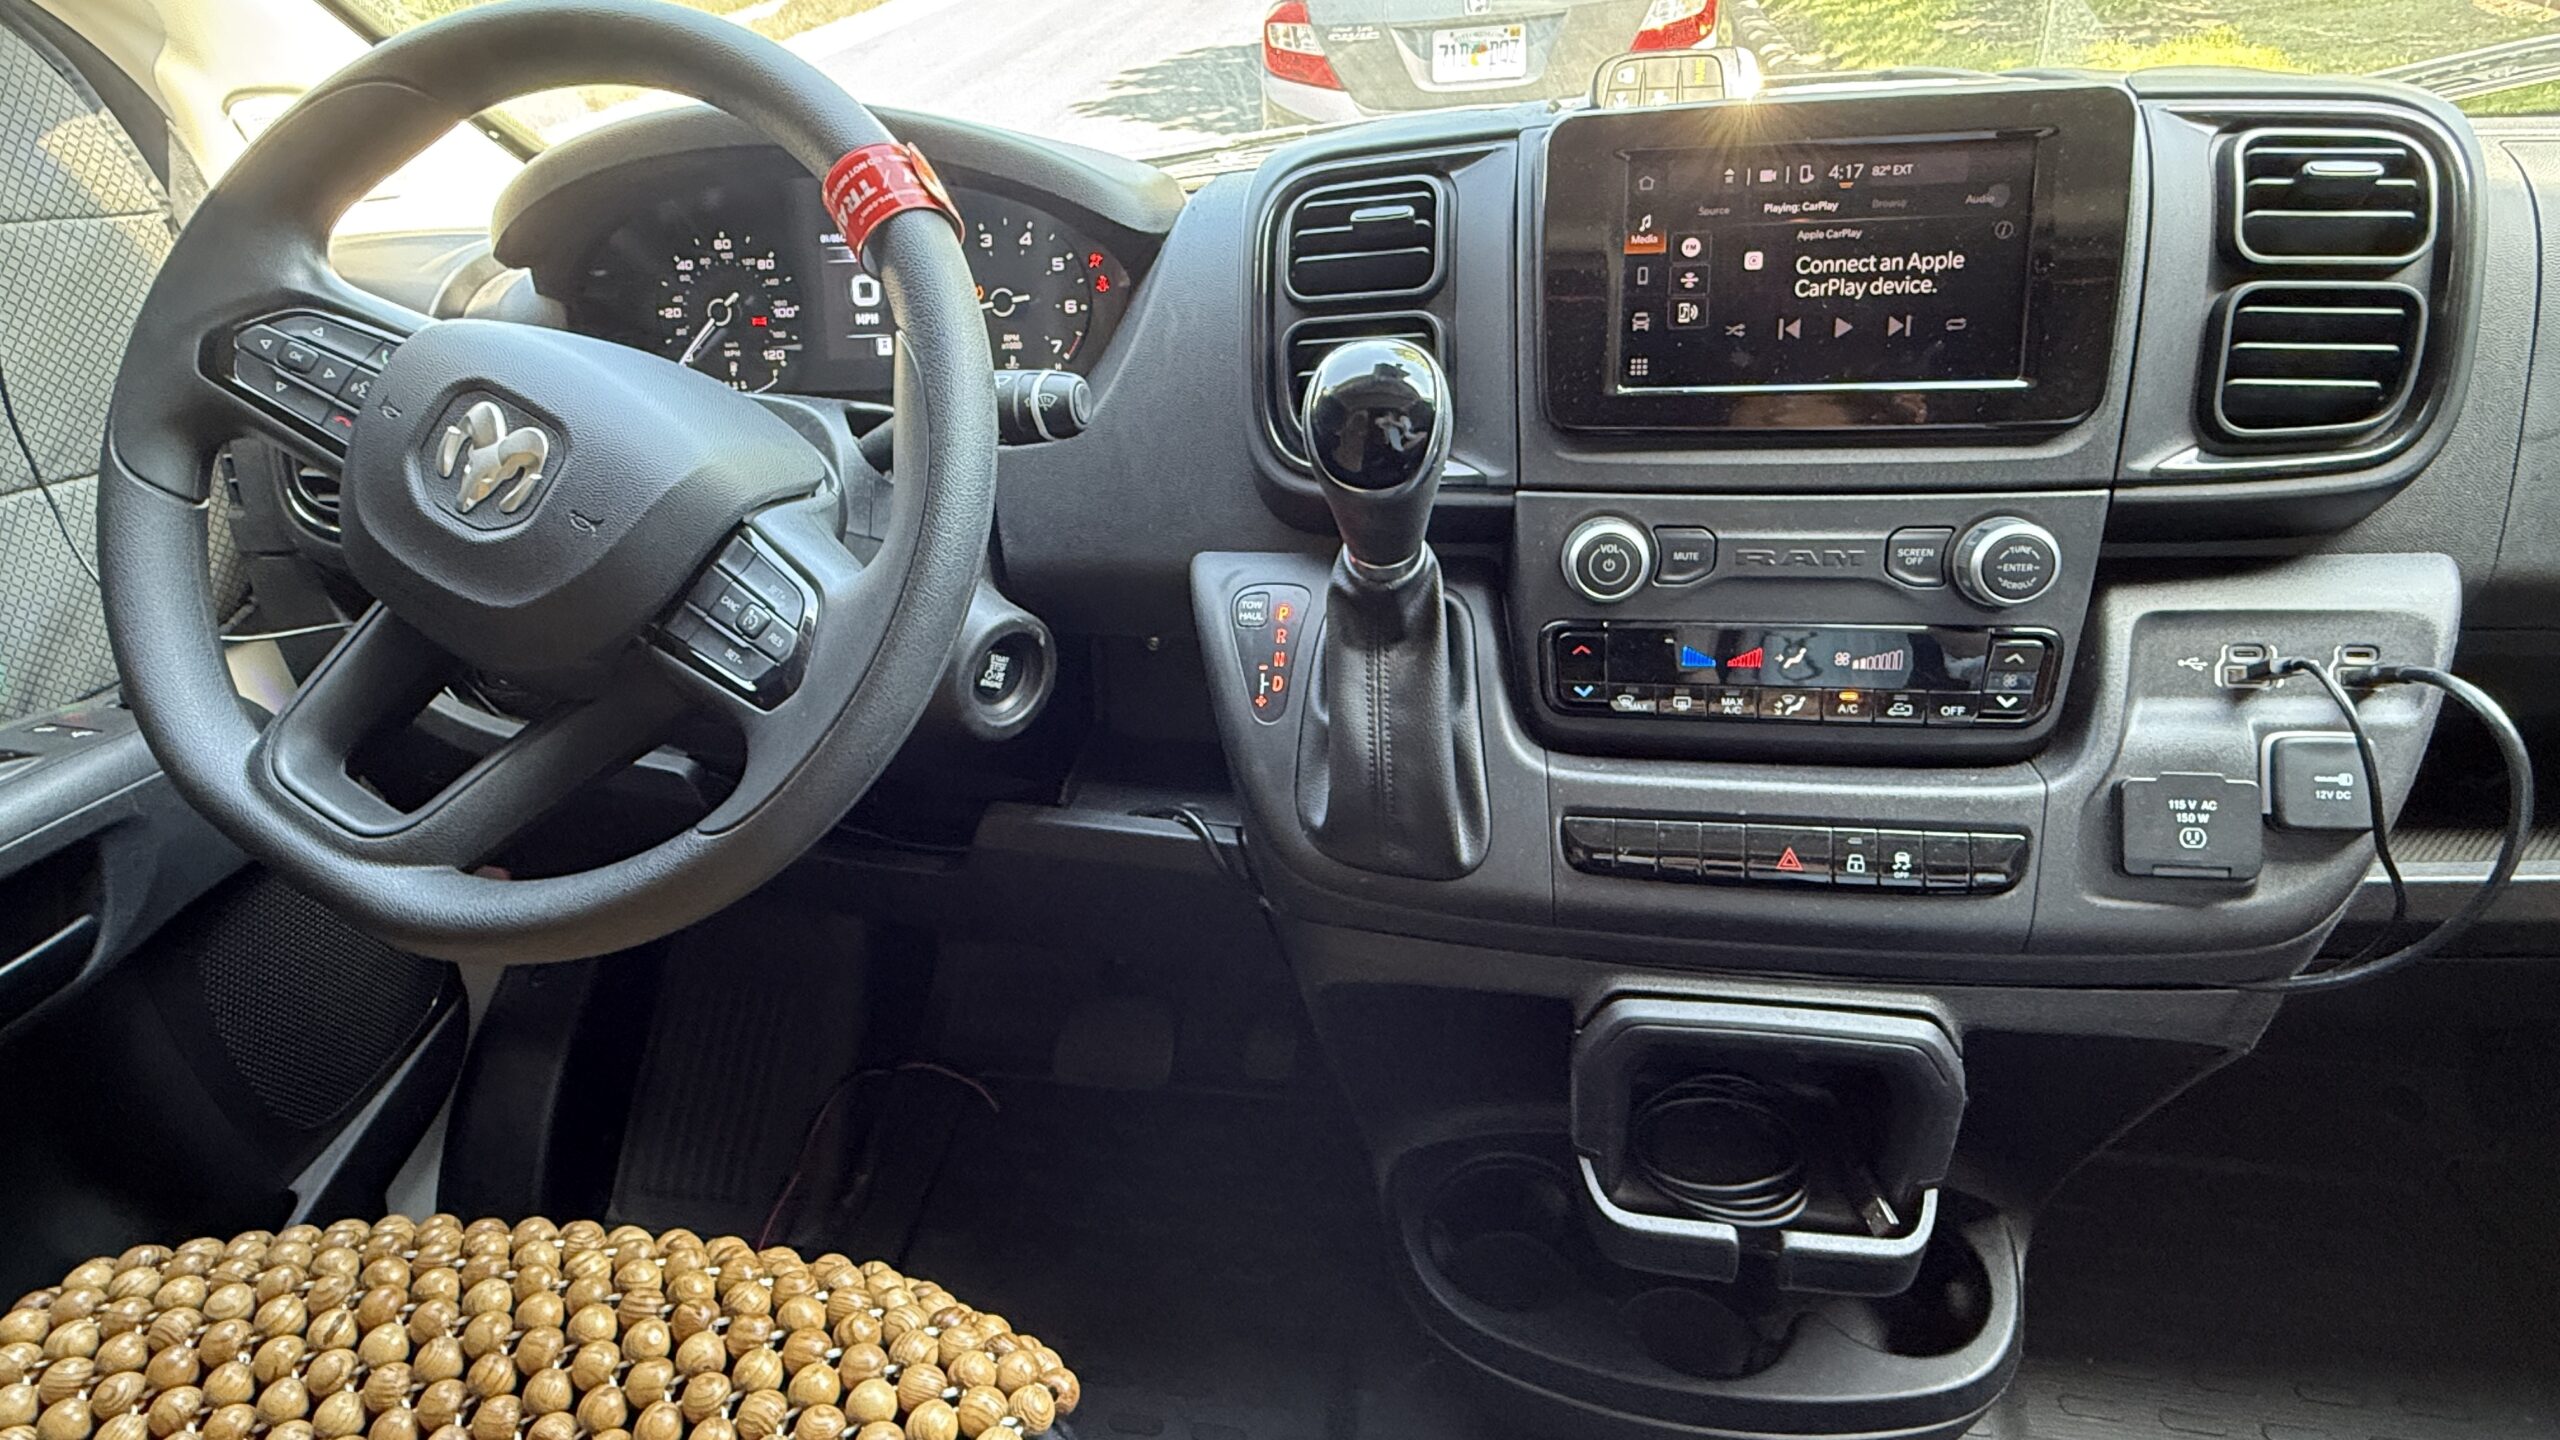
- 70mai dash cam and optional rear-cam as well.
Exterior upgrades
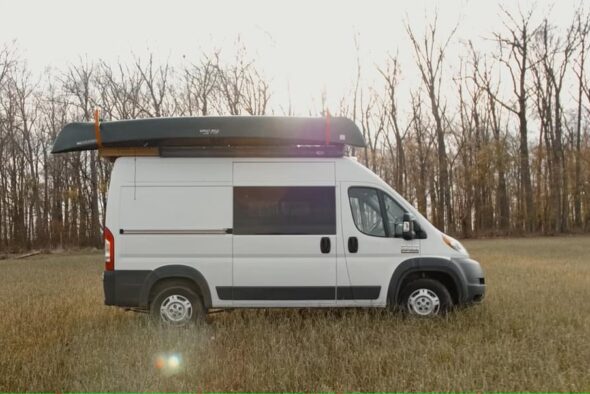
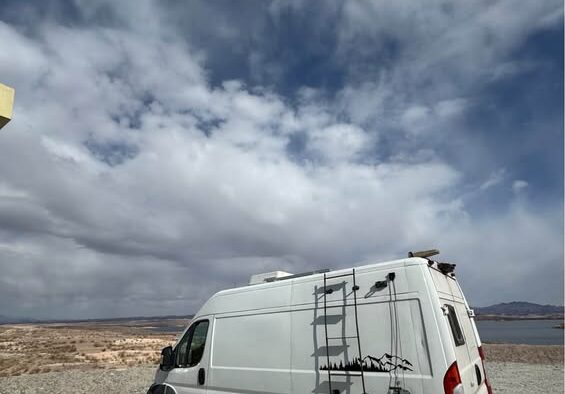
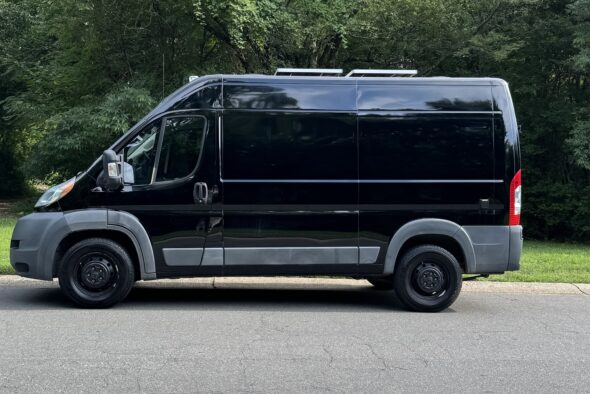
- VanTech roof rack, model H2.1. Solar panels are mounted to the rack. The horizontal bars can be moved if needed, to install additional items.
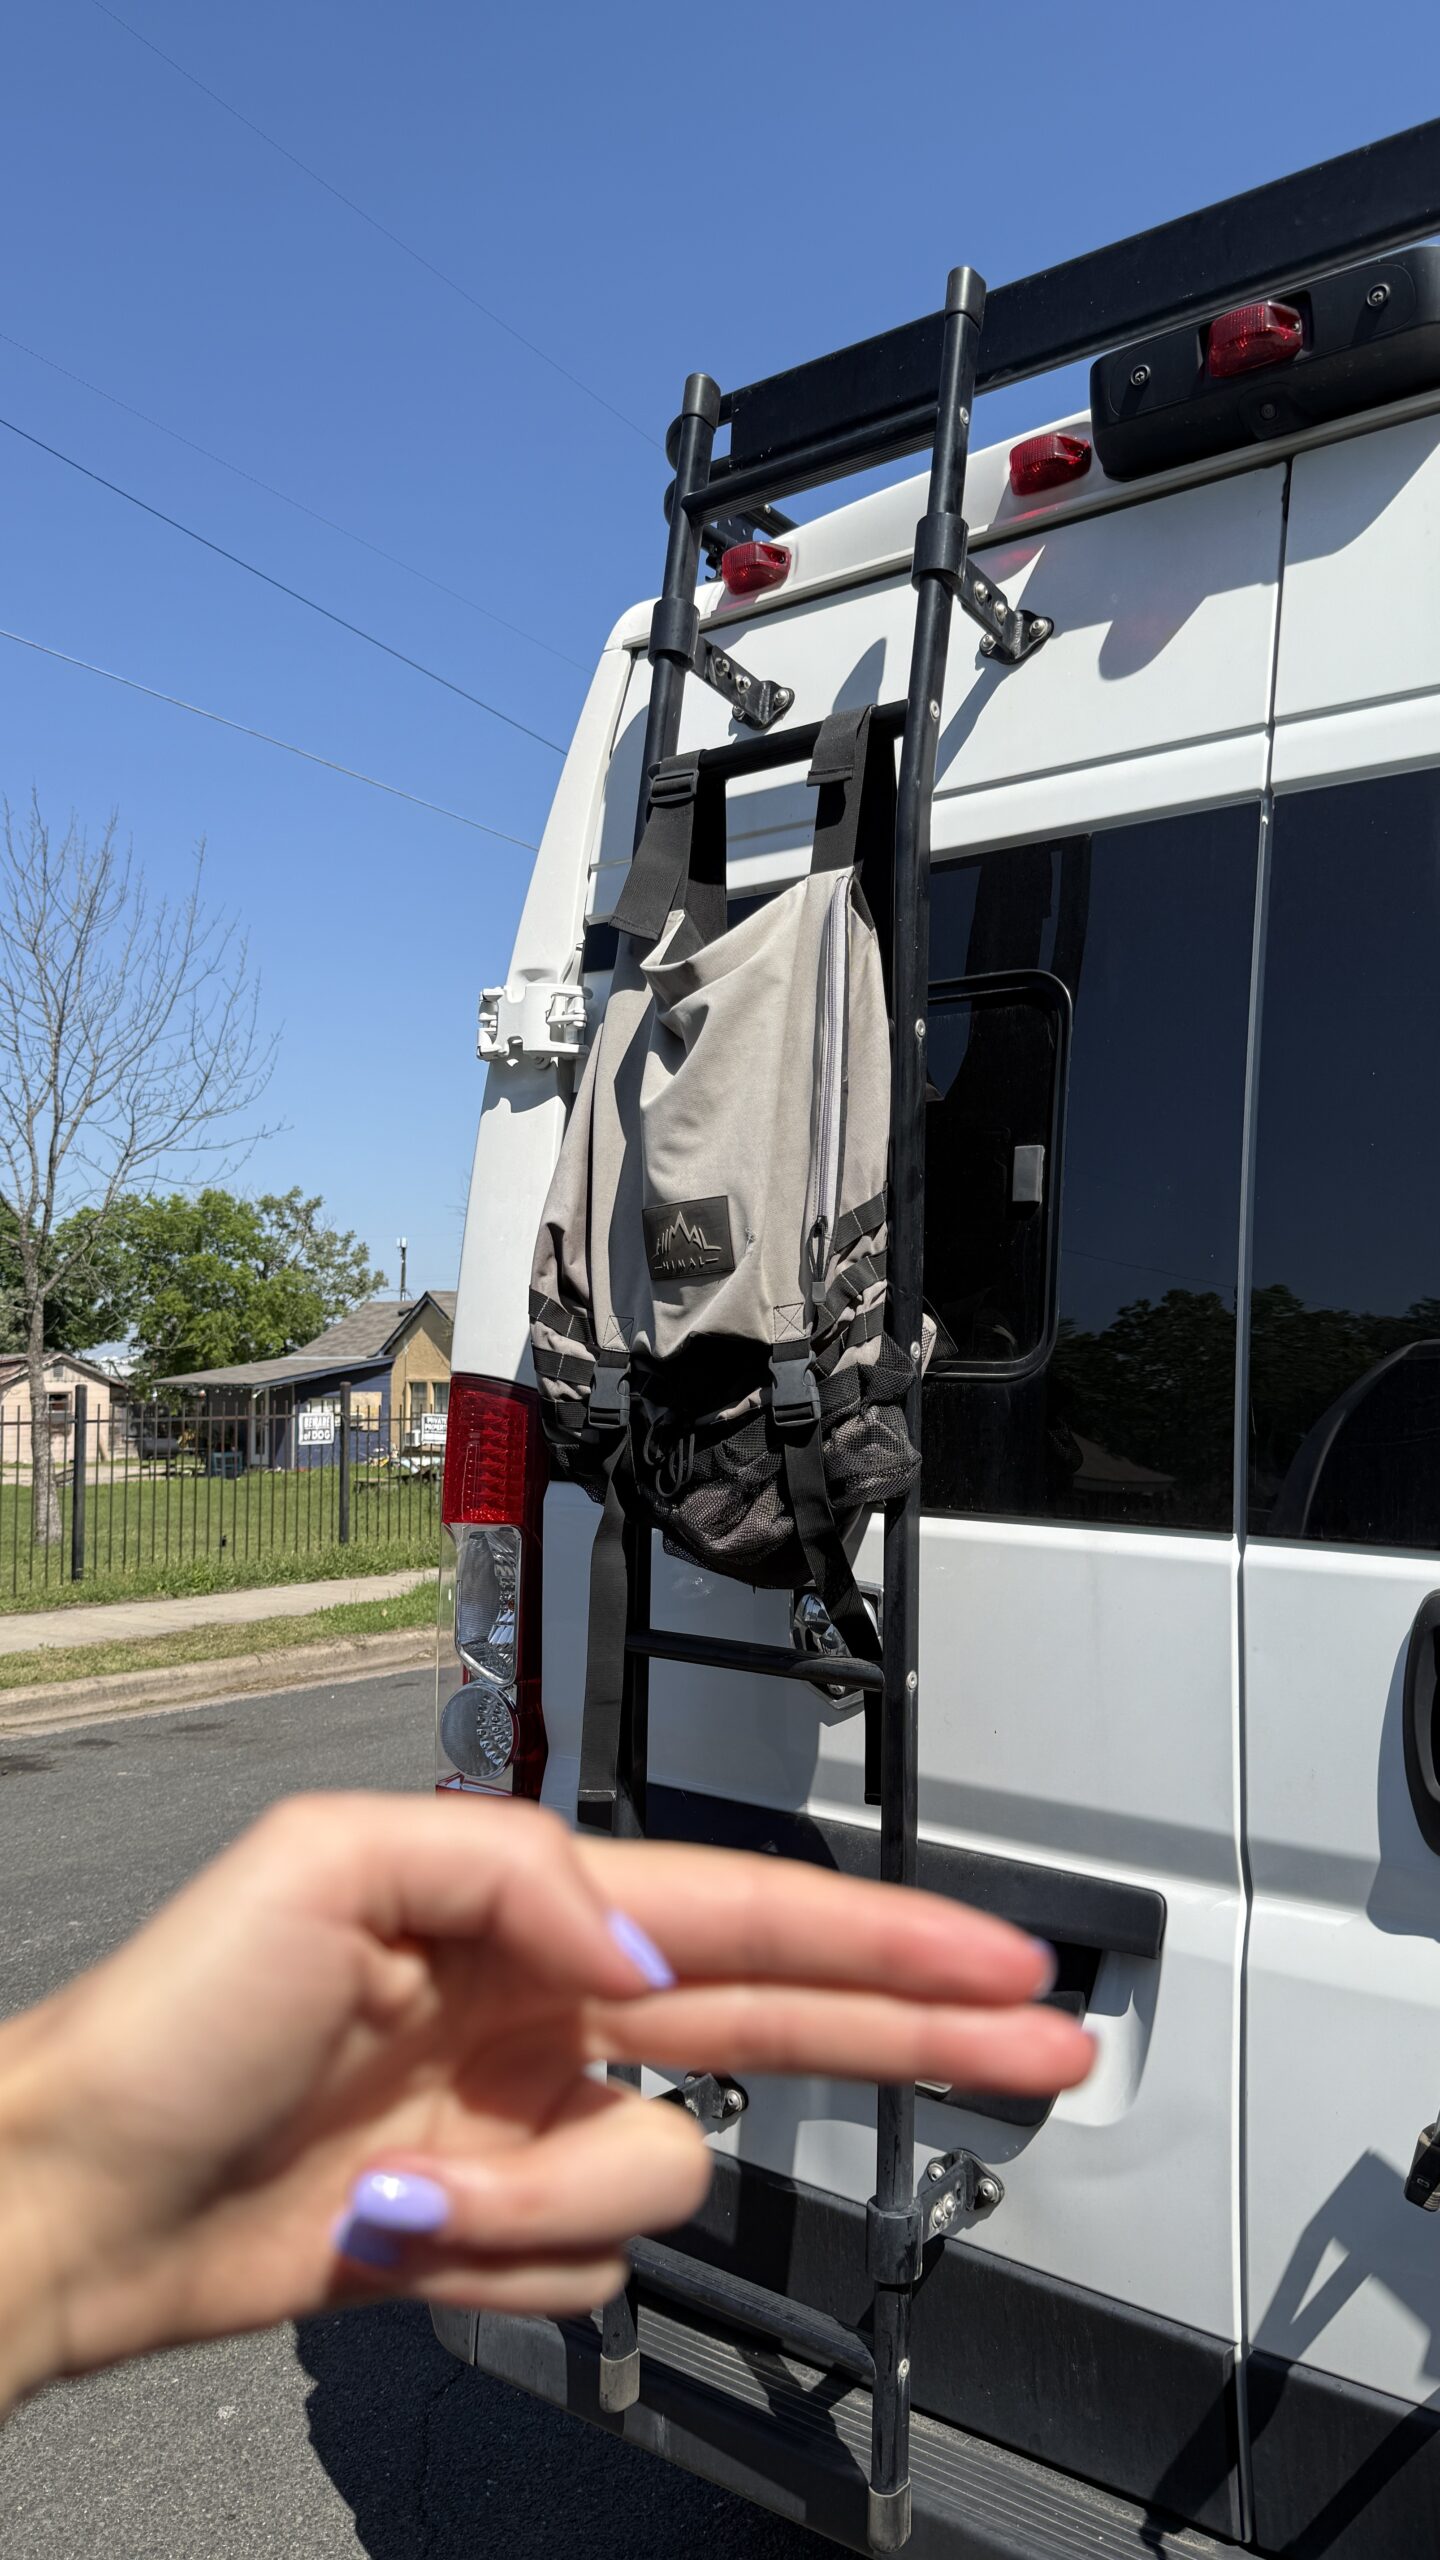
- VanTech ladder on the drivers side back door for easy access to the roof
- Jerry-can mounted on the back, passenger door.
- Seemingly insignificant, the canvas bag clipped to the ladder serves as an amazing place to keep trash bags before you’re able to locate a place to dump them, and is also a good place to keep something like wet clothes from an unexpected downpour on a hike.
- Nonchalant lights on either side of the van to light up a campsite where needed or to check surroundings. (A 12V wire runs into the wall, located by the sliding door inside, intended for a switch to be installed to control the lights. I had a switch here but I didn’t like the one I had so I removed it.)
- Small but wonderful – I installed a door stopper midway down the sliding door track. This allows you to have the door halfway open to create some privacy but still have airflow or light when desired. Otherwise, when not completely level, the door will slide fully closed or fully open. You can still roll past the stopper and fully open the door, of course. I love this tiny upgrade. It’s so useful.
Retailing at a total of ~$2,200
Final Touches Ready for Customization
***Some unfinished items worth mentioning***
- Countertops – currently there are scrap pieces of plywood serving as a temporary countertop.
- Drawer faces & cabinet doors – cabinets and drawers are in, but they’re missing their faces to make them pretty. This is an opportunity to create a look that reflects your style. (Excluding the closet drawers which are all finished.)
- Corners – the top corners where the walls meet the ceiling are not finished. The furring strips are exposed and just need a thin piece or a plank of wood attached to cover them and make it attractive.
- The doors – the sliding and back doors have cavities which are filled with insulation. This is typically covered with thin sheets of wood. This is a simple task and changes the look of the space significantly. It’s a fun place to add a personal touch too, by painting the wood, or covering it in fabric, stickers, or wallpaper.
- The mattress – I’ve completed the twin portion of the bed but not the extension, which just involves cutting foam to fit in that space.
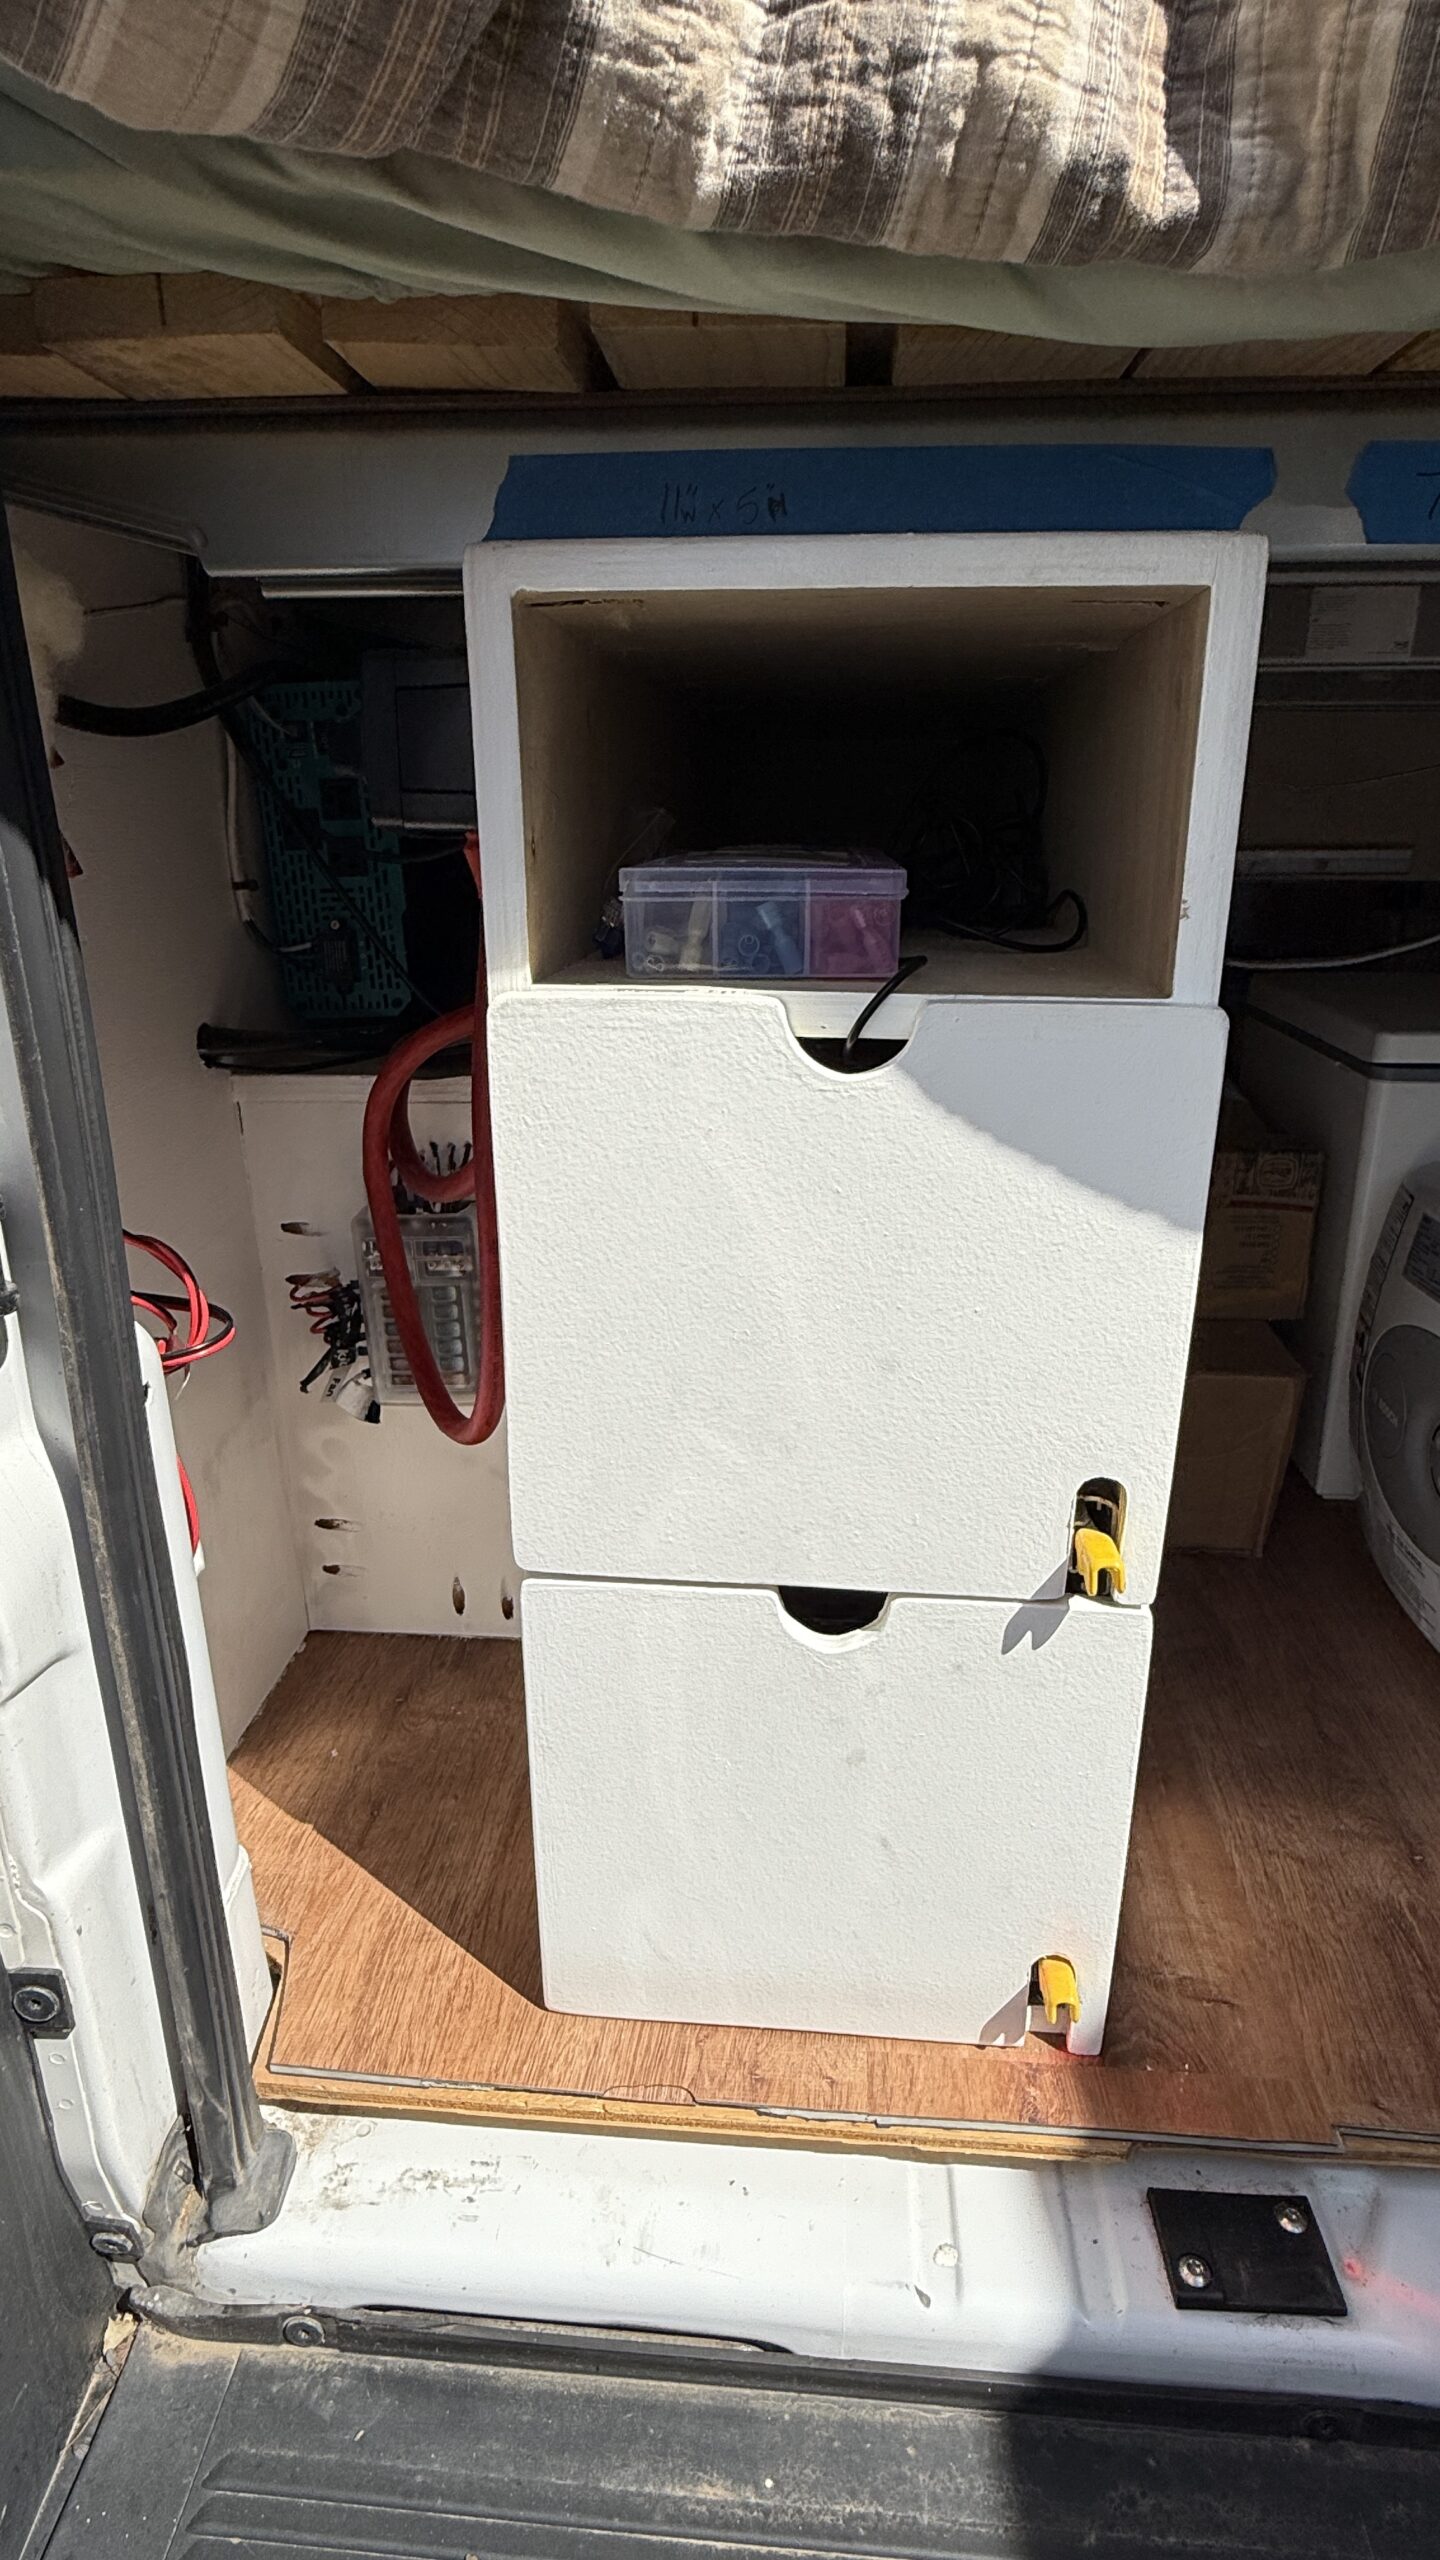
- The garage – it’s optional; you can certainly use this space as is, or you can add shelves & cubbies to optimize it to fit specific items you know you’ll travel with often. It is not painted.
Included
This van comes with many useful items for the remainder of the build. Take it or leave it – you’re welcome to pick and choose what you’d like.
Items include, but are not limited to: 12V 14-gauge wire, plumbing supplies and tools, paint supplies, locks for drawers (so they don’t fly open while driving (some are already installed on the drawers that are more prone to opening)), some foam to help complete the “mattress” of the bed, a smoke/LP detector, pricey hinges for the overhead-cabinet doors, manuals for items like the Waterdrop water filter and Dometic AC unit, extra/optional parts from a variety of items and devices, etc. All are in storage bins and can be loaded into the van for ya.
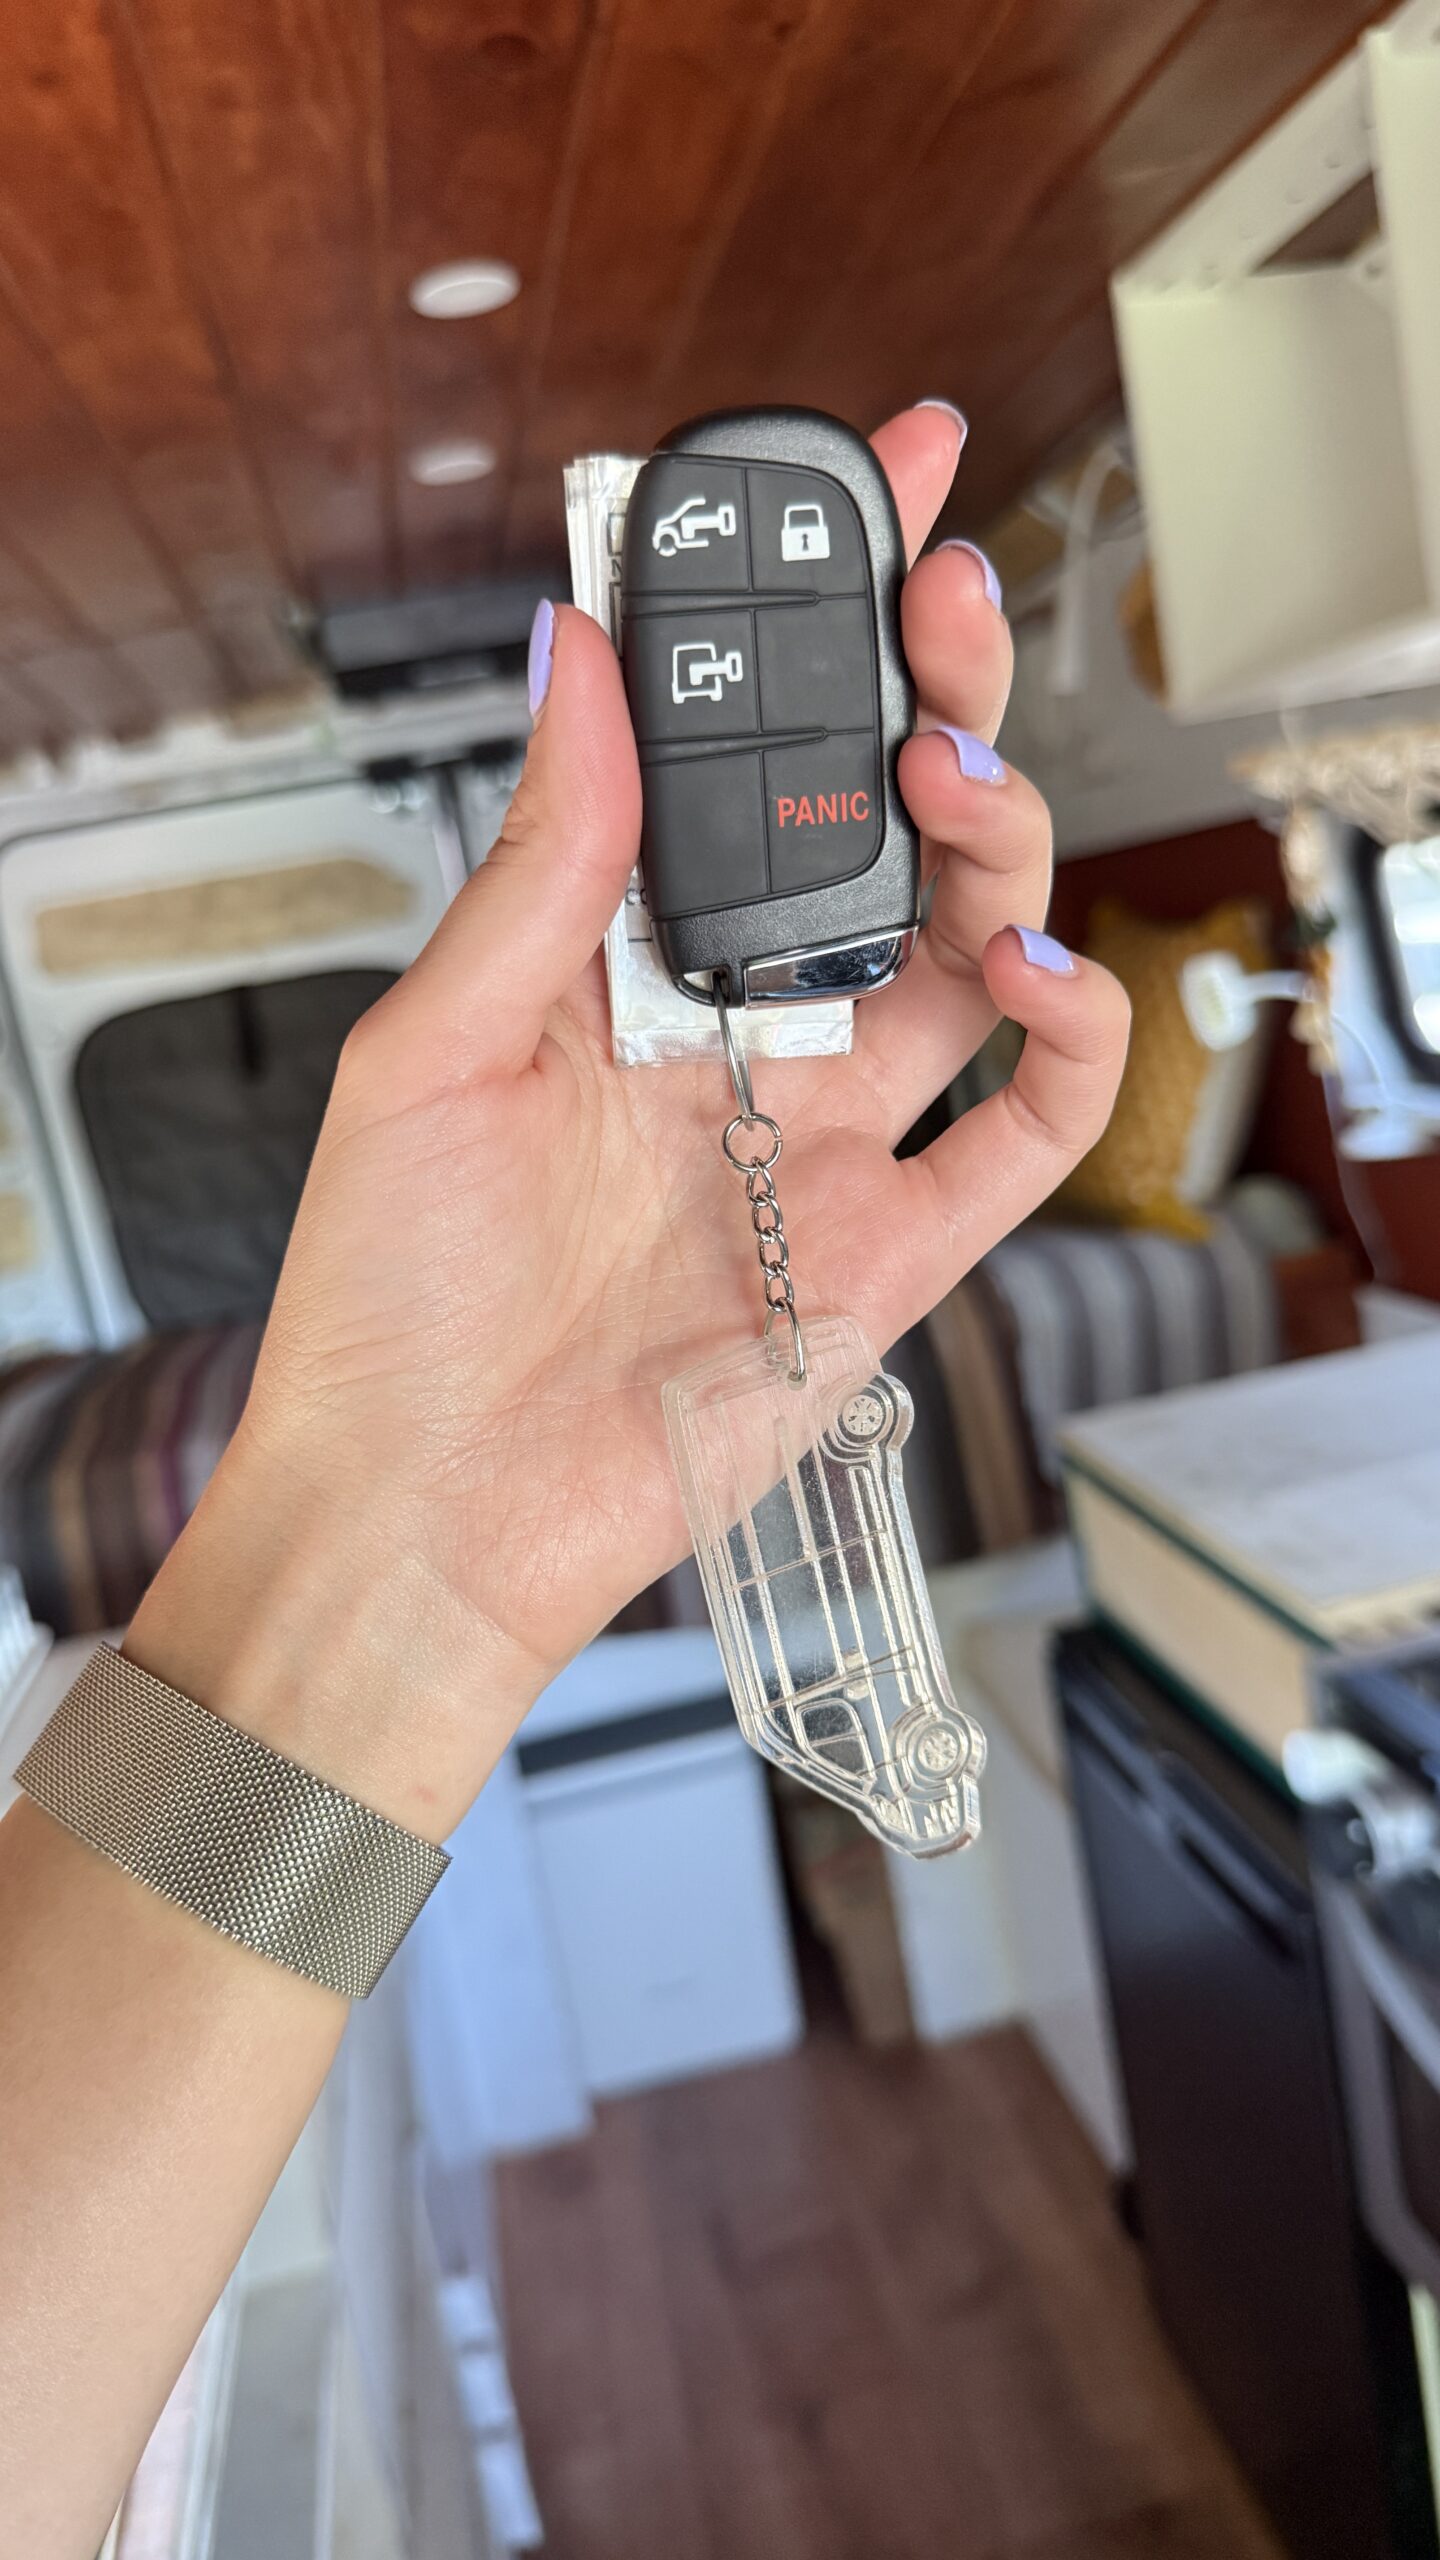
Also includes 2 keys/fobs.
I’m the only owner of this van. Purchased new in Sumer 2022.
[ I lived in this van in it’s current state, and earlier states (yikes, sleeping on plywood was hard, no pun intended), so while this is obviously not complete, it is functional enough to live out of while completing the build. (: Just a little bit of context and perspective.]
This 2022 Dodge Promaster 2500 is nearly ready for the road! With your vision, and some elbow grease, it’s the ideal canvas to finish into your perfect mobile home!
Title in hand.
